The Backstory
The Concept
The Plan
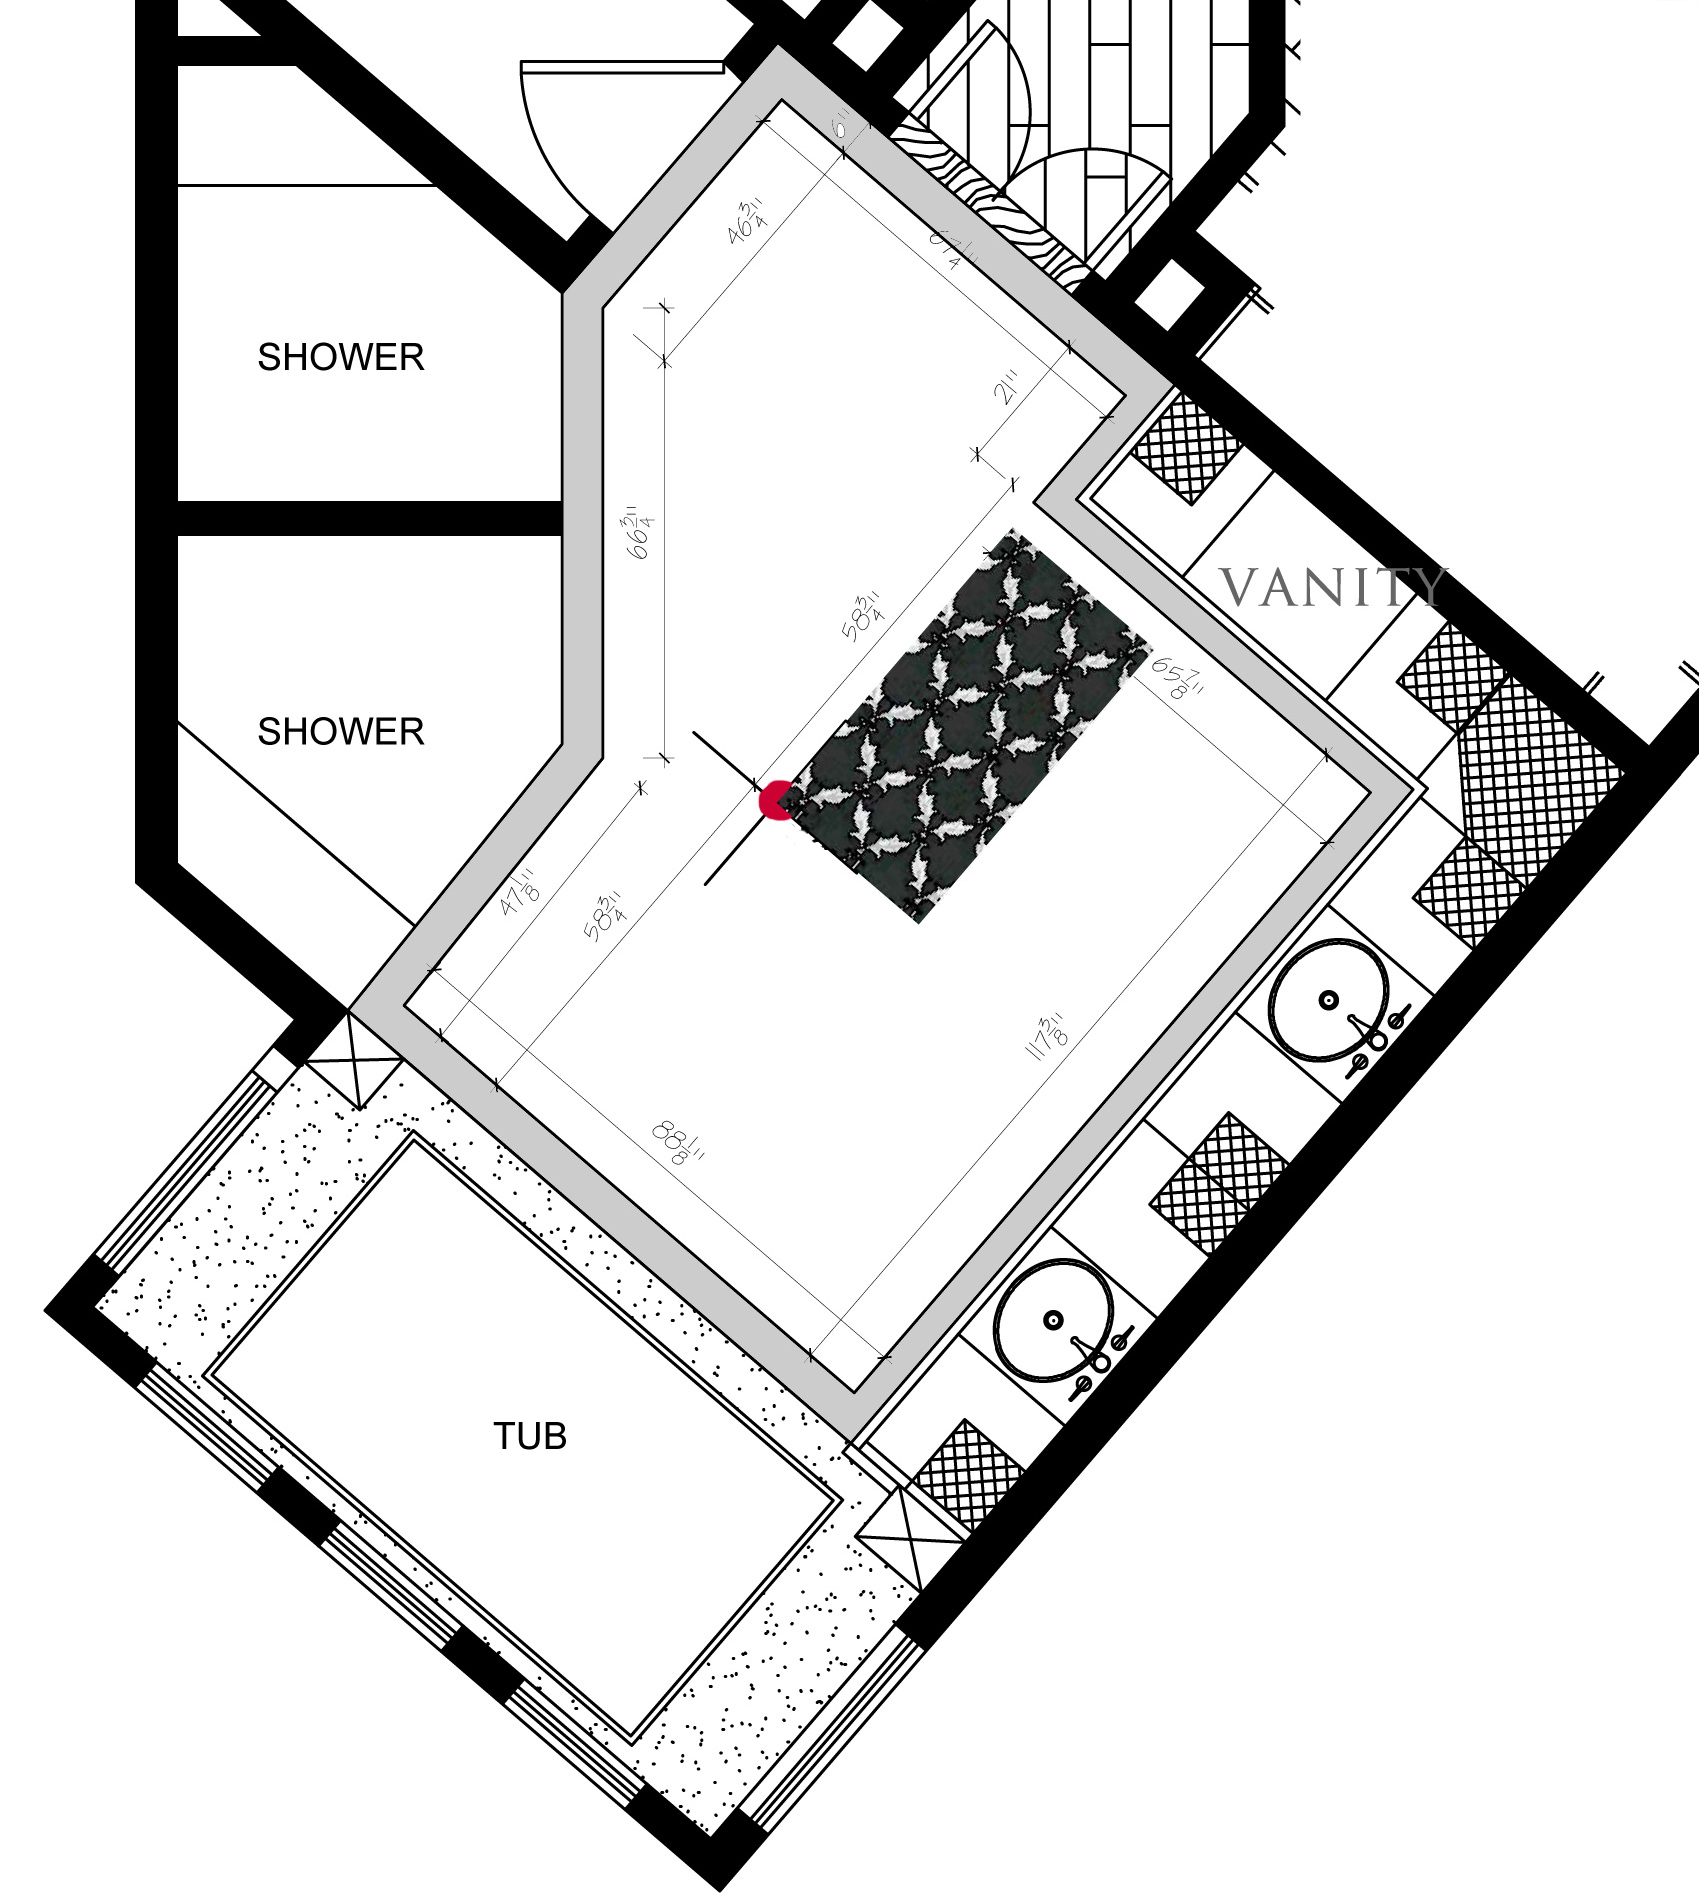
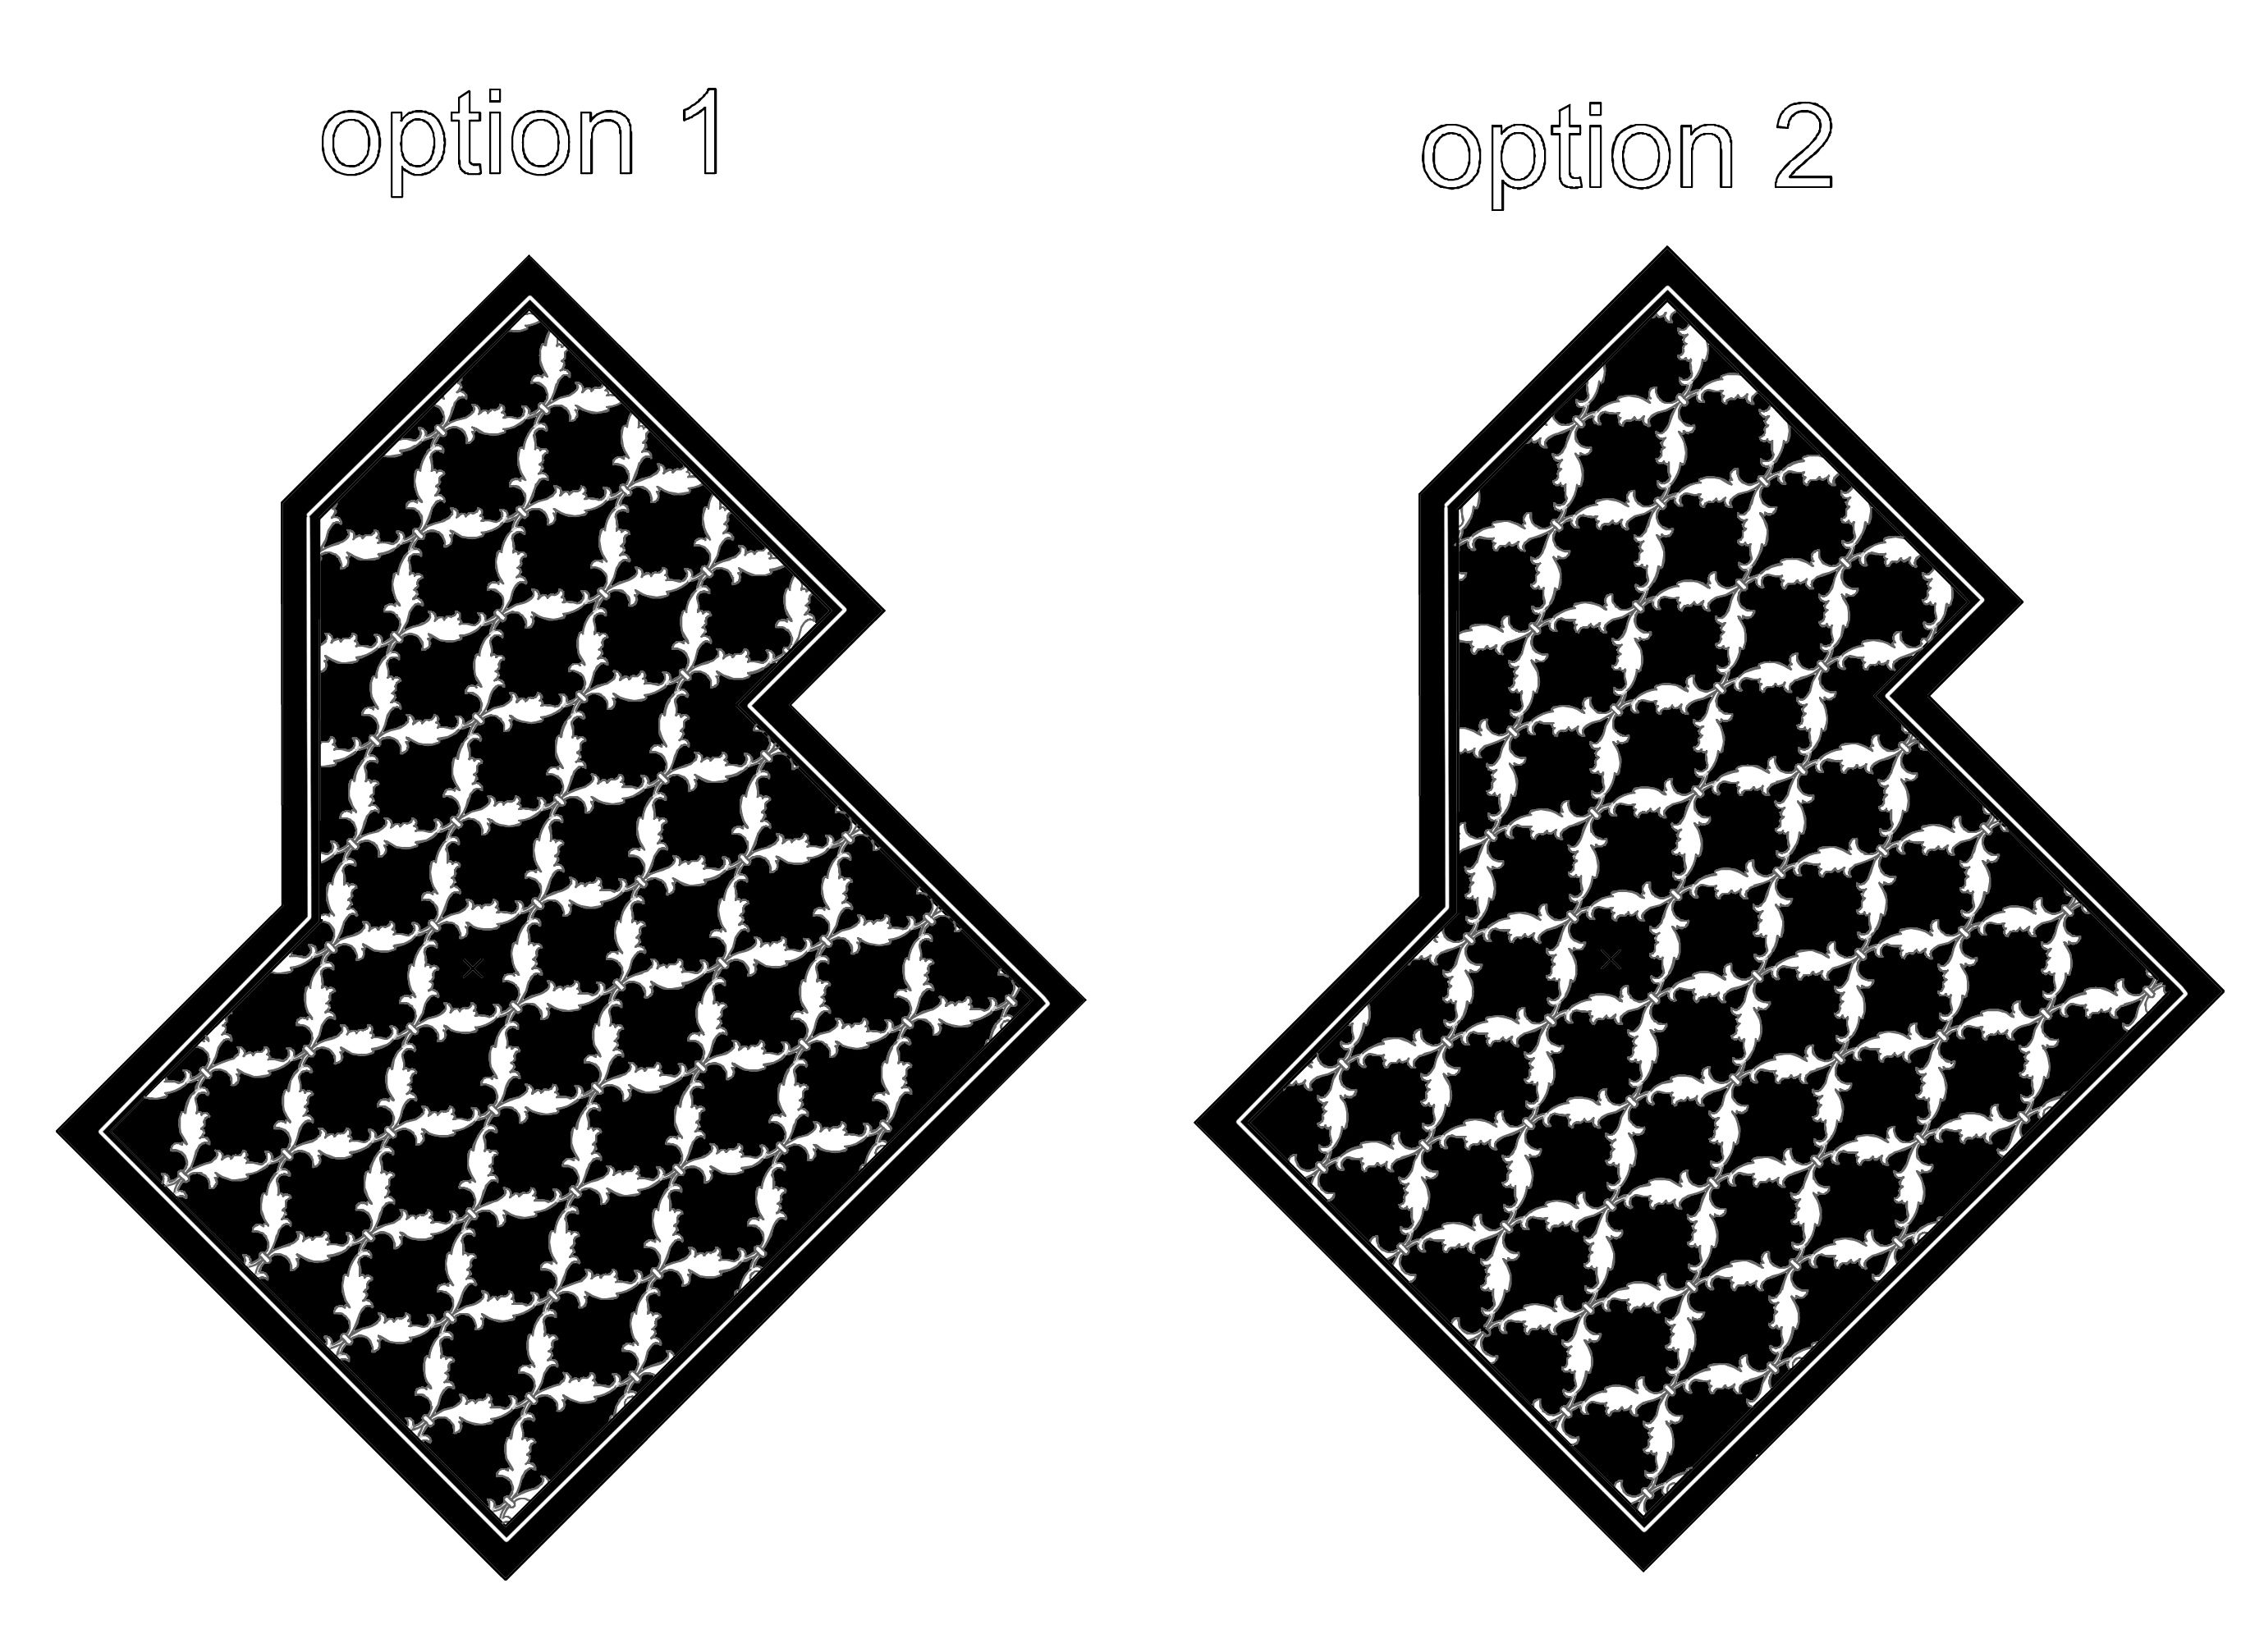
This perspective rendering (manipulated from an image sent from the custom cabinet vendor) was used to illustrate what the master bath would look like with this flooring concept in mind. I use a variety of computer programs in all my designs as AutoCAD allows me to draw up the design and play with the scale of the pattern in real time while Photoshop plops the image right there in the space. I always use these two programs in tandem to convey conceptual design ideas since it helps clients to visualize what I already see in my head. Try explaining “luxurious” or “high end” or “fabulous” in your pitch and see where that gets you. ;D
The Process
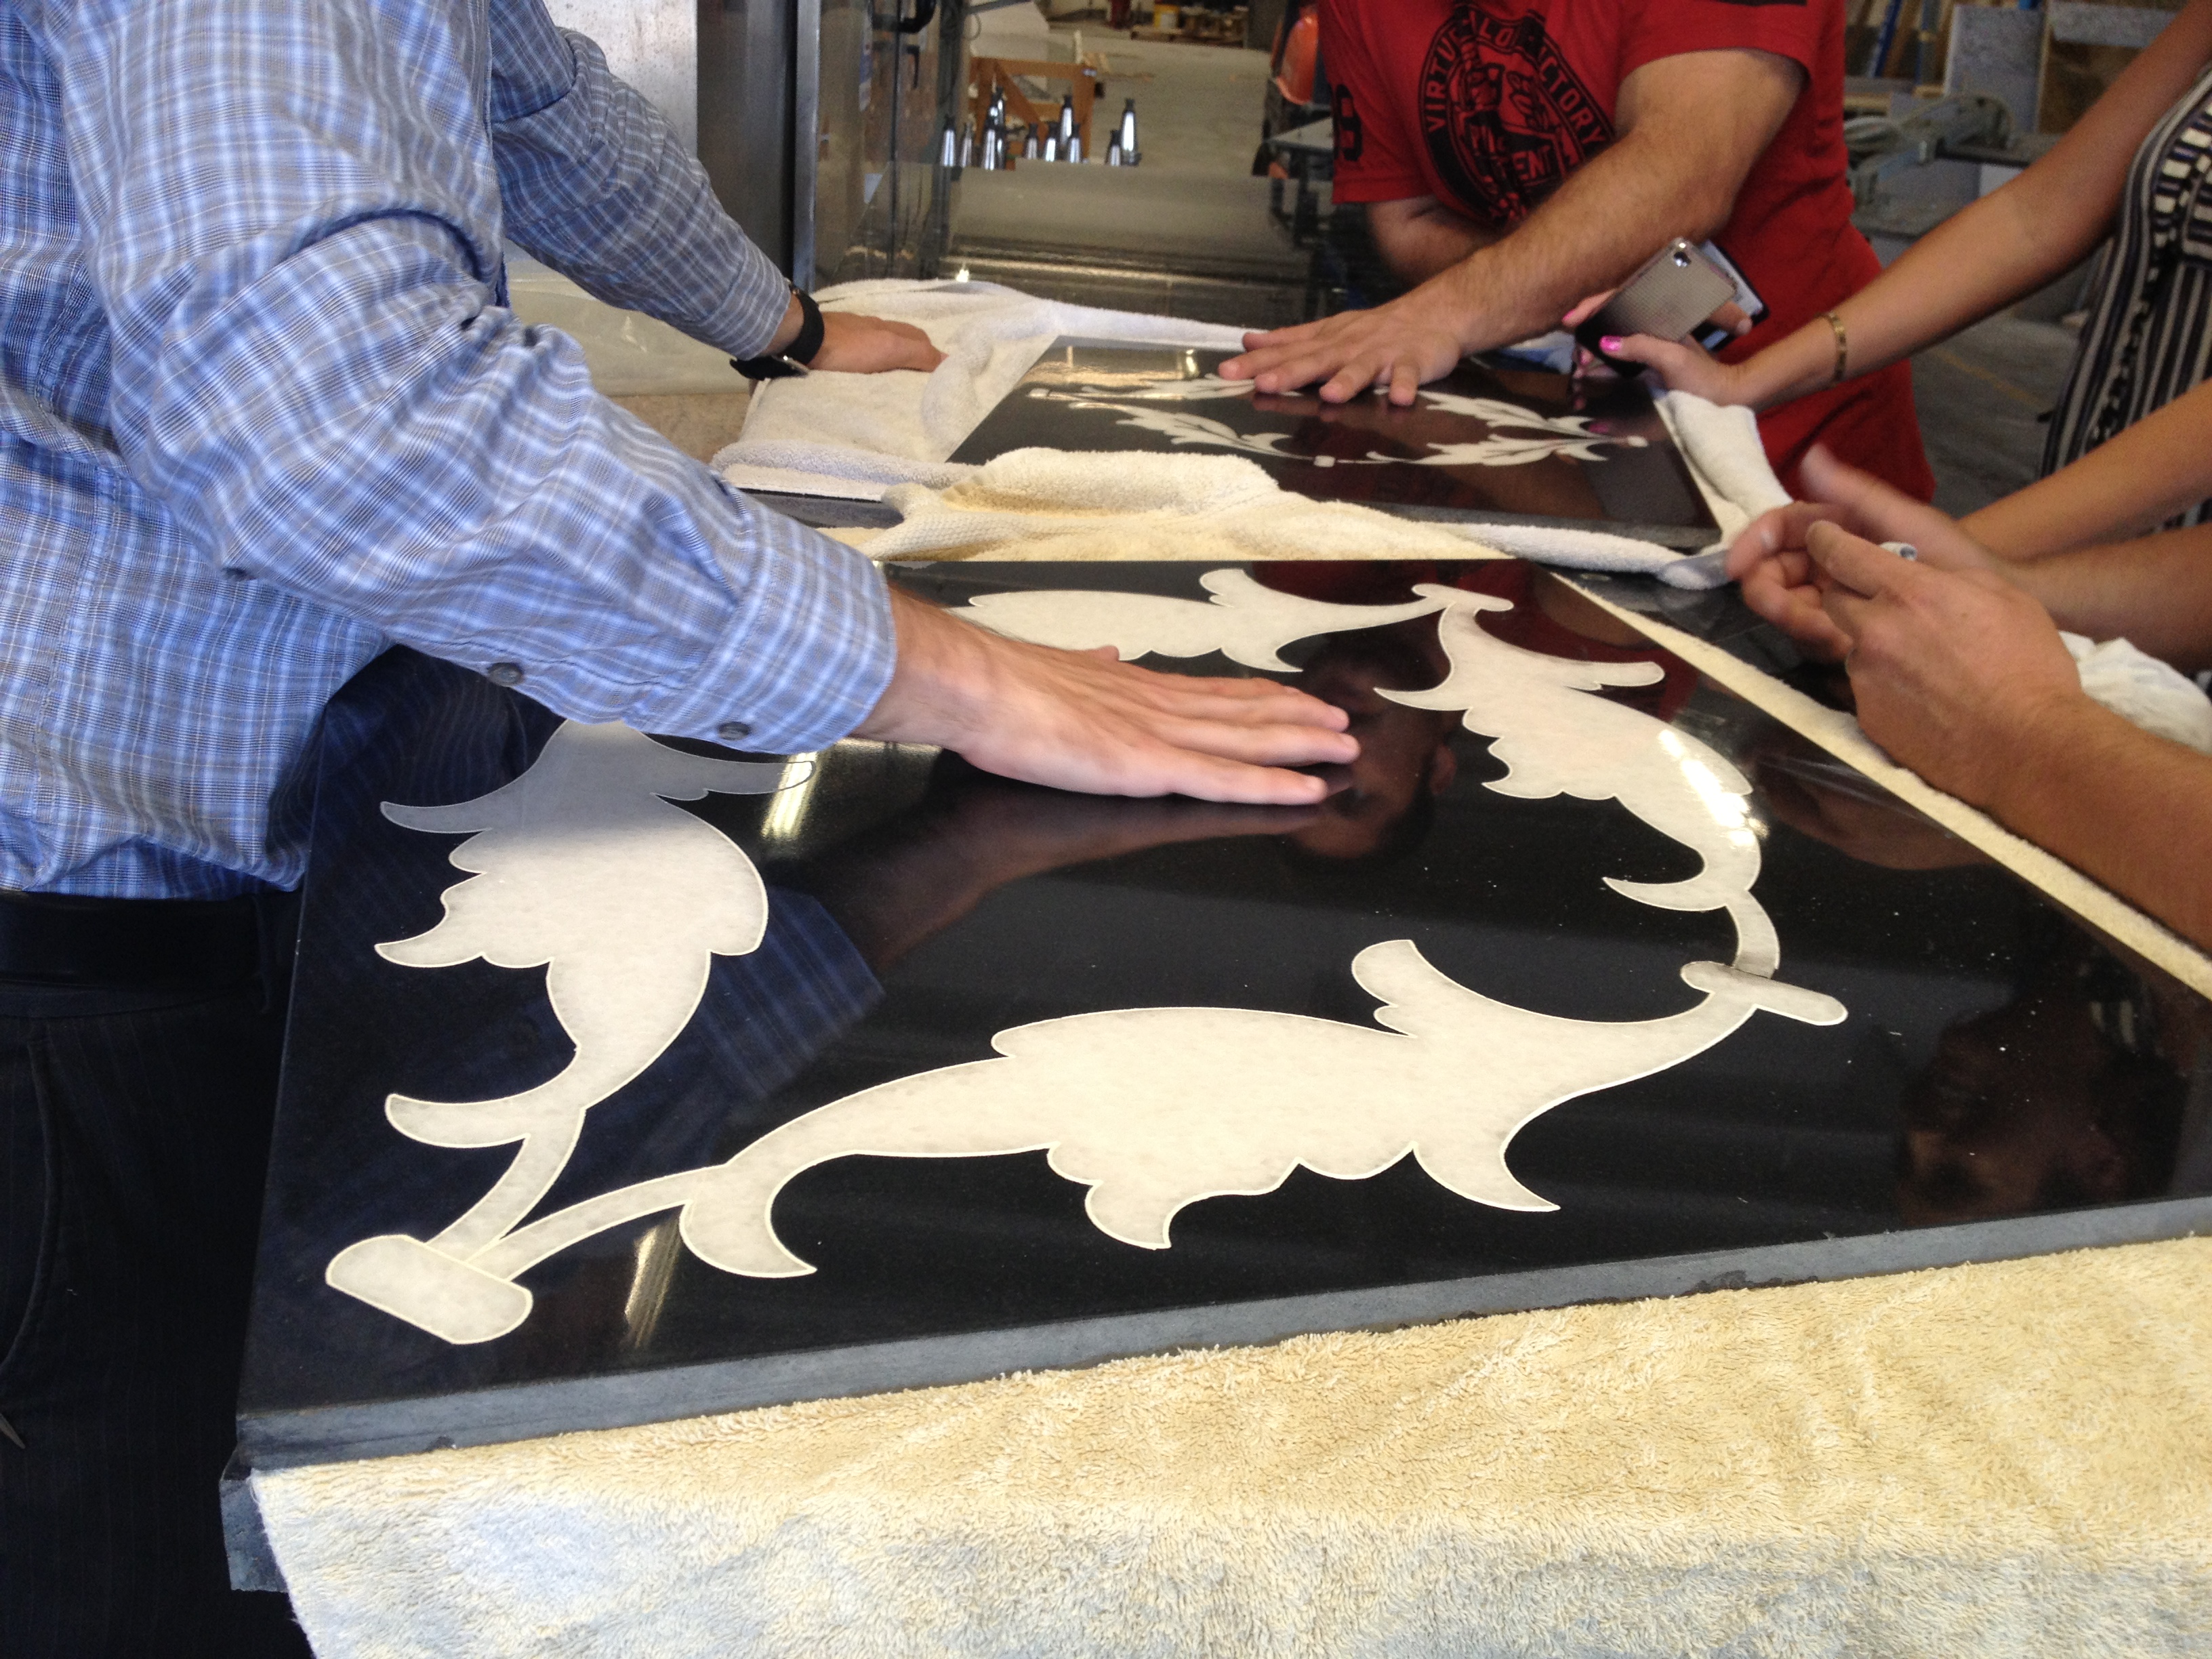
I go back and forth with the client, draw up many drafts until we finally settle on the perfectly proportioned pattern then I’m off to shop for the finish materials and meet with vendors to execute the design. I’ve been in this game for almost a decade now so understanding materials is the first step in custom-making any type of design. I knew I wanted granite for the black portion since by nature, granite is one of the toughest stones to specify and can take a bit of a beating. The white portion was a bit more evasive since marble is the most brittle and softest of natural stones but I was determined to source it since it screams high-end luxury and definitely the direction I had in mind.
Materials
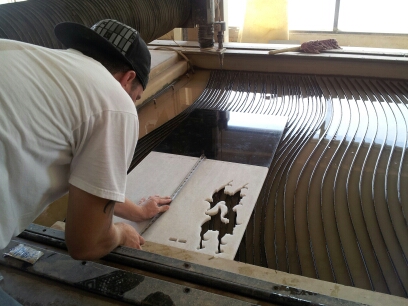
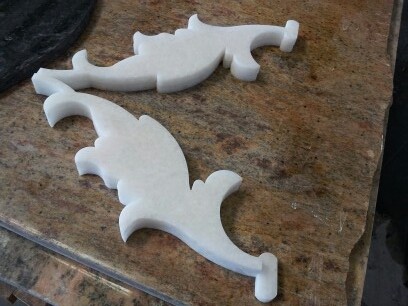
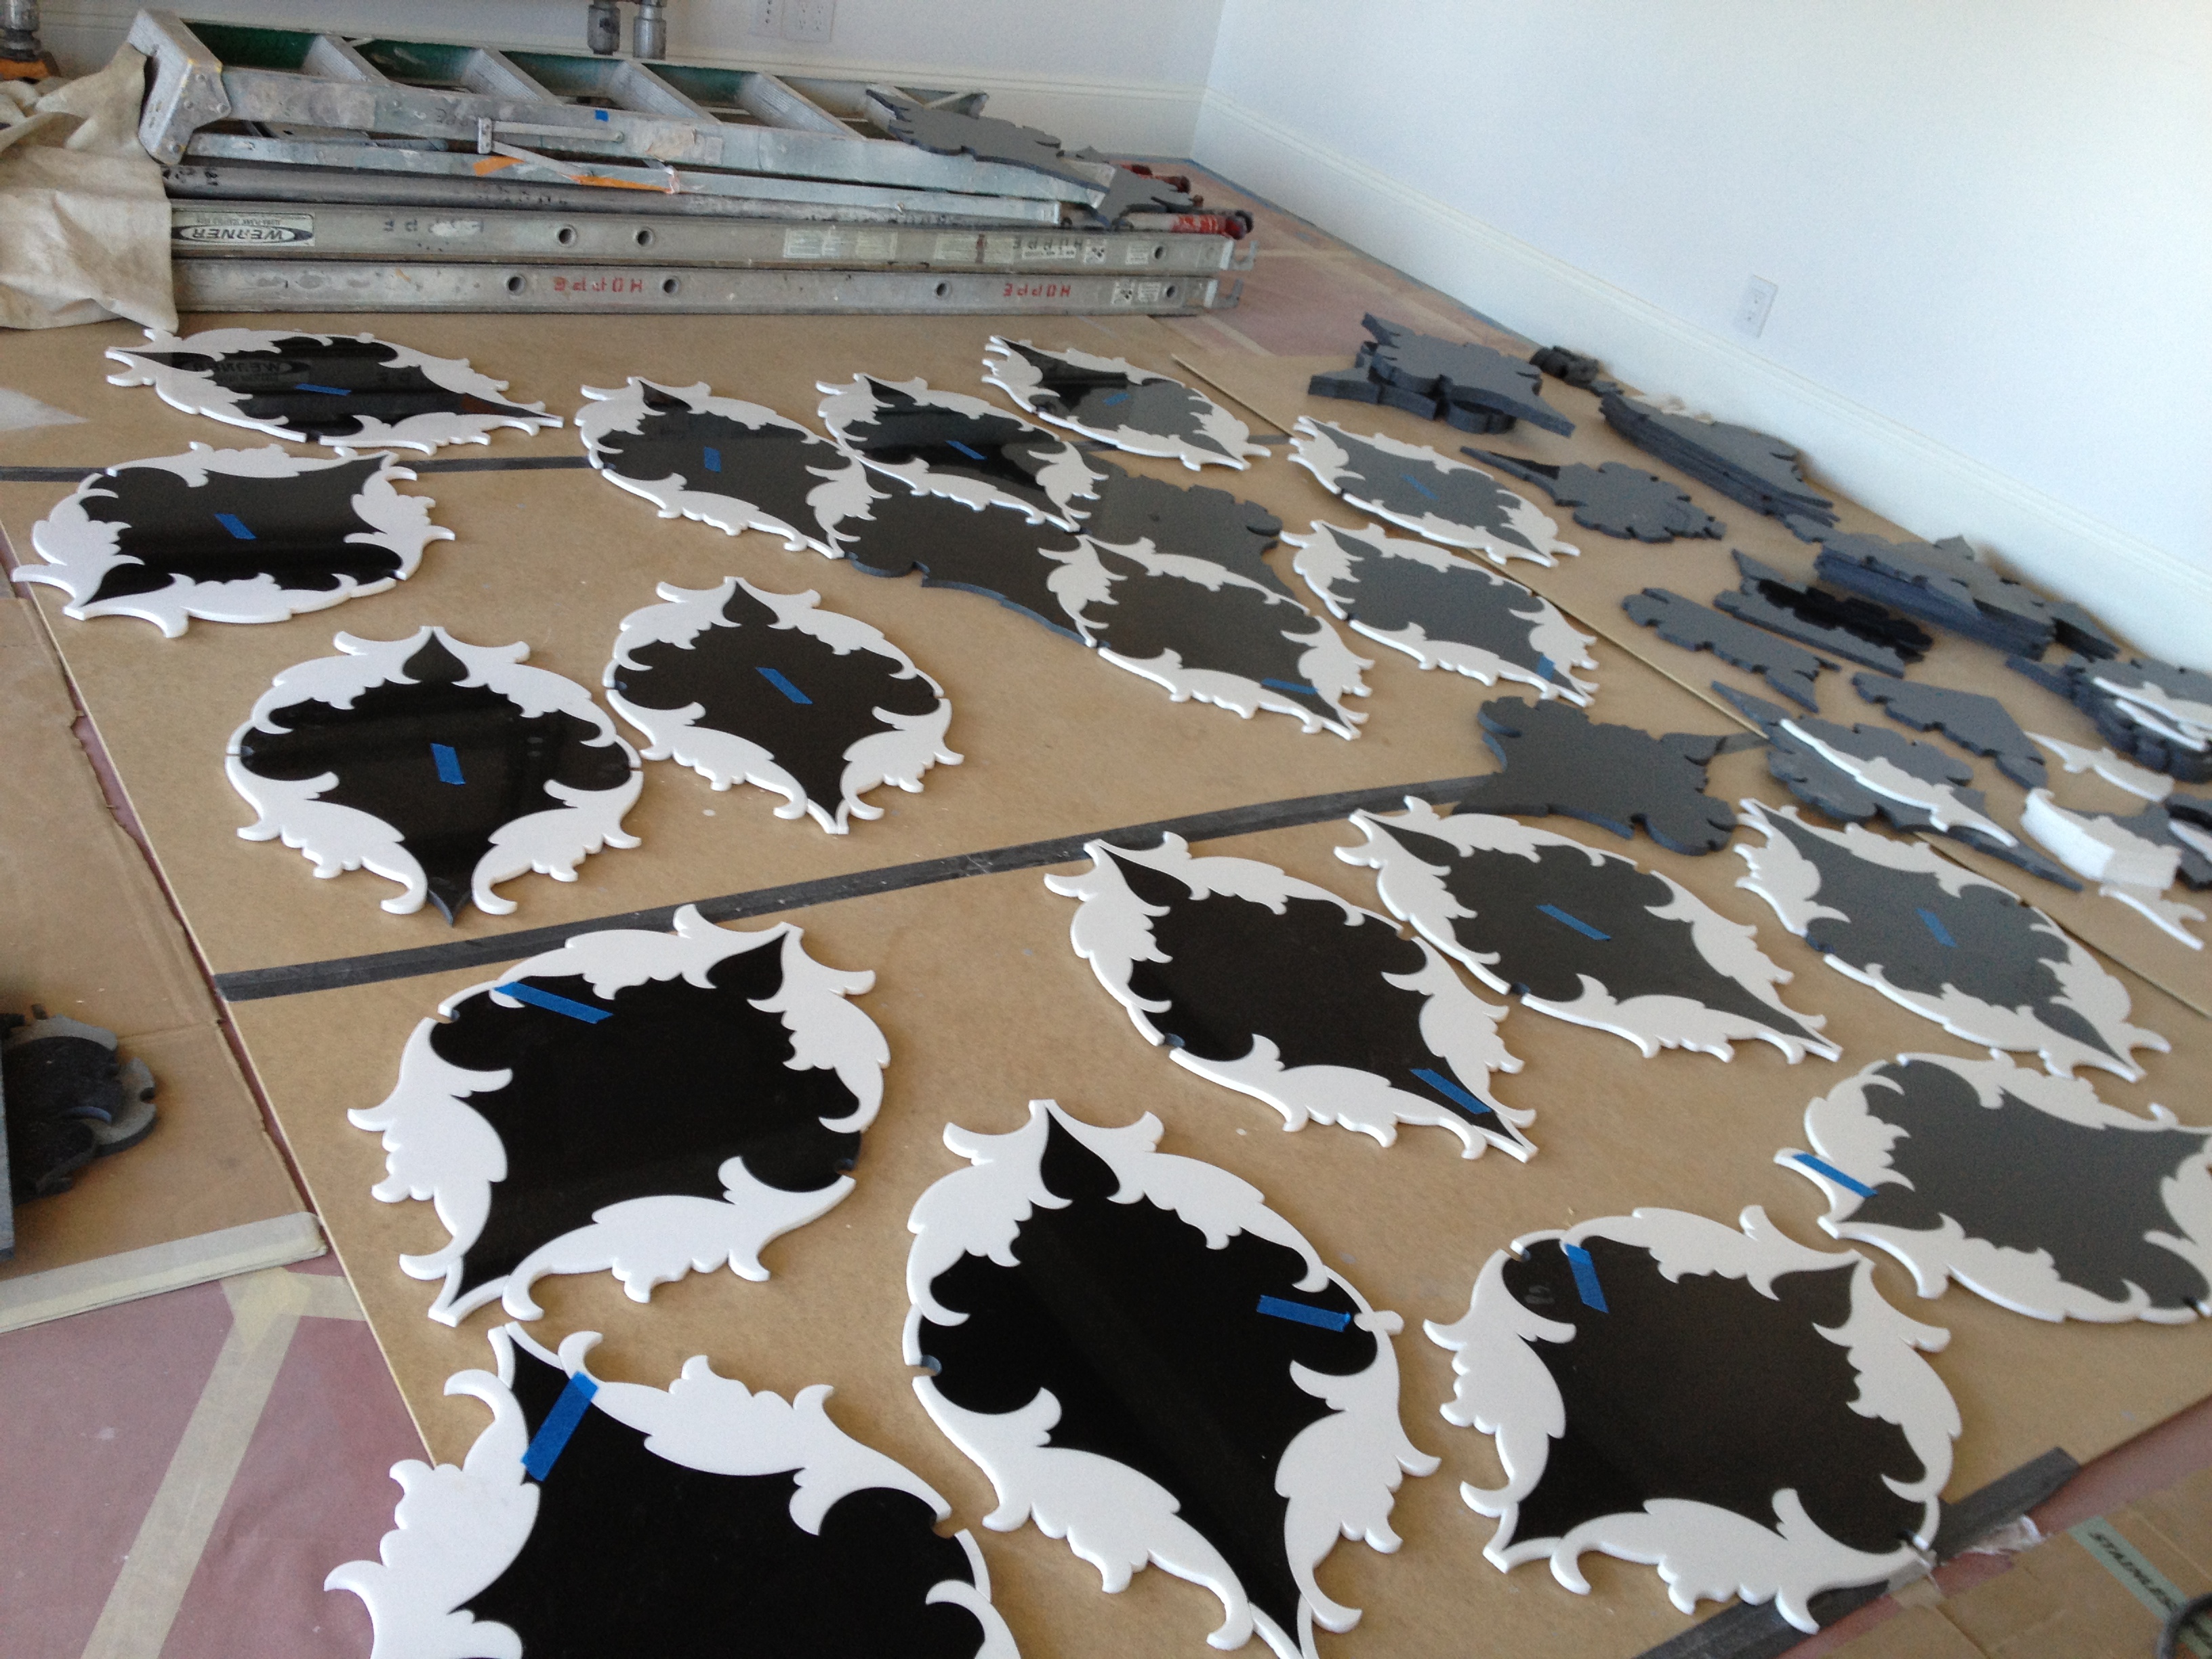
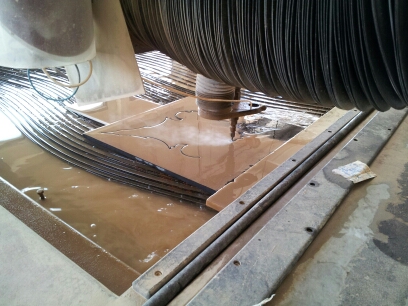
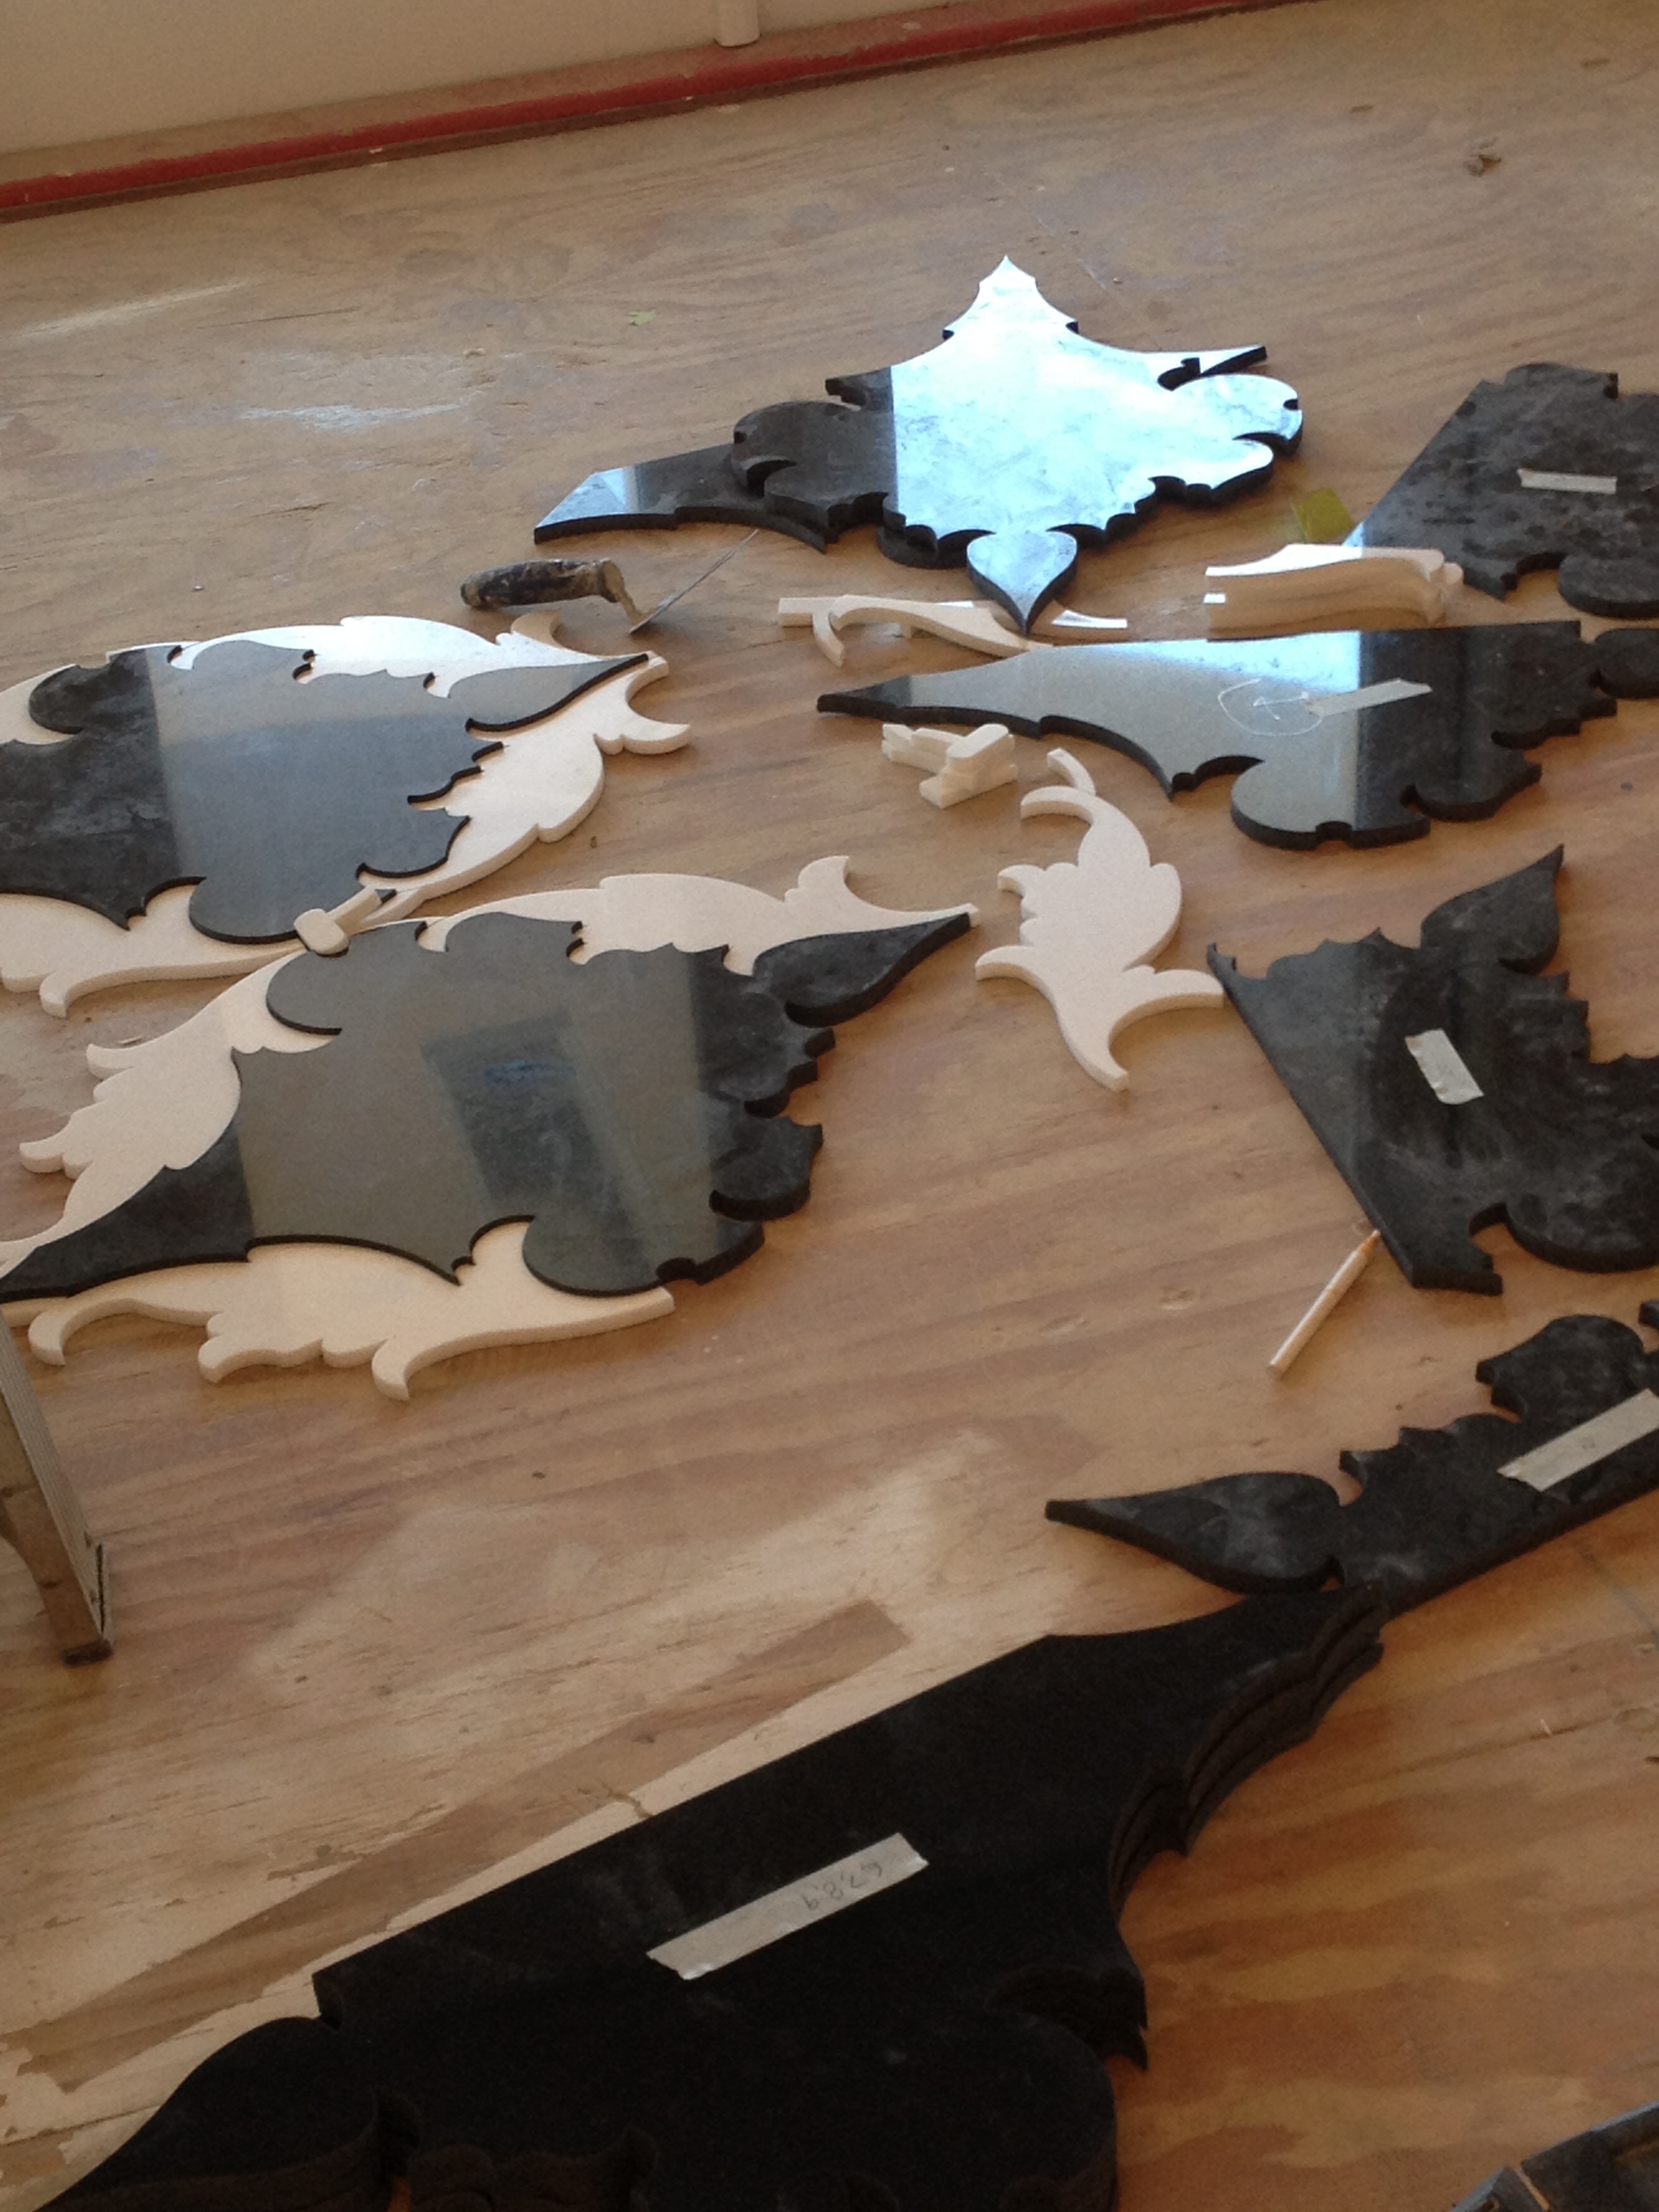
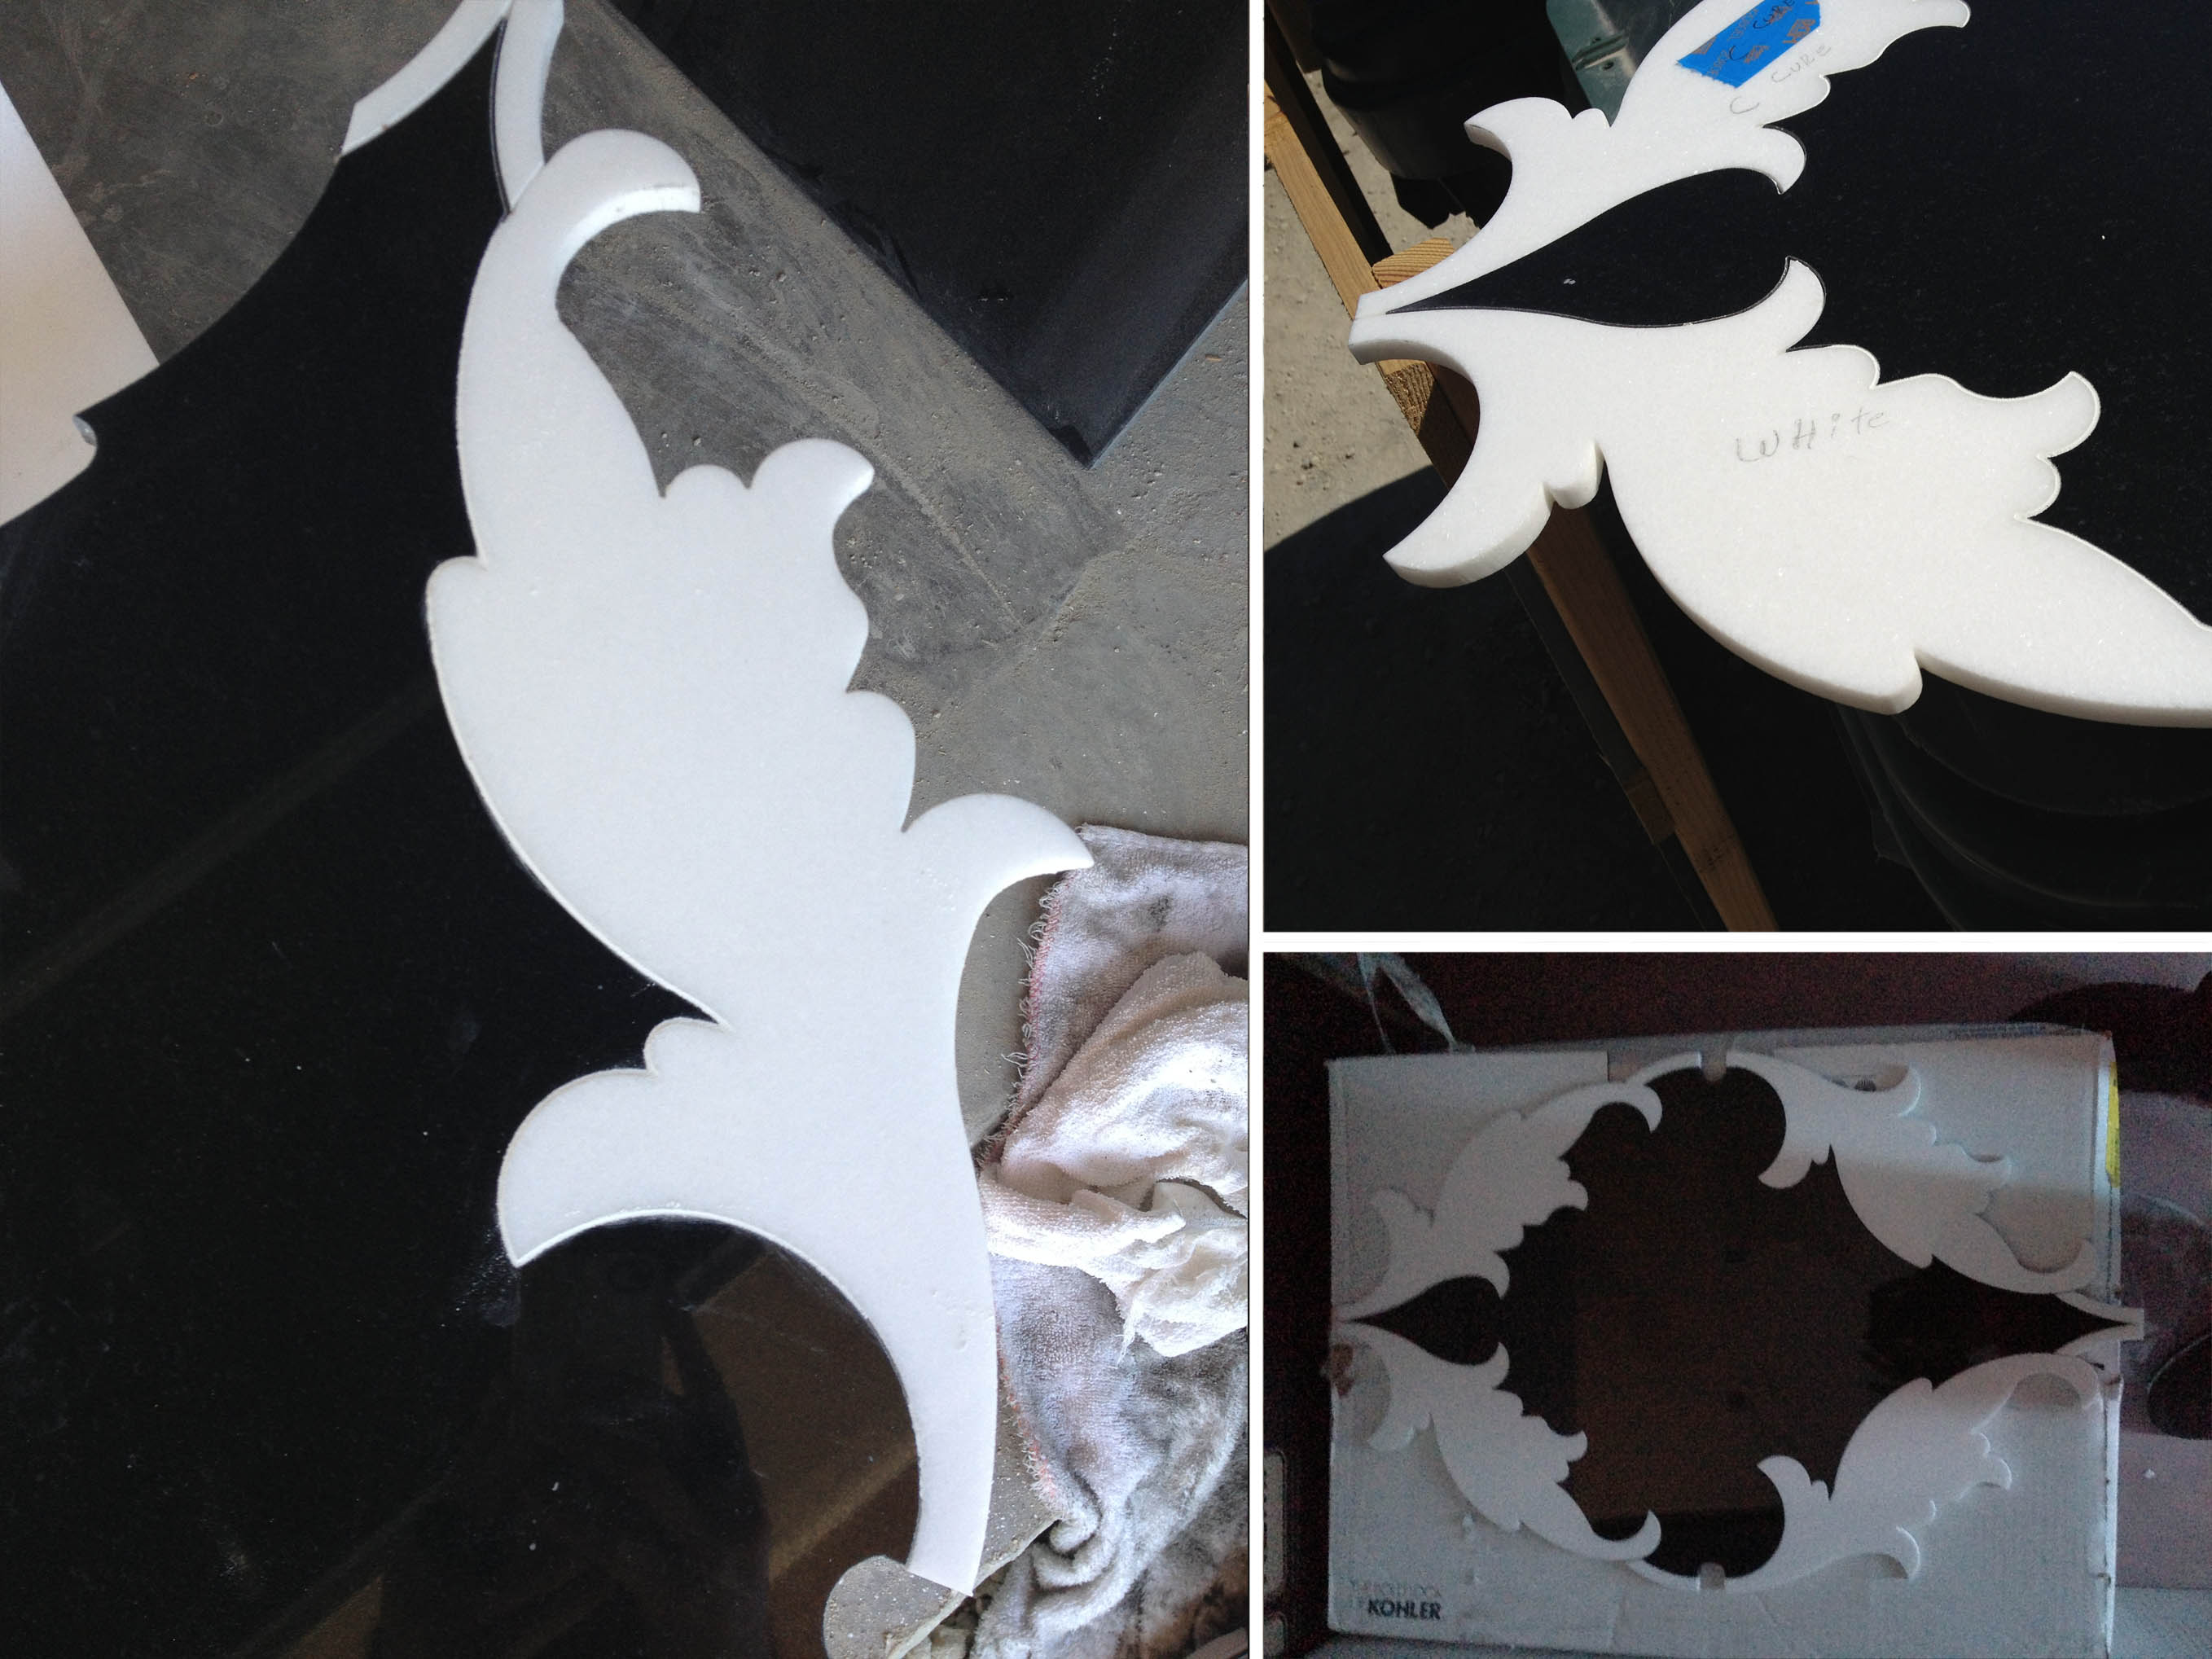
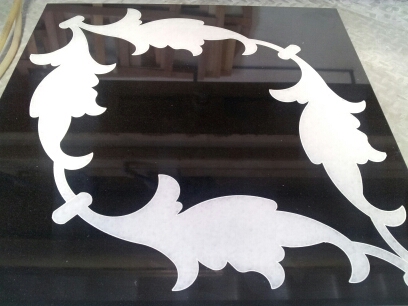
I was able to source this rare white exotic marble tile (after months of searching!) and went to work devising the layout with my fabricator. I send them the CAD drawings; they upload the files into their laser-cutting machine, and Voila! Over 1000 hand-cut pieces of black granite and white marble ready to assemble on site at my client’s home.
The Installation
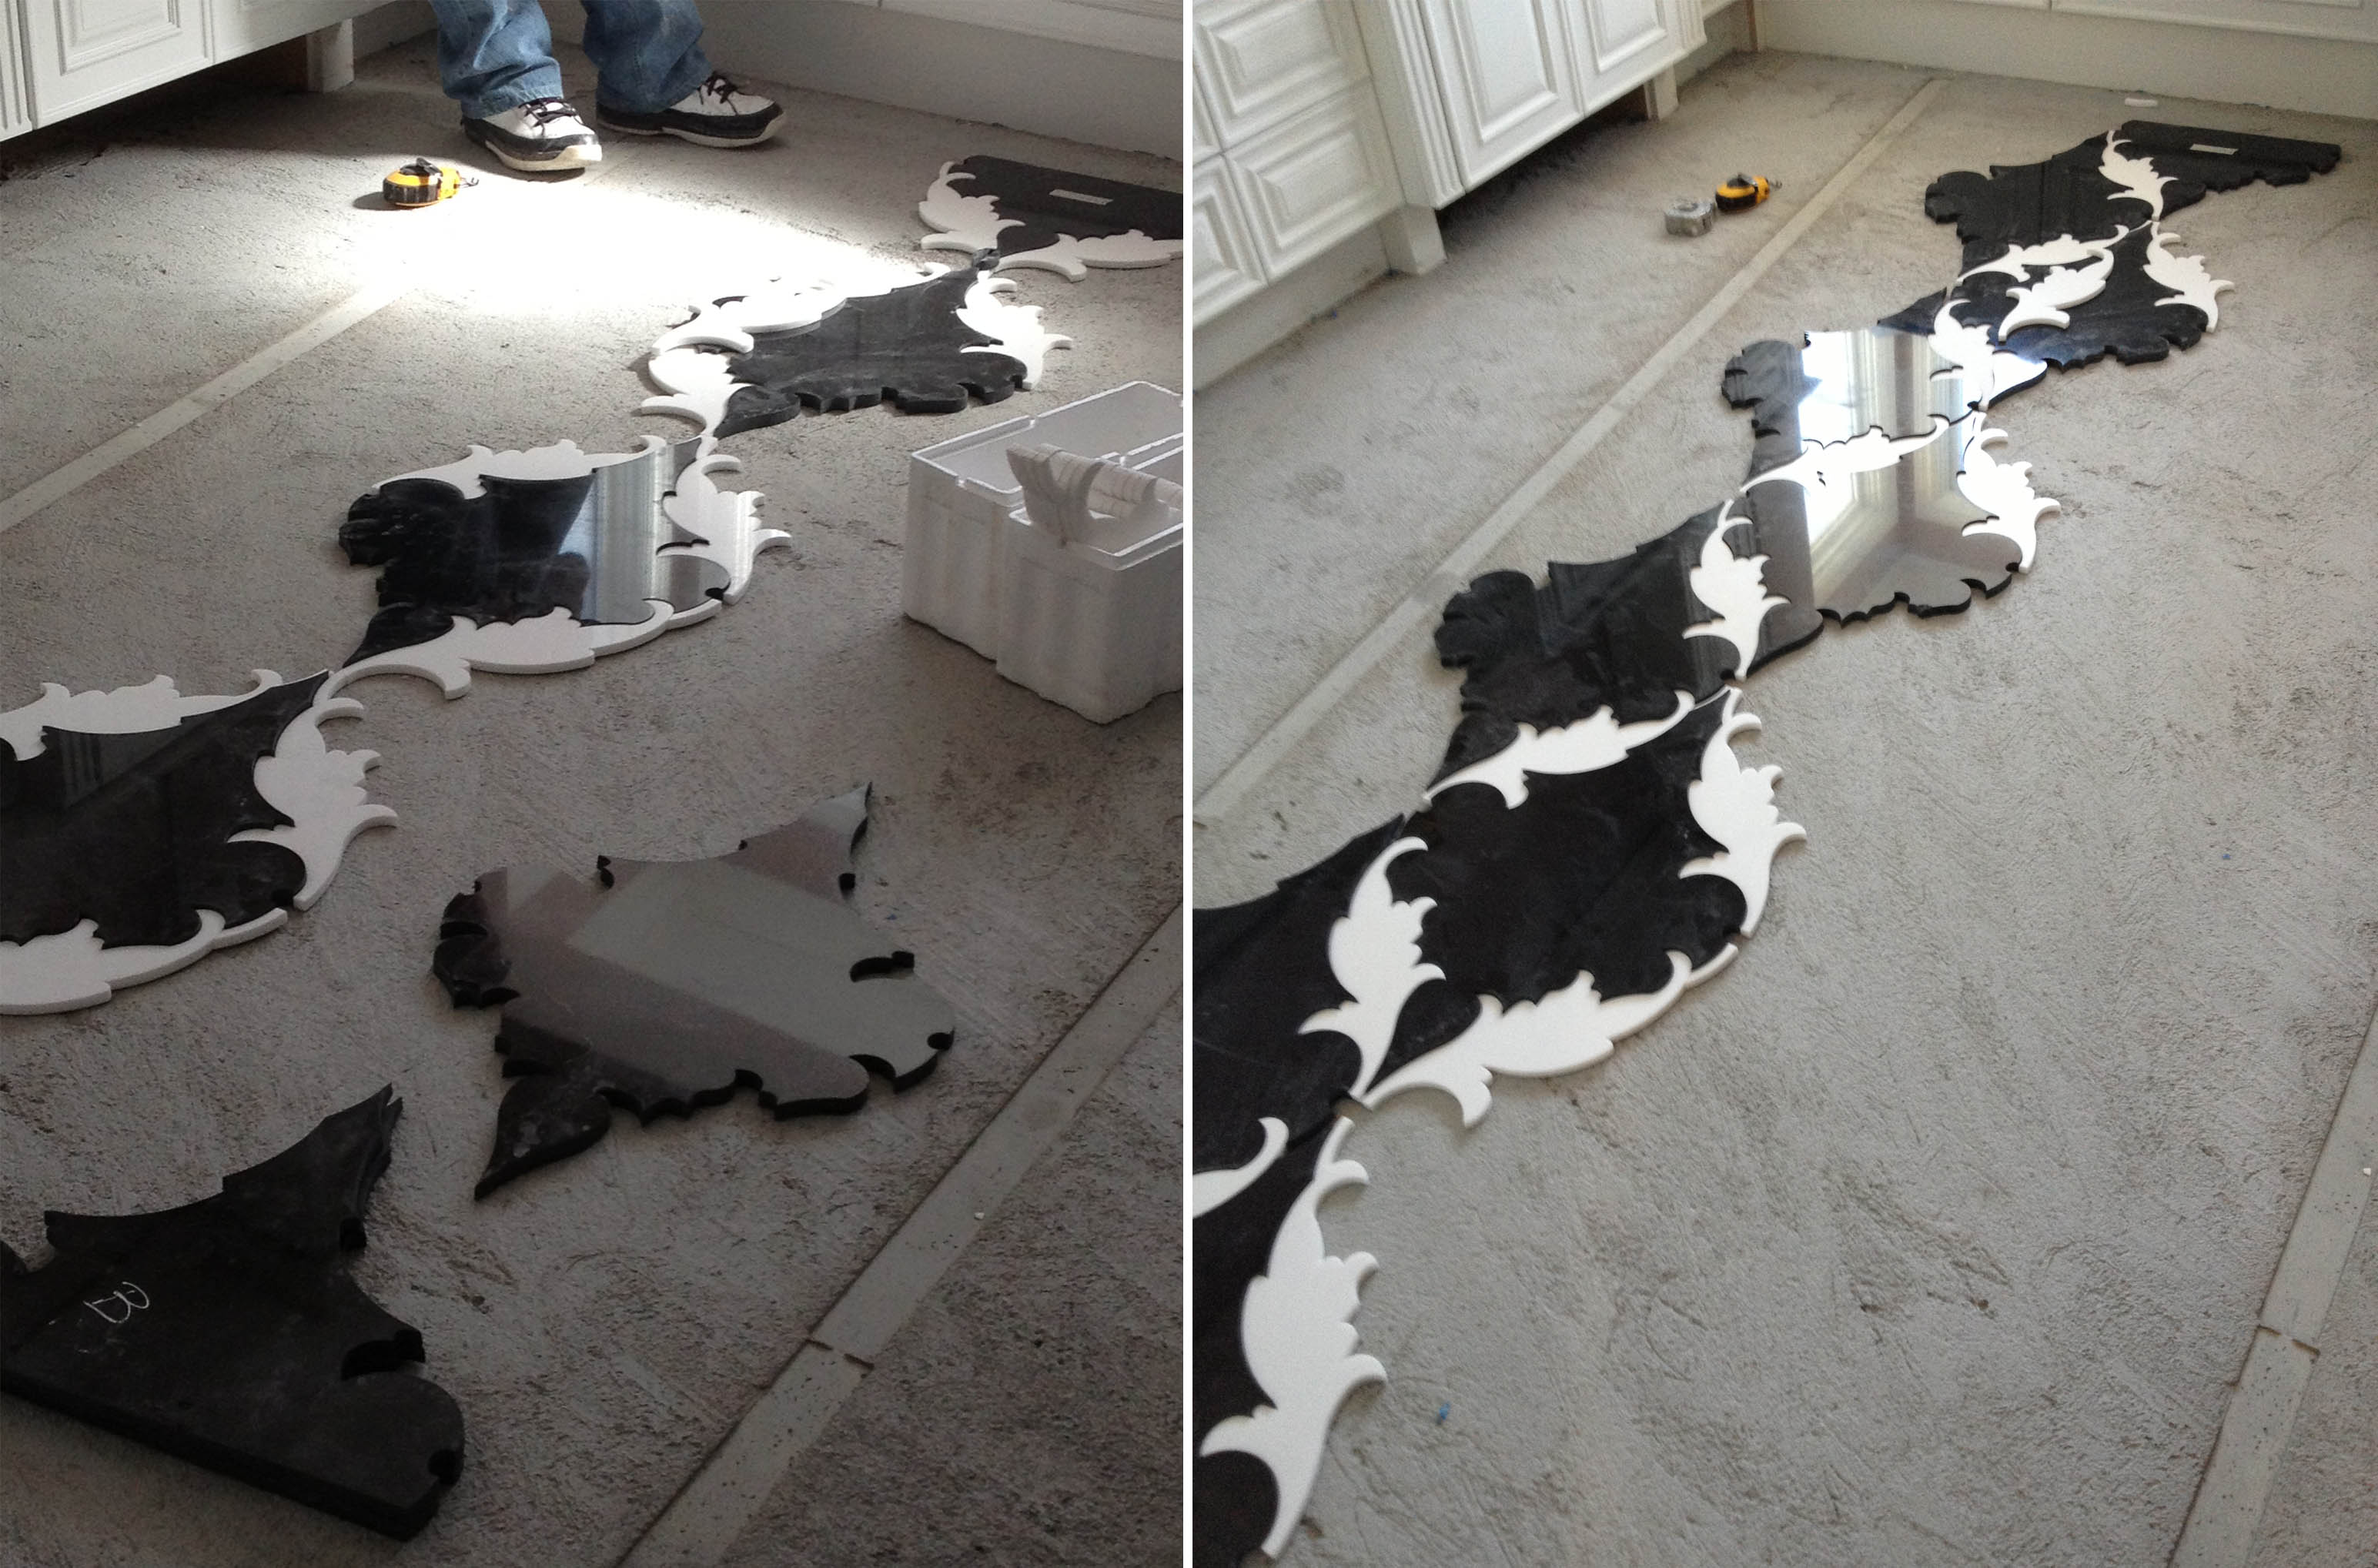
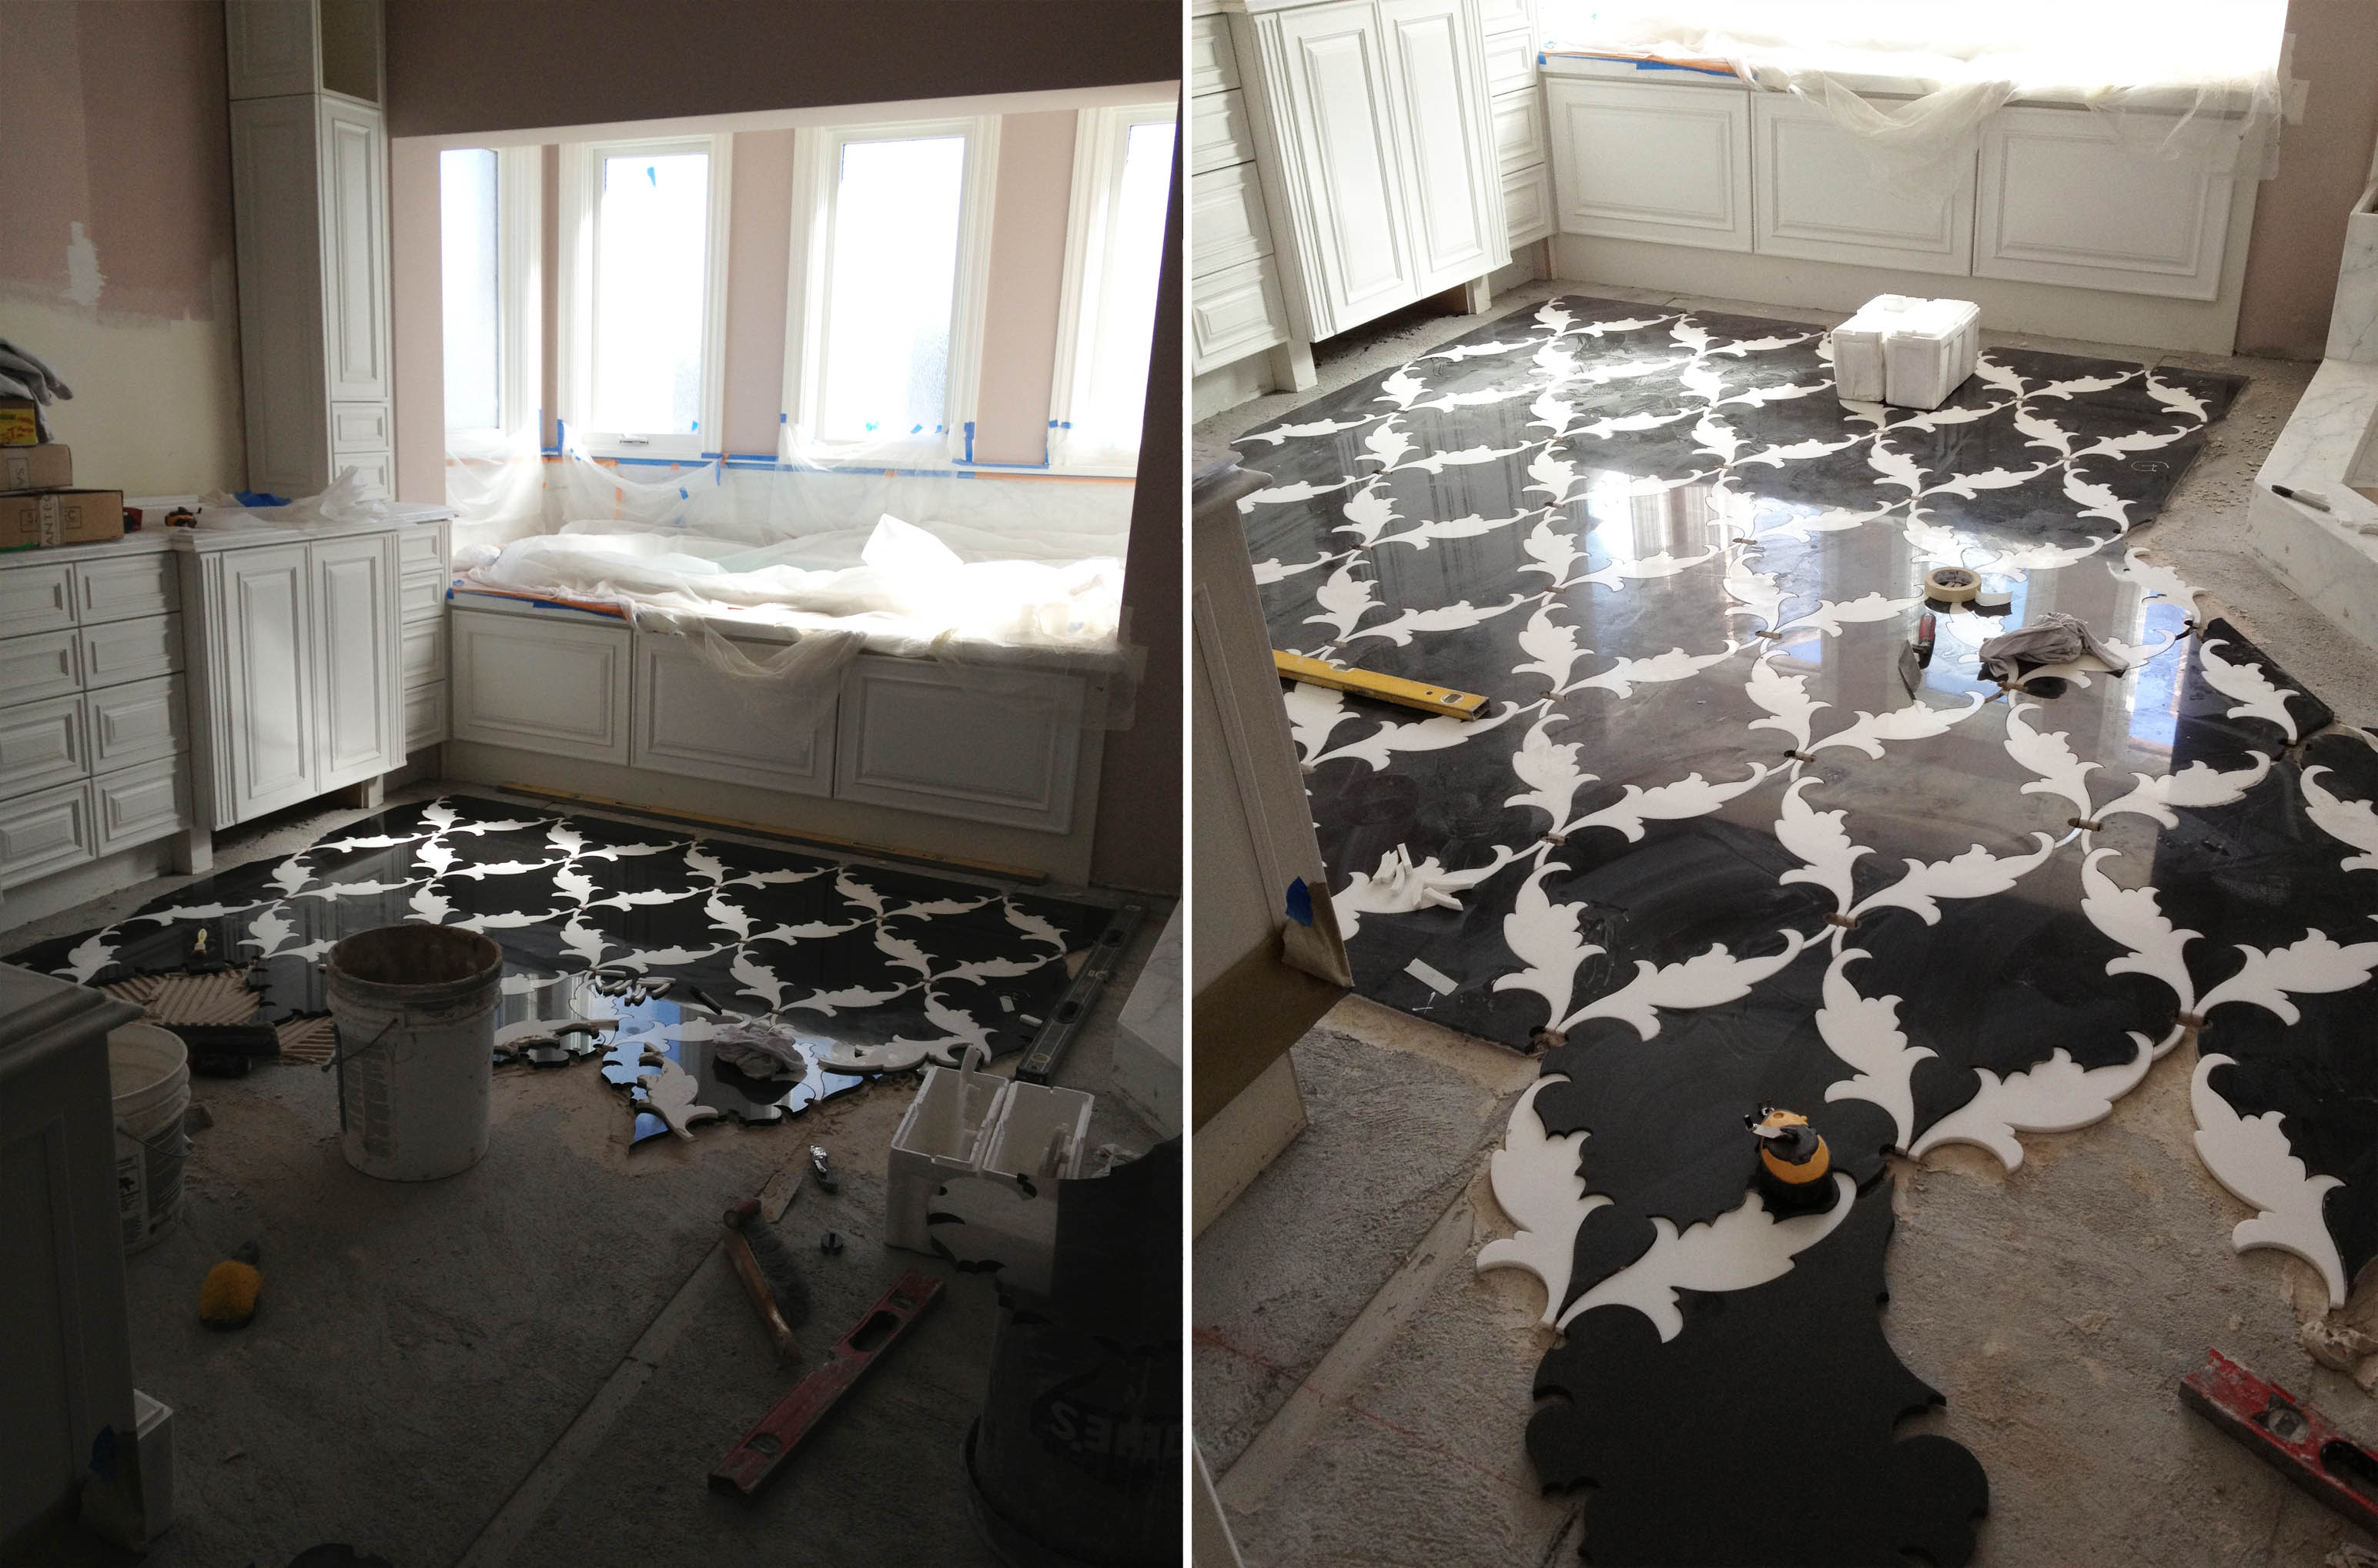
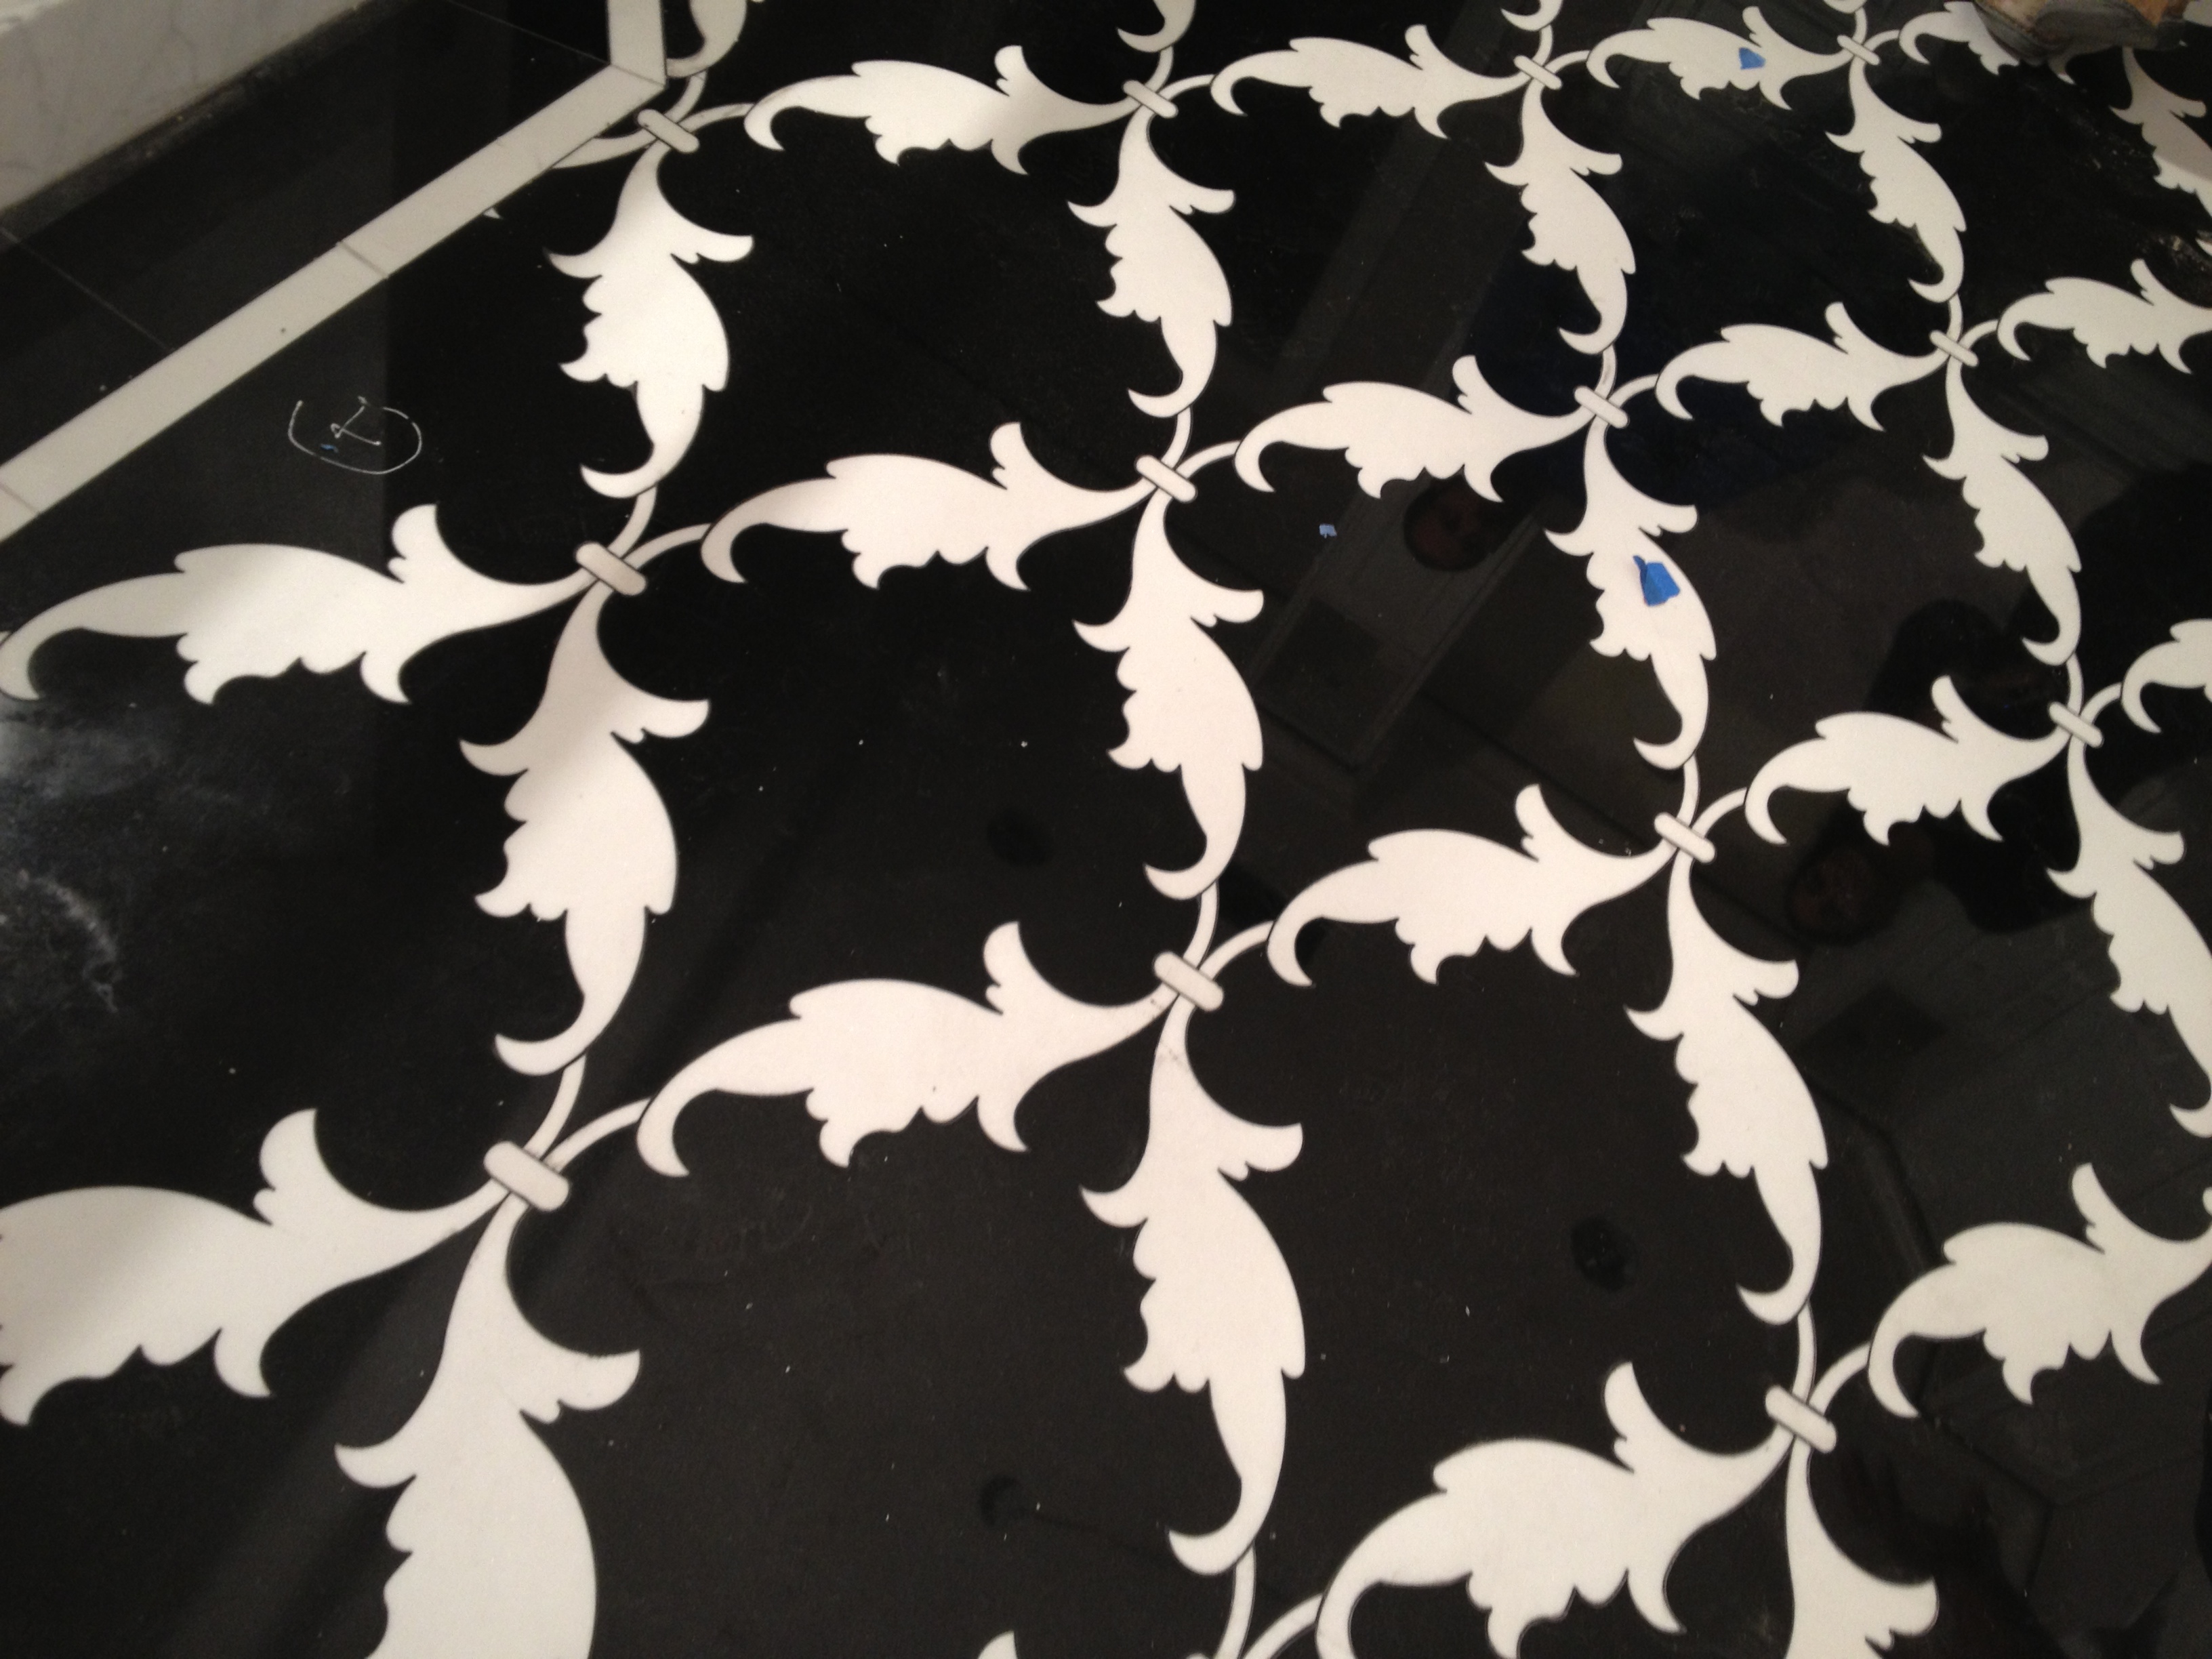
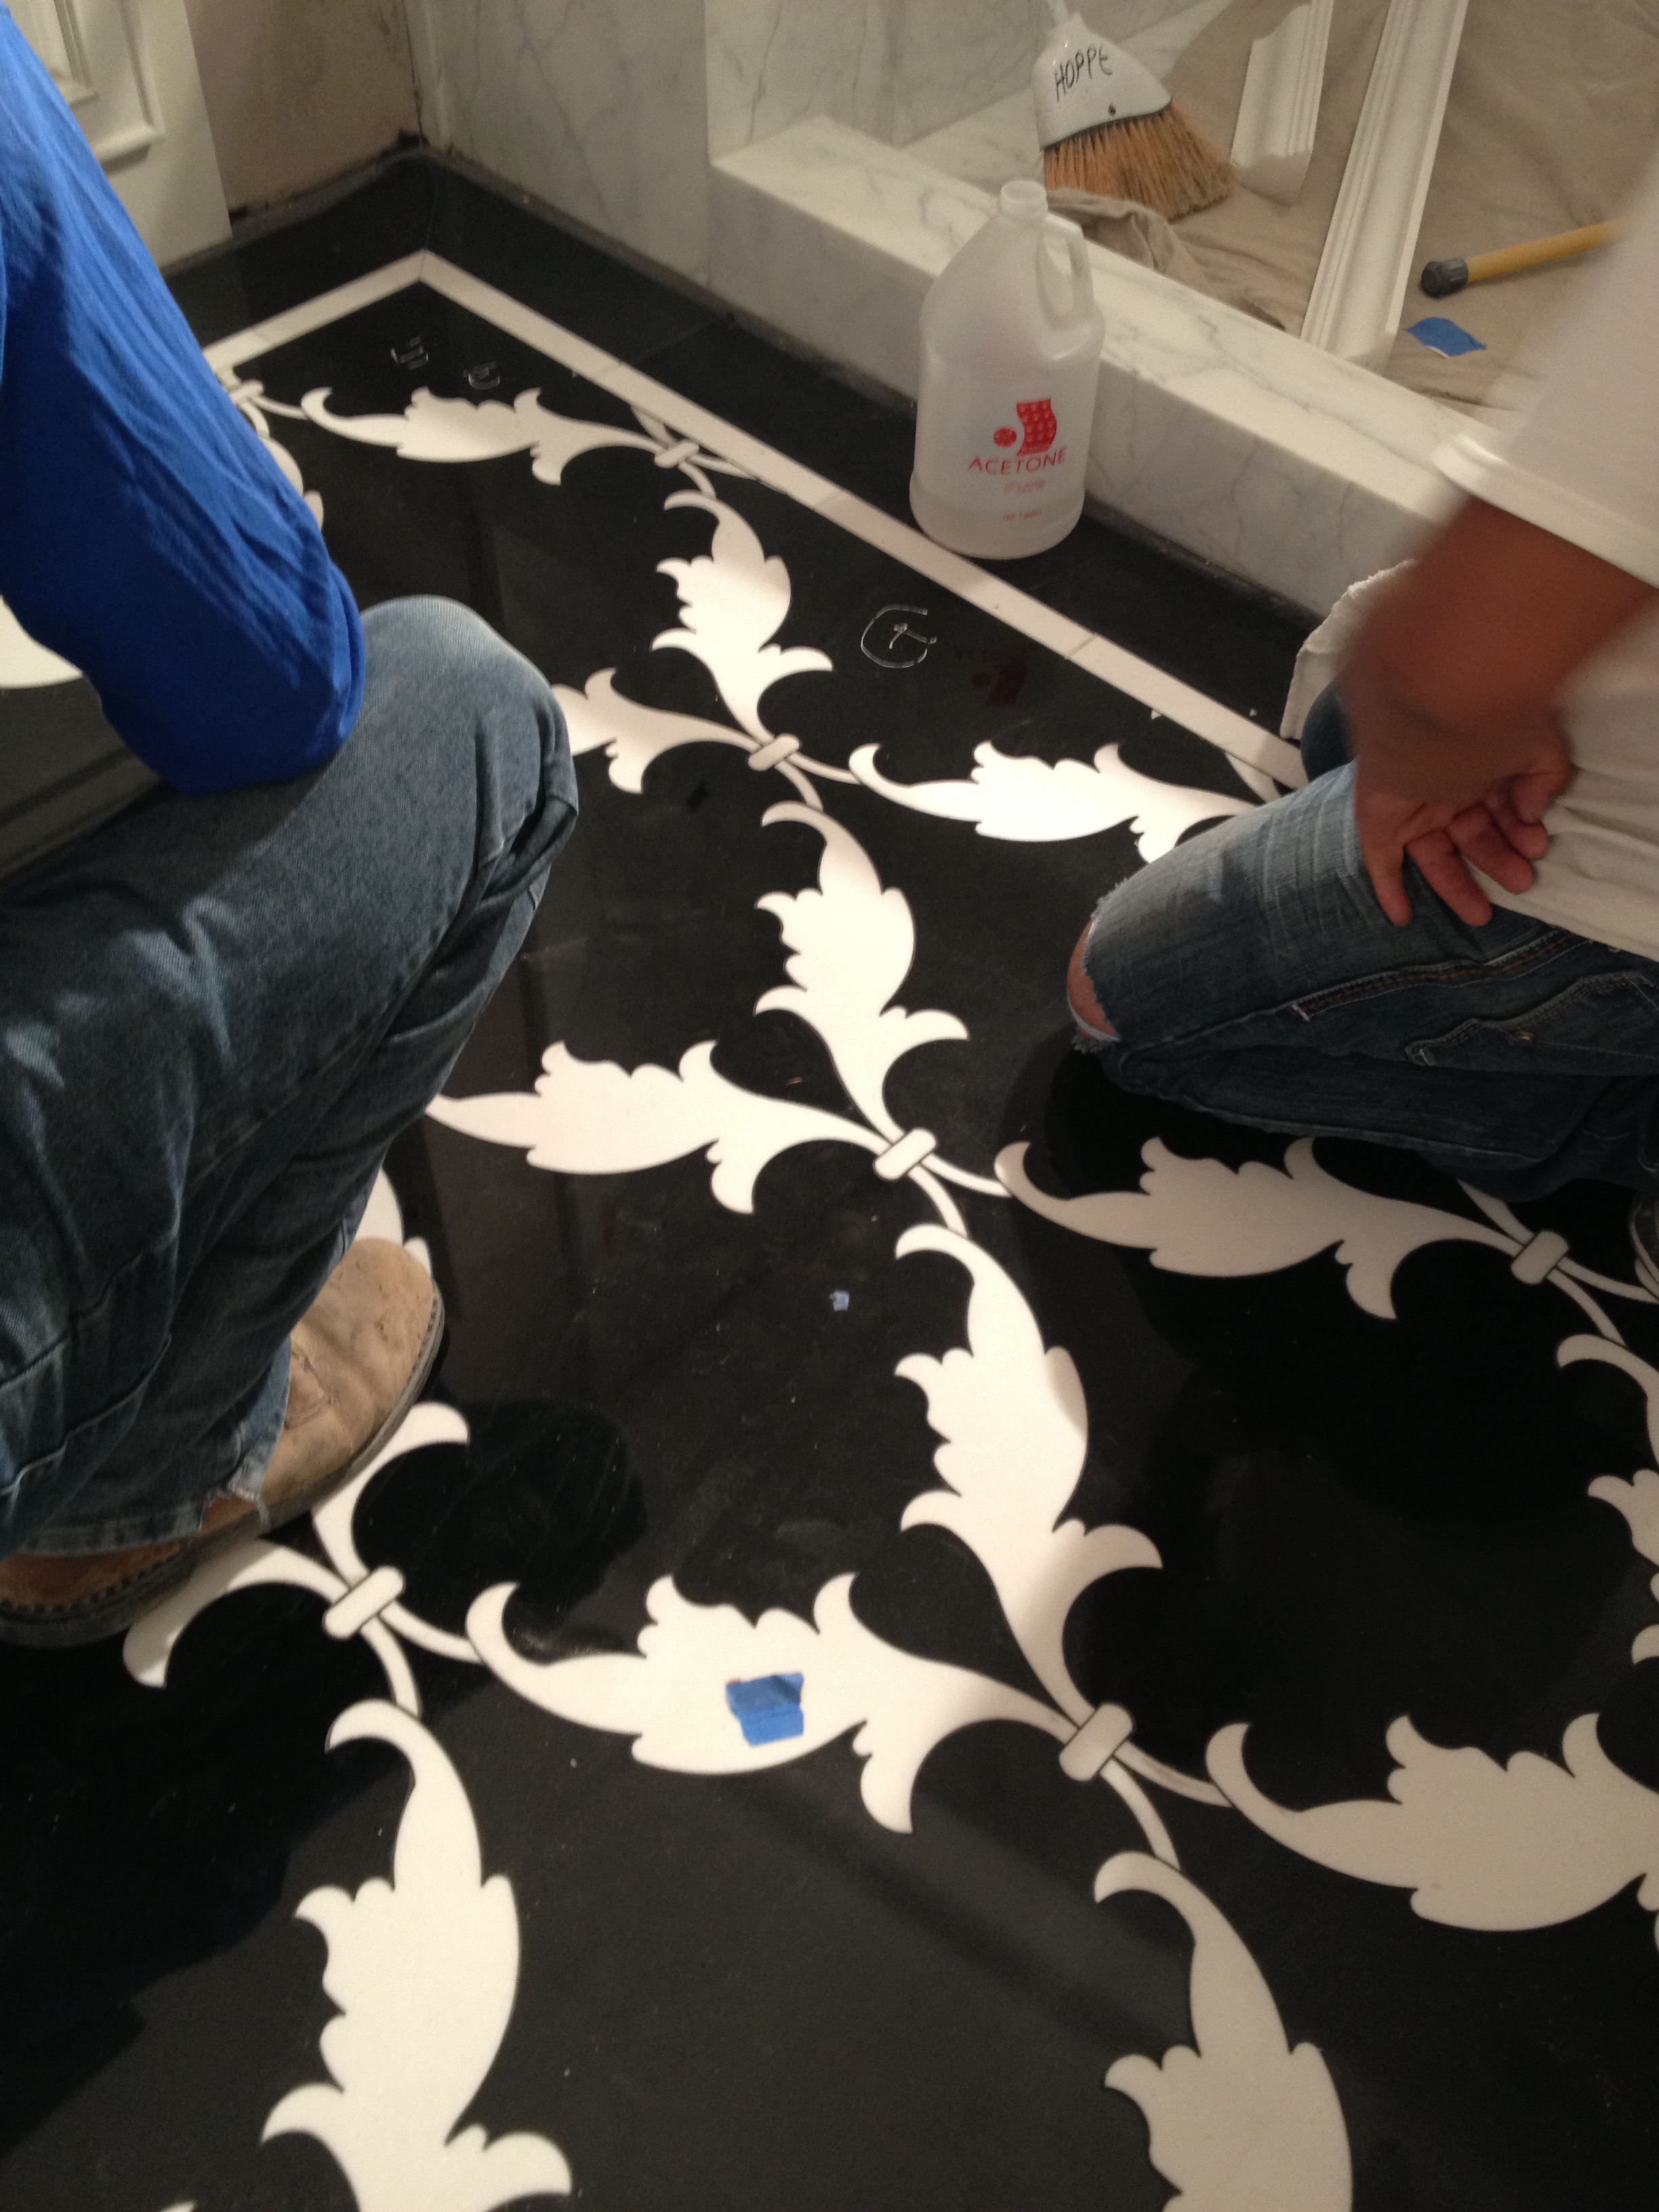
You can see the pieces starting to formulate the entire pattern here; each contractor working daily over the course of a few weeks to smooth out all the edges and get the constructed cuts to lay flat and just right. After the final sections are laid out, sealed and ready for inspection, I come back in with my designer’s hat and ready to reject the work or approve it and move on.
Quality Control
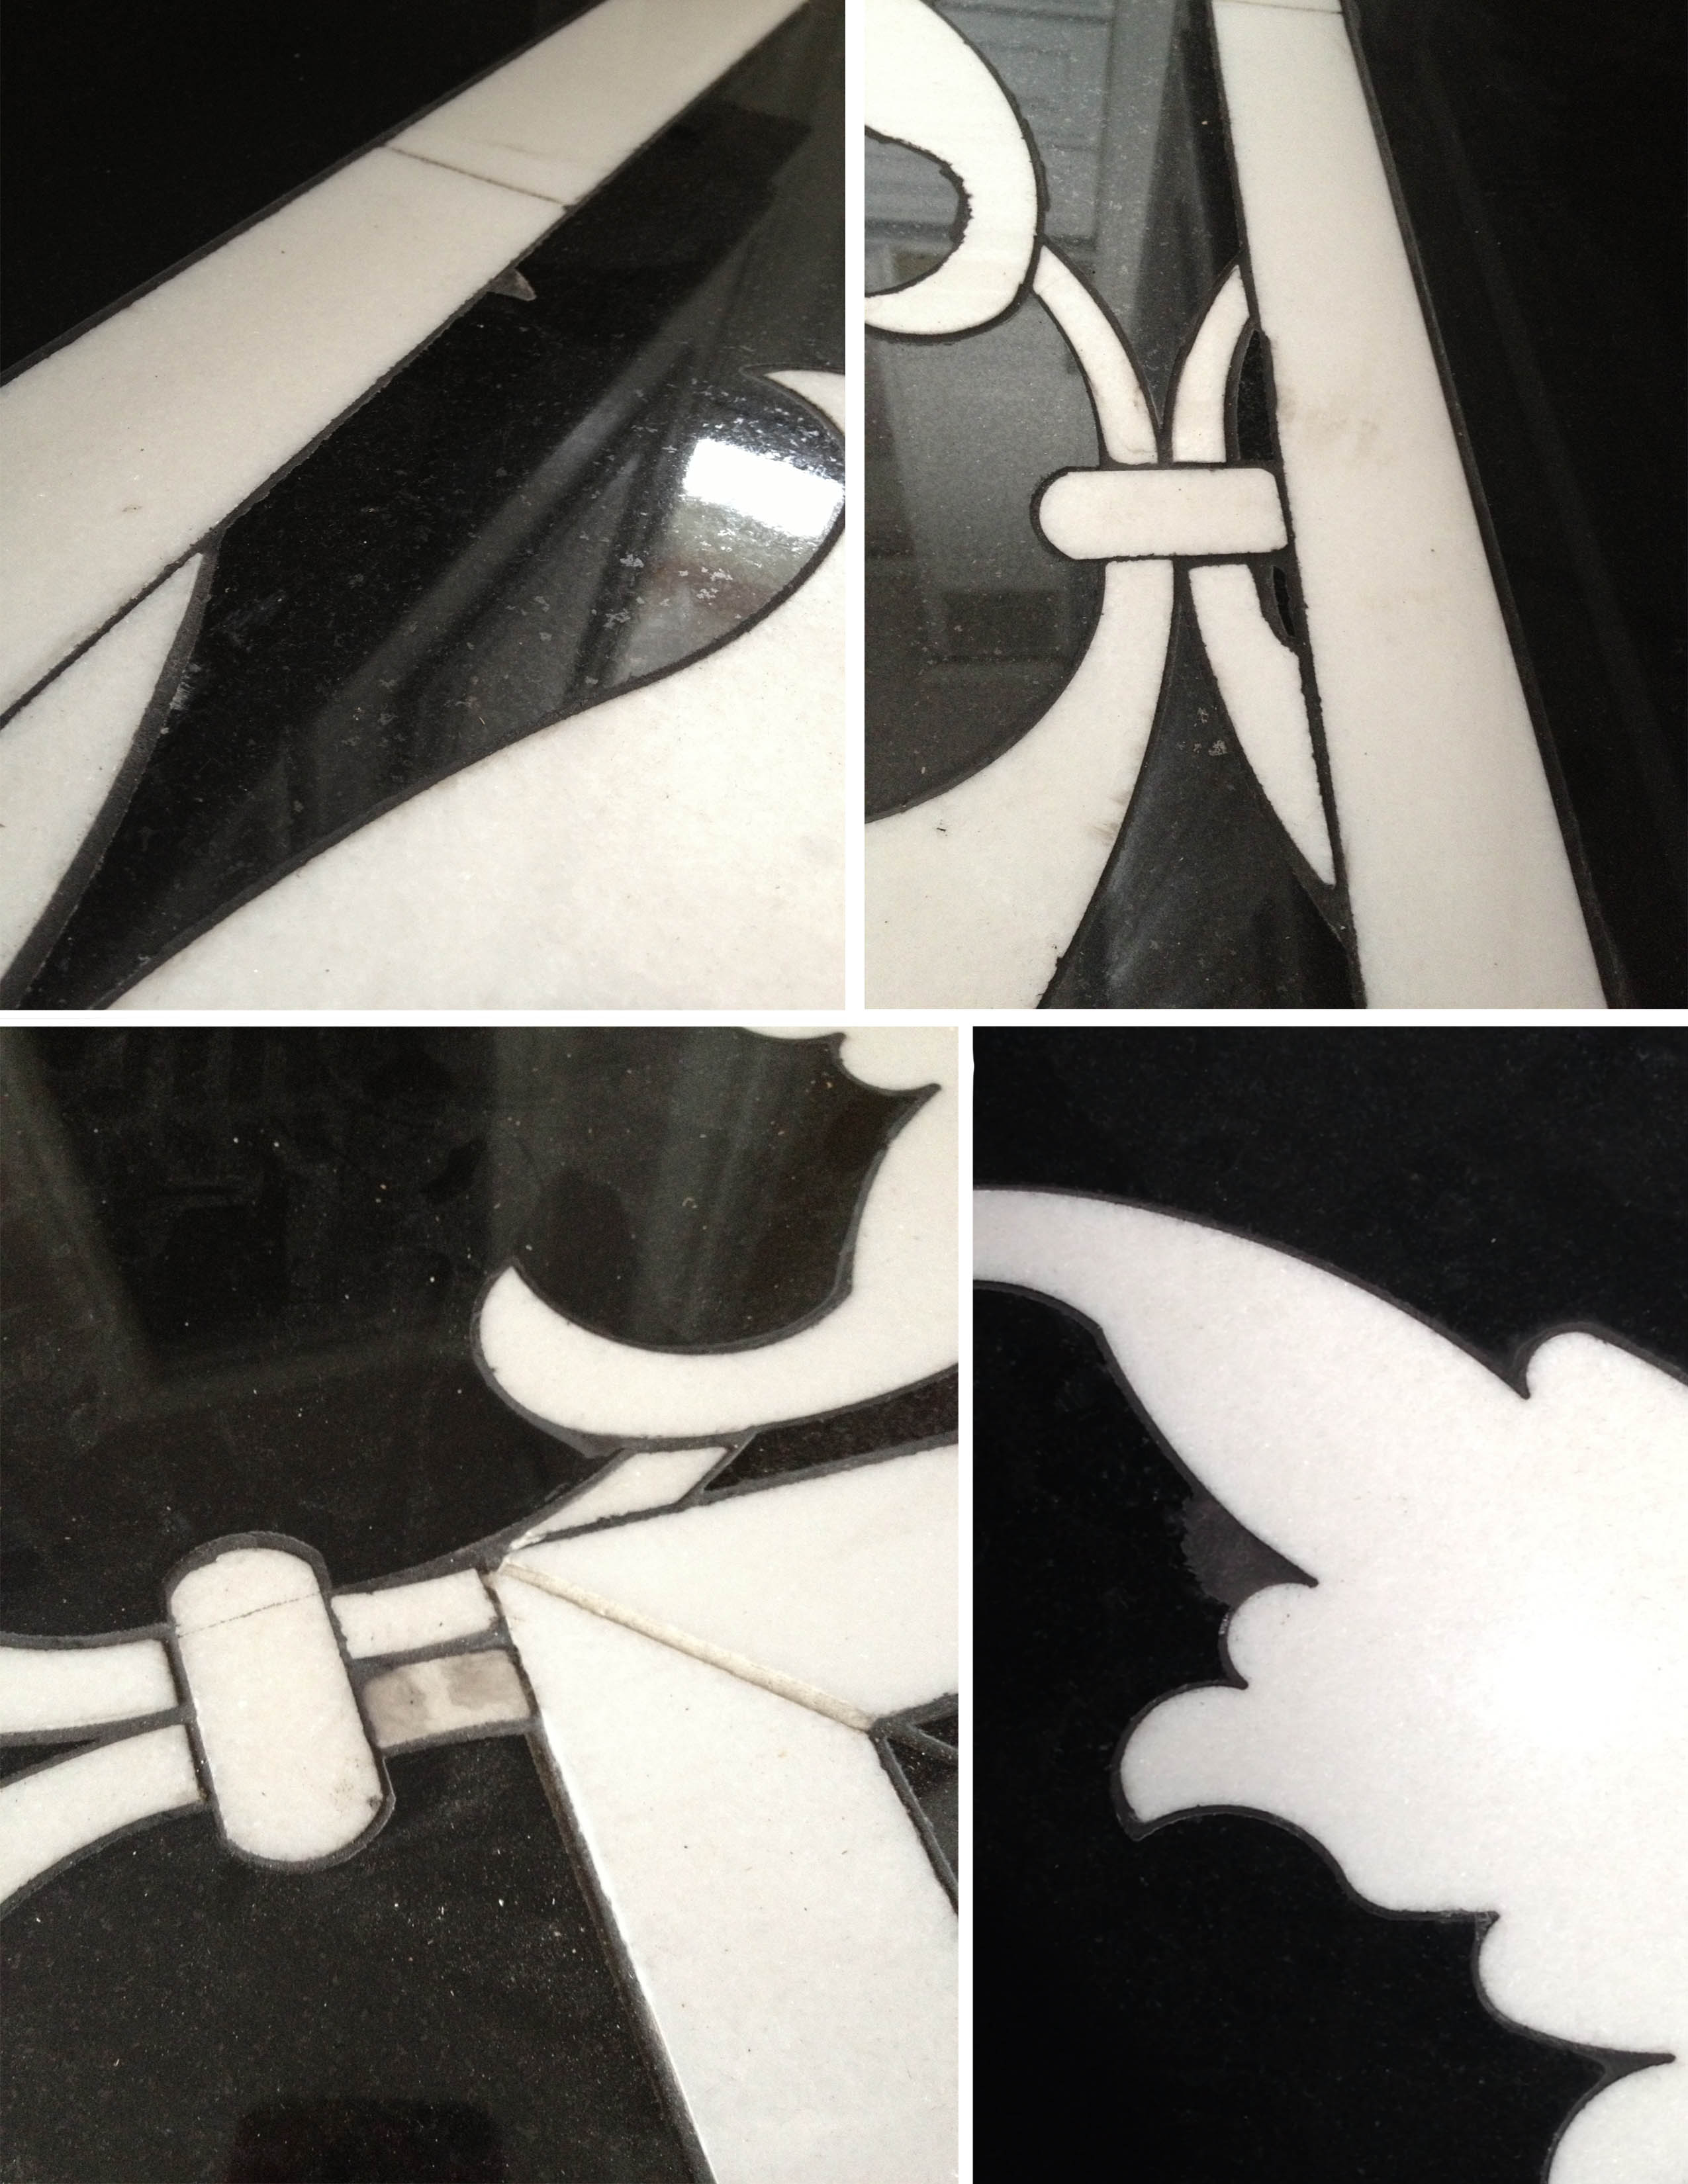
It’s sad to say that after the first six months of fabricating this overly detailed design, I rejected the finish product immediately upon inspection. It’s not uncommon for contractors to have to demolish an entire project when the client (or in this case their designer) is livid with the results. Sometimes you are not able to discern much while in the midst of application since mistakes are hidden in the rubble, but once everything is said is done, bad work just sticks out like a sore thumb.
The Issues
Case in point: jagged edges that can easily cut a bare foot, chipped corners filled in with grout (as if!), unmatched seams, it was just a shoddy job altogether and required this fabricator to re-start from scratch! A complete headache for the entire team as it pushed back construction and all the subsequent phases of design. But that’s the life of designing y’all, not for the faint of heart!
What Now?
So back to square one for the fabricator to devise a better plan to install this intricate design in a flawless manner. I weep for those materials bludgeoned to death in the demolition of this floor. Can you imagine? Months of work met with a sledgehammer in the aftermath. But you know what guys? That’s not my problem. That’s the fabricator’s problem and not one my client’s should have to deal with! I’m the type of designer that will fight tooth and nail for what I believe is fair in this very subjective world of design. If it’s completed in a manner that I see unfit for what was agreed upon, you can bet I’ll take the matter all the way to the courts if not complied. Luckily for us, the owner of the company took one look at the end product and was just as horrified as I.
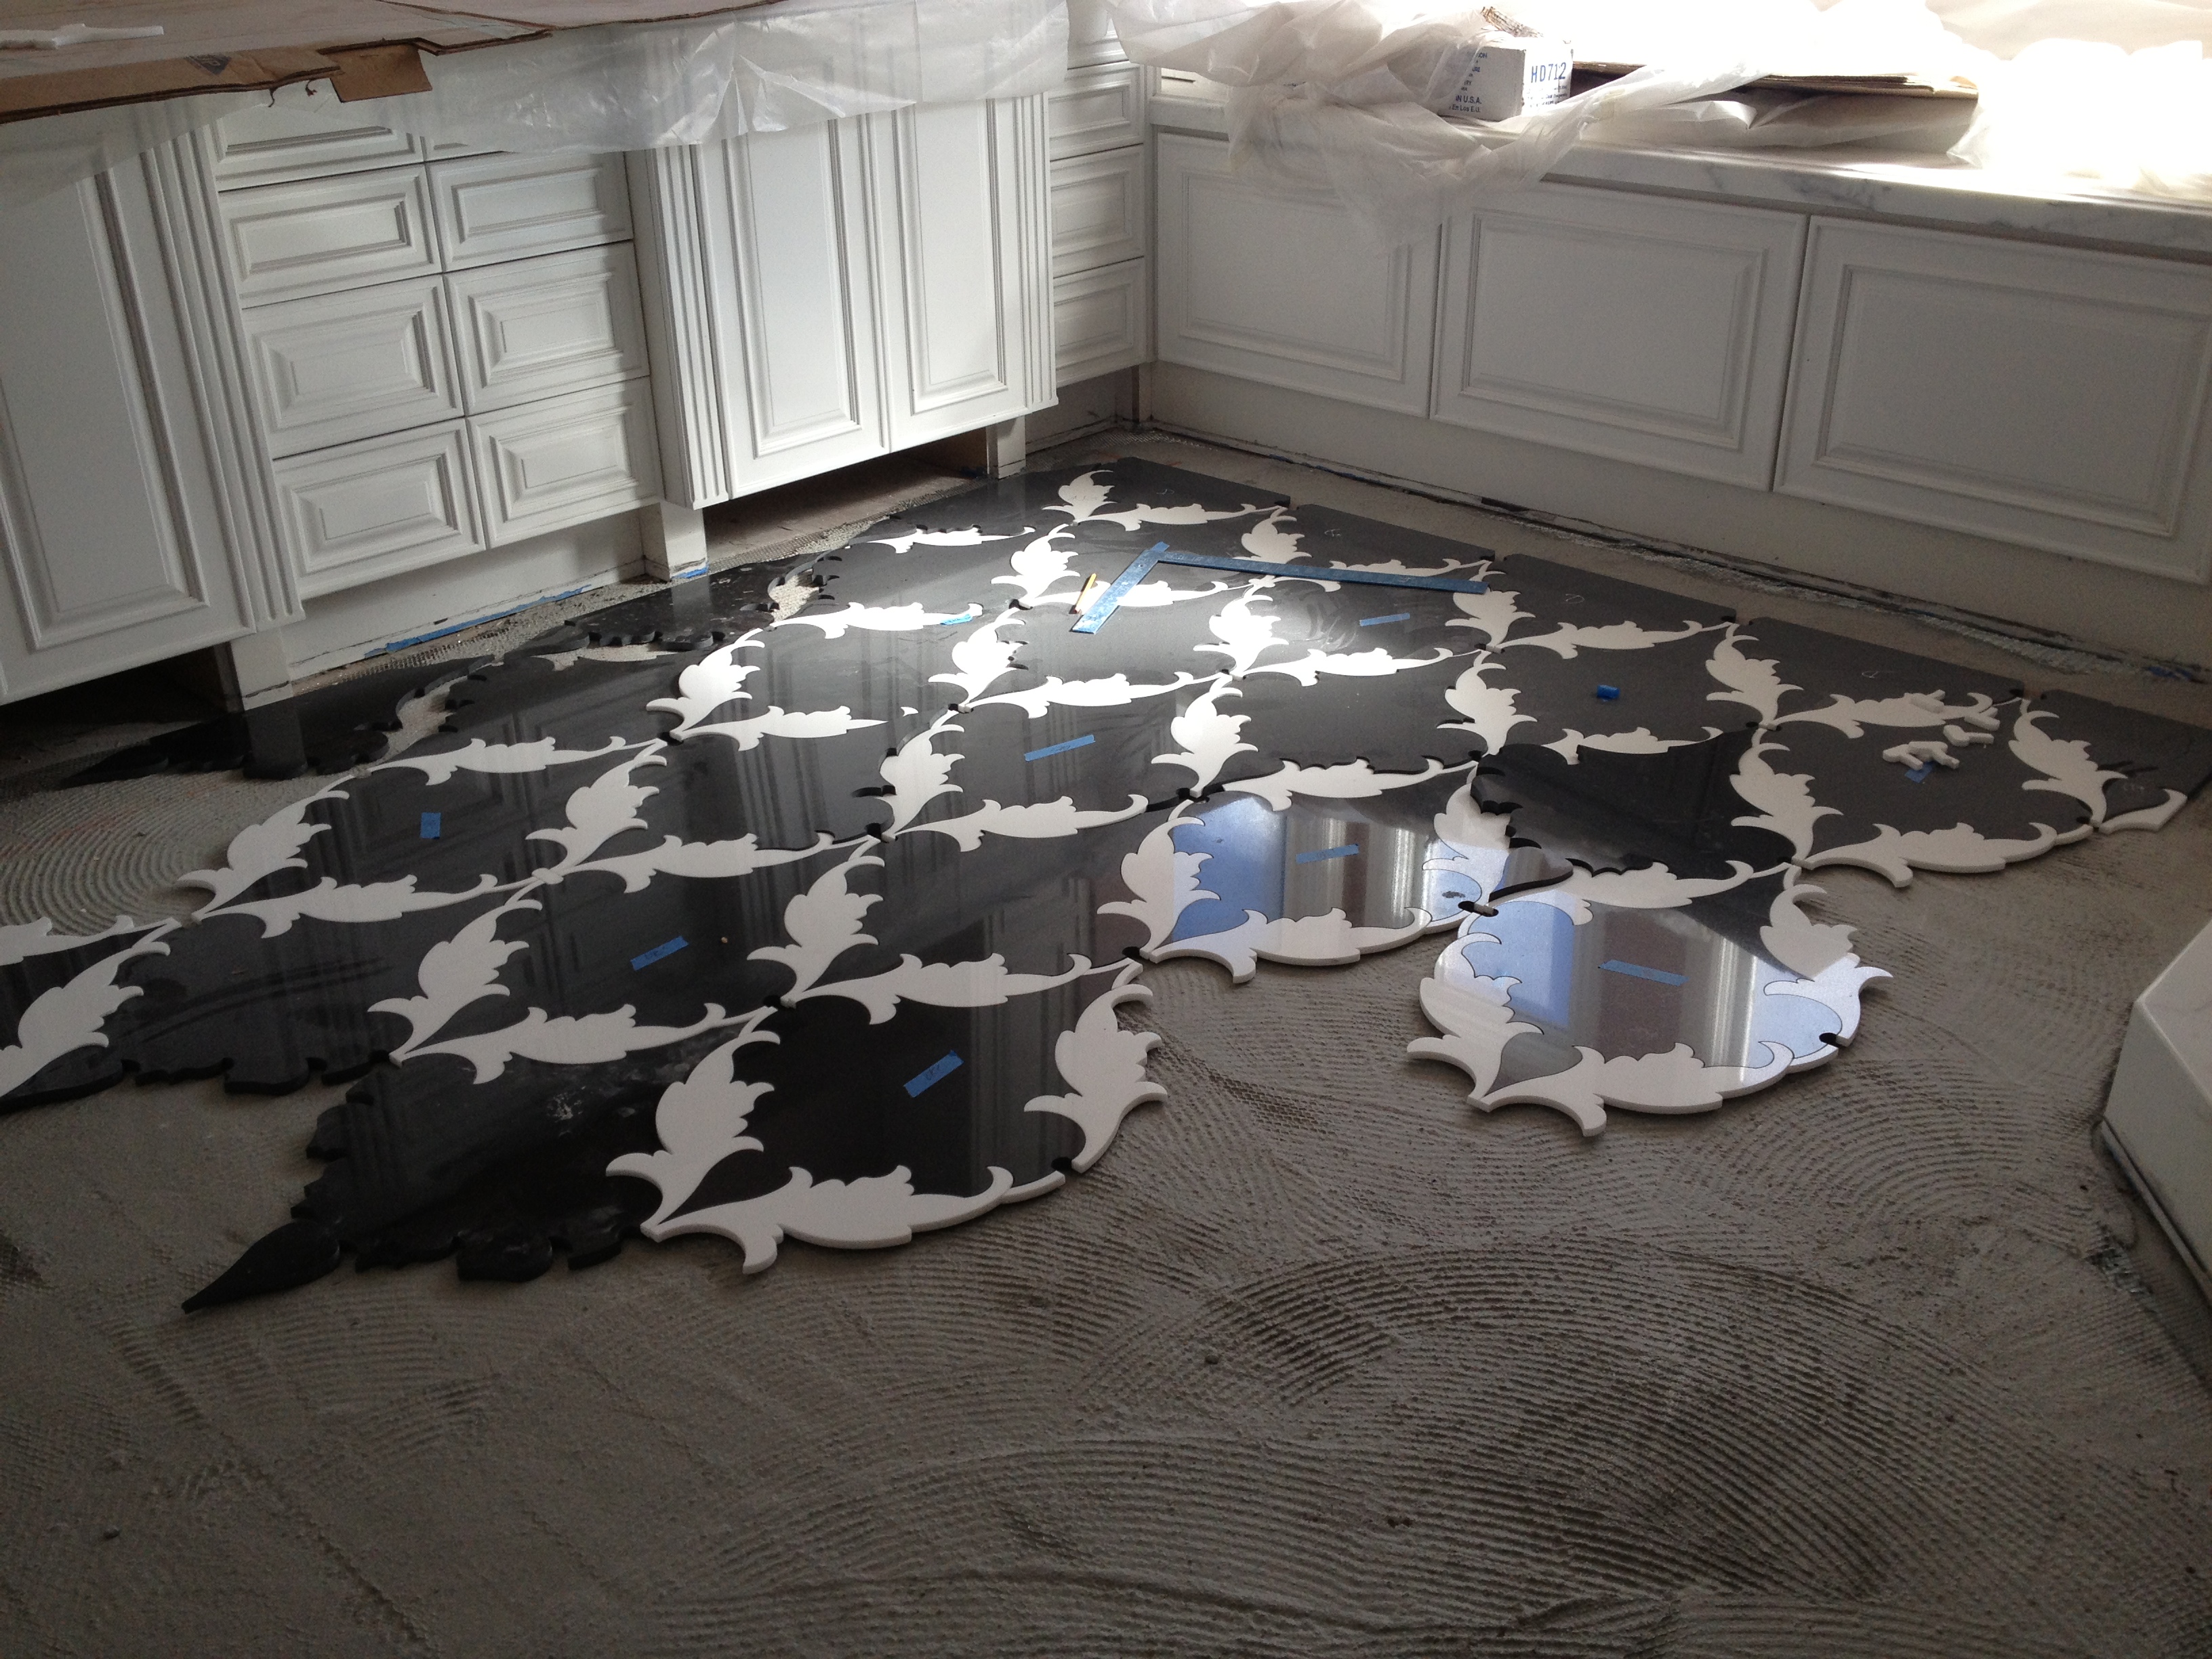
So here we are again on the next phase of installation, this time with a better team and better prepped materials.
And drum roll please….
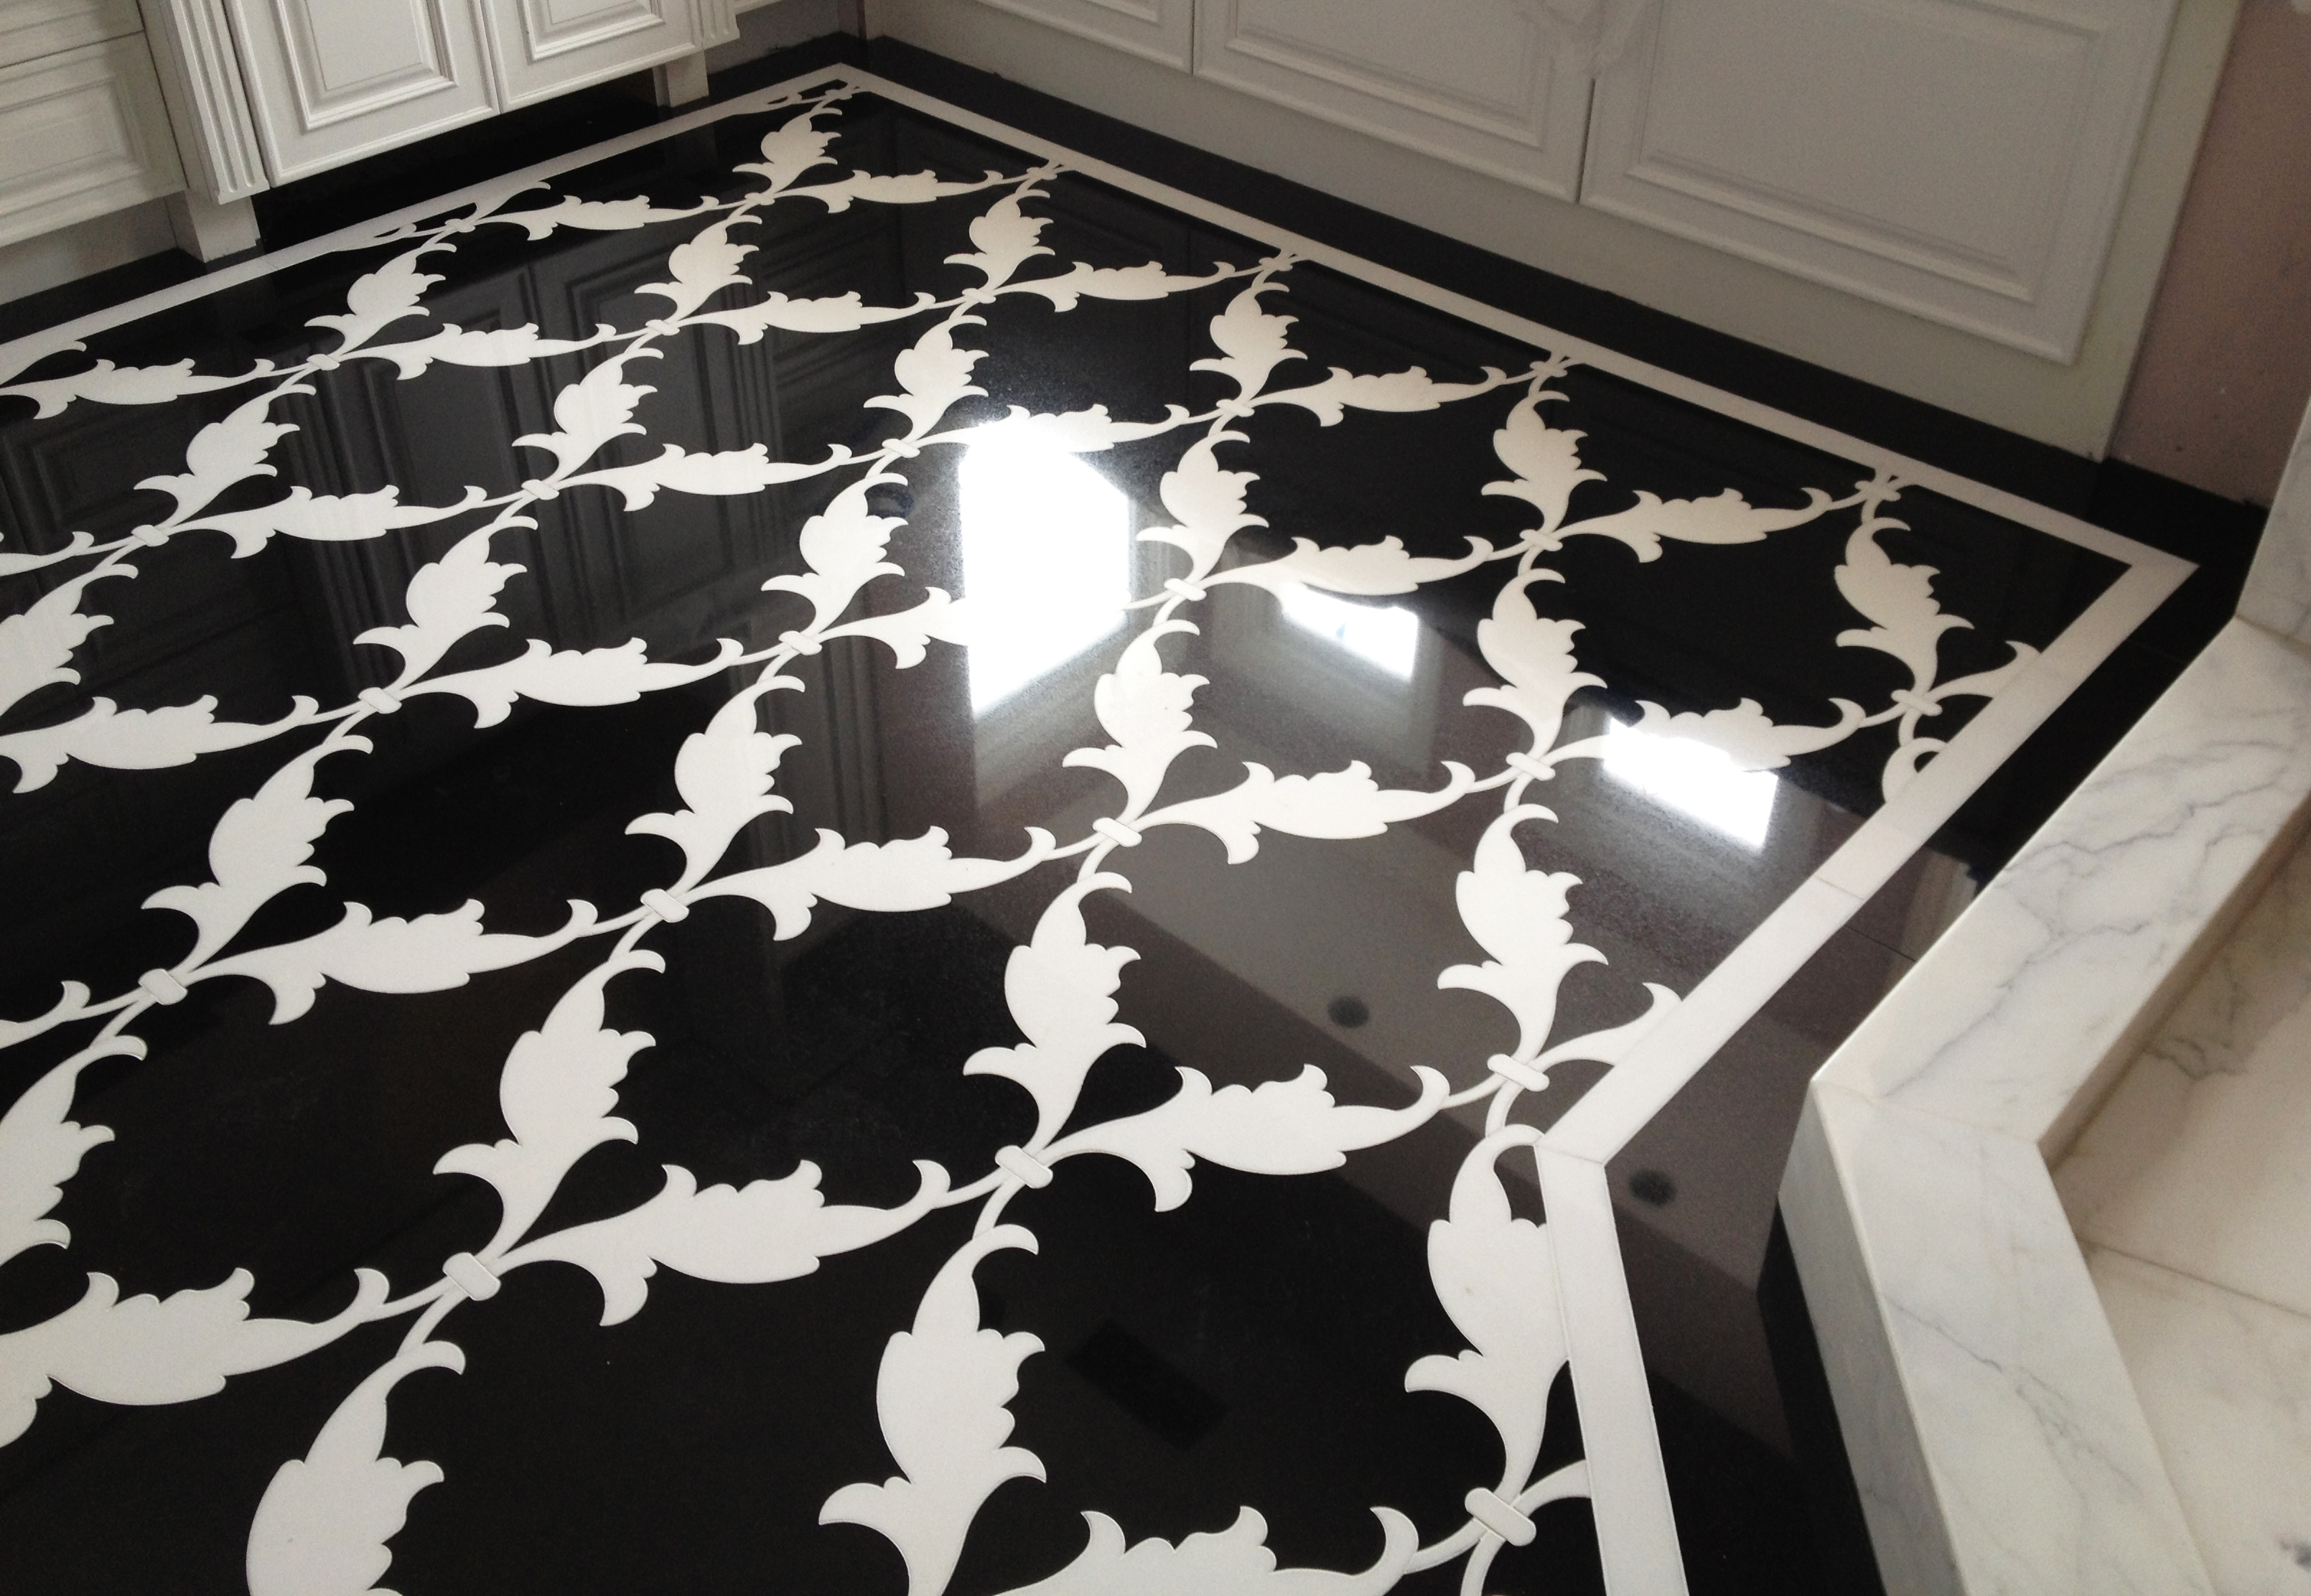
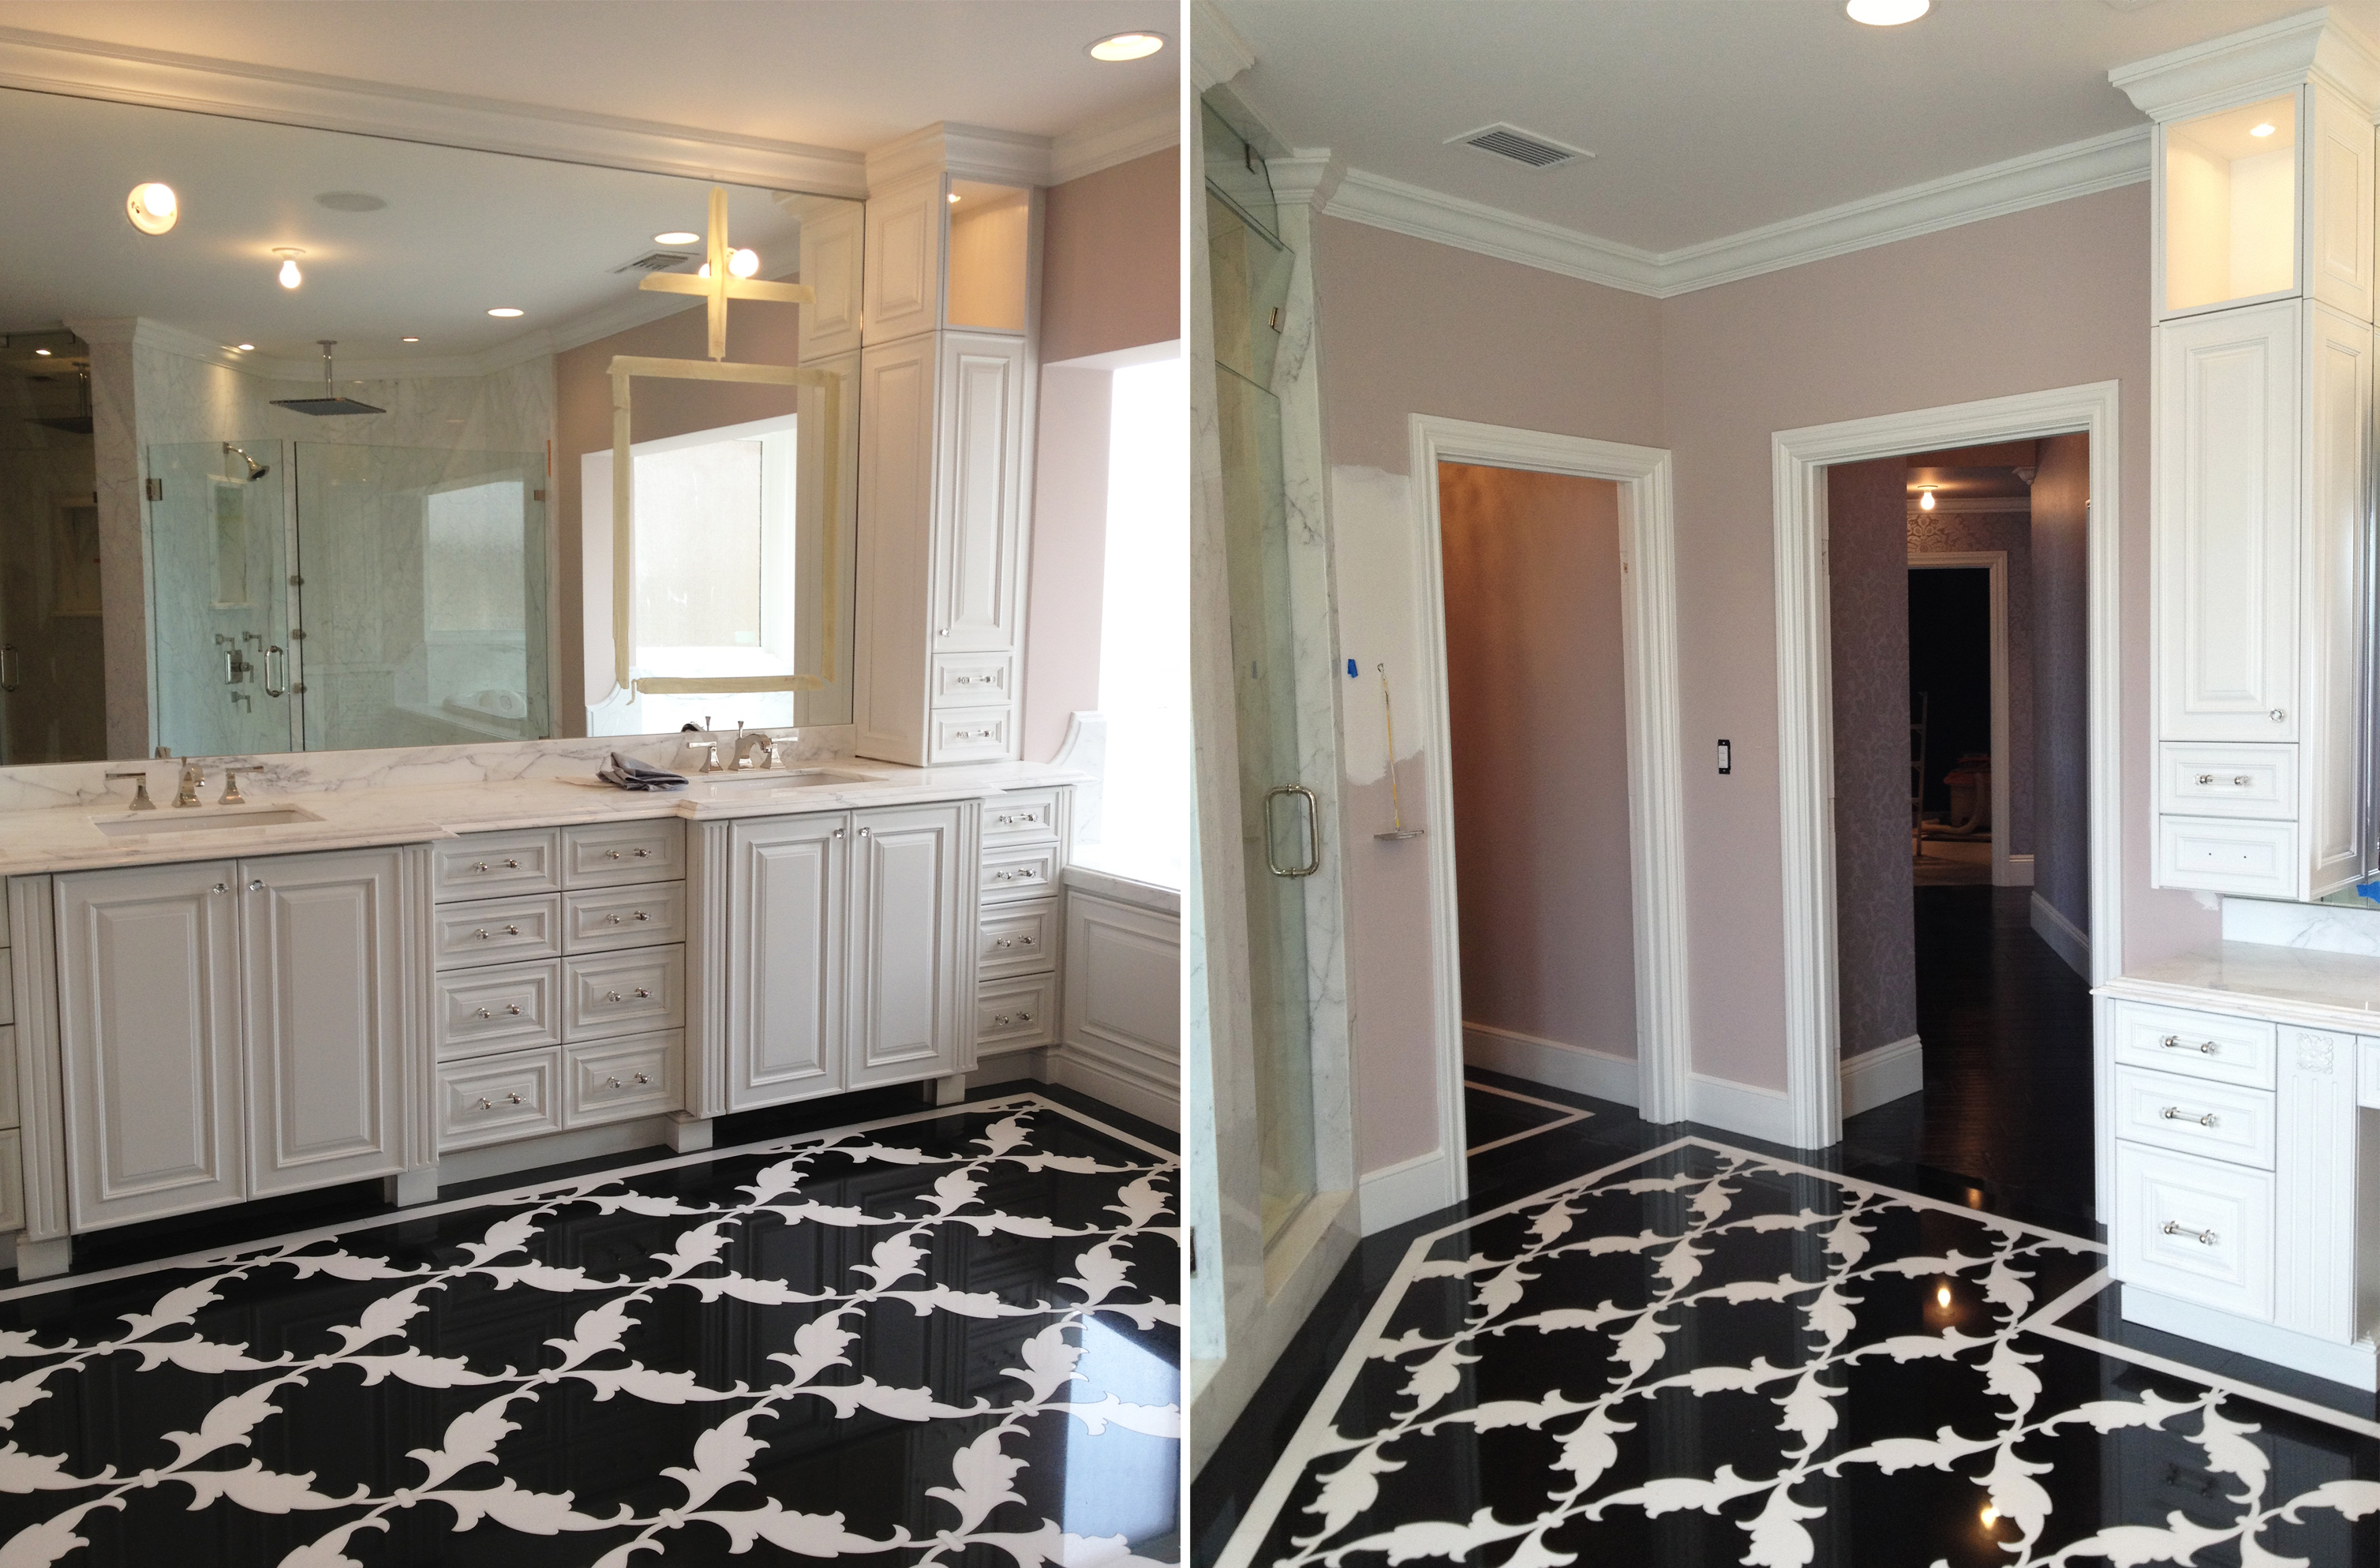
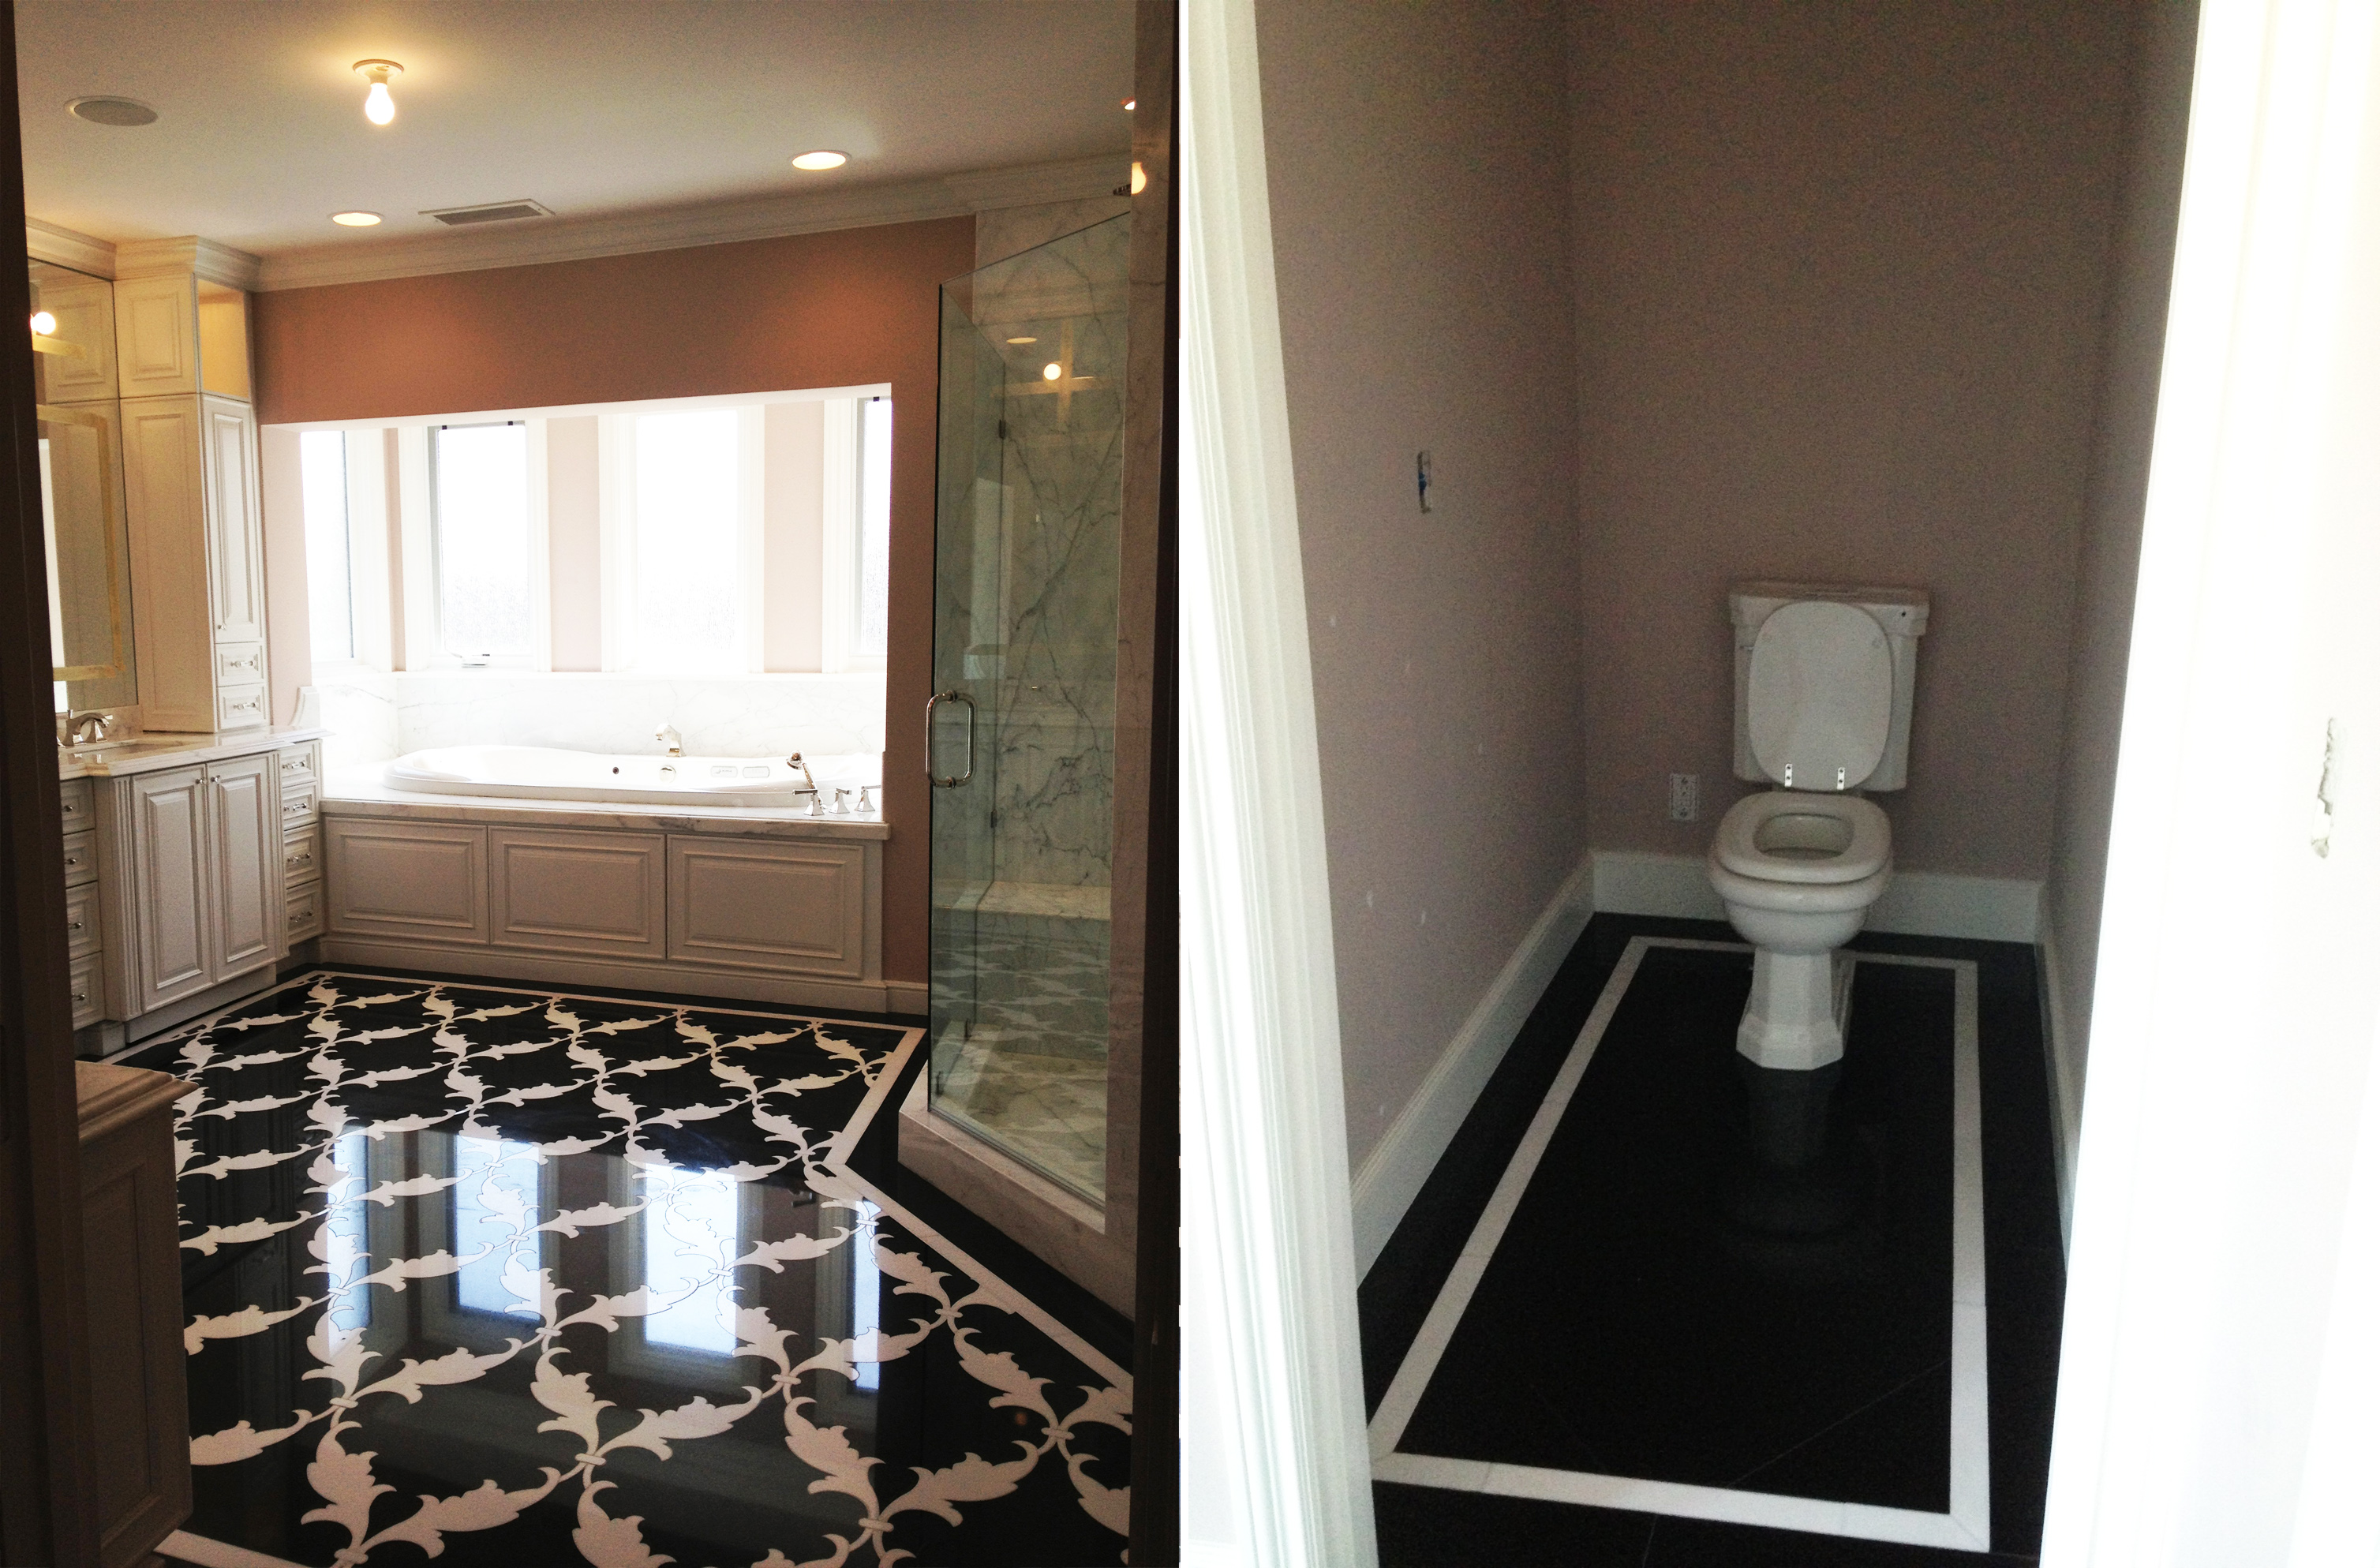
Ta-dahhhhhh!
The Reveal
The finished product in all her fabulous glory!!! Silky smooth, shines like a mirror, and so downright delicious I could pour a bottle of Dom P. all over the surface and sop it up as if I were celebrating a new year y’all! Did I also mention that there’s radiant heating installed under the entire body of this beauty? No detail left behind when you’re working with JKID my loves! We fancy huh and all it took was just over 9 months, no big deal. ;D
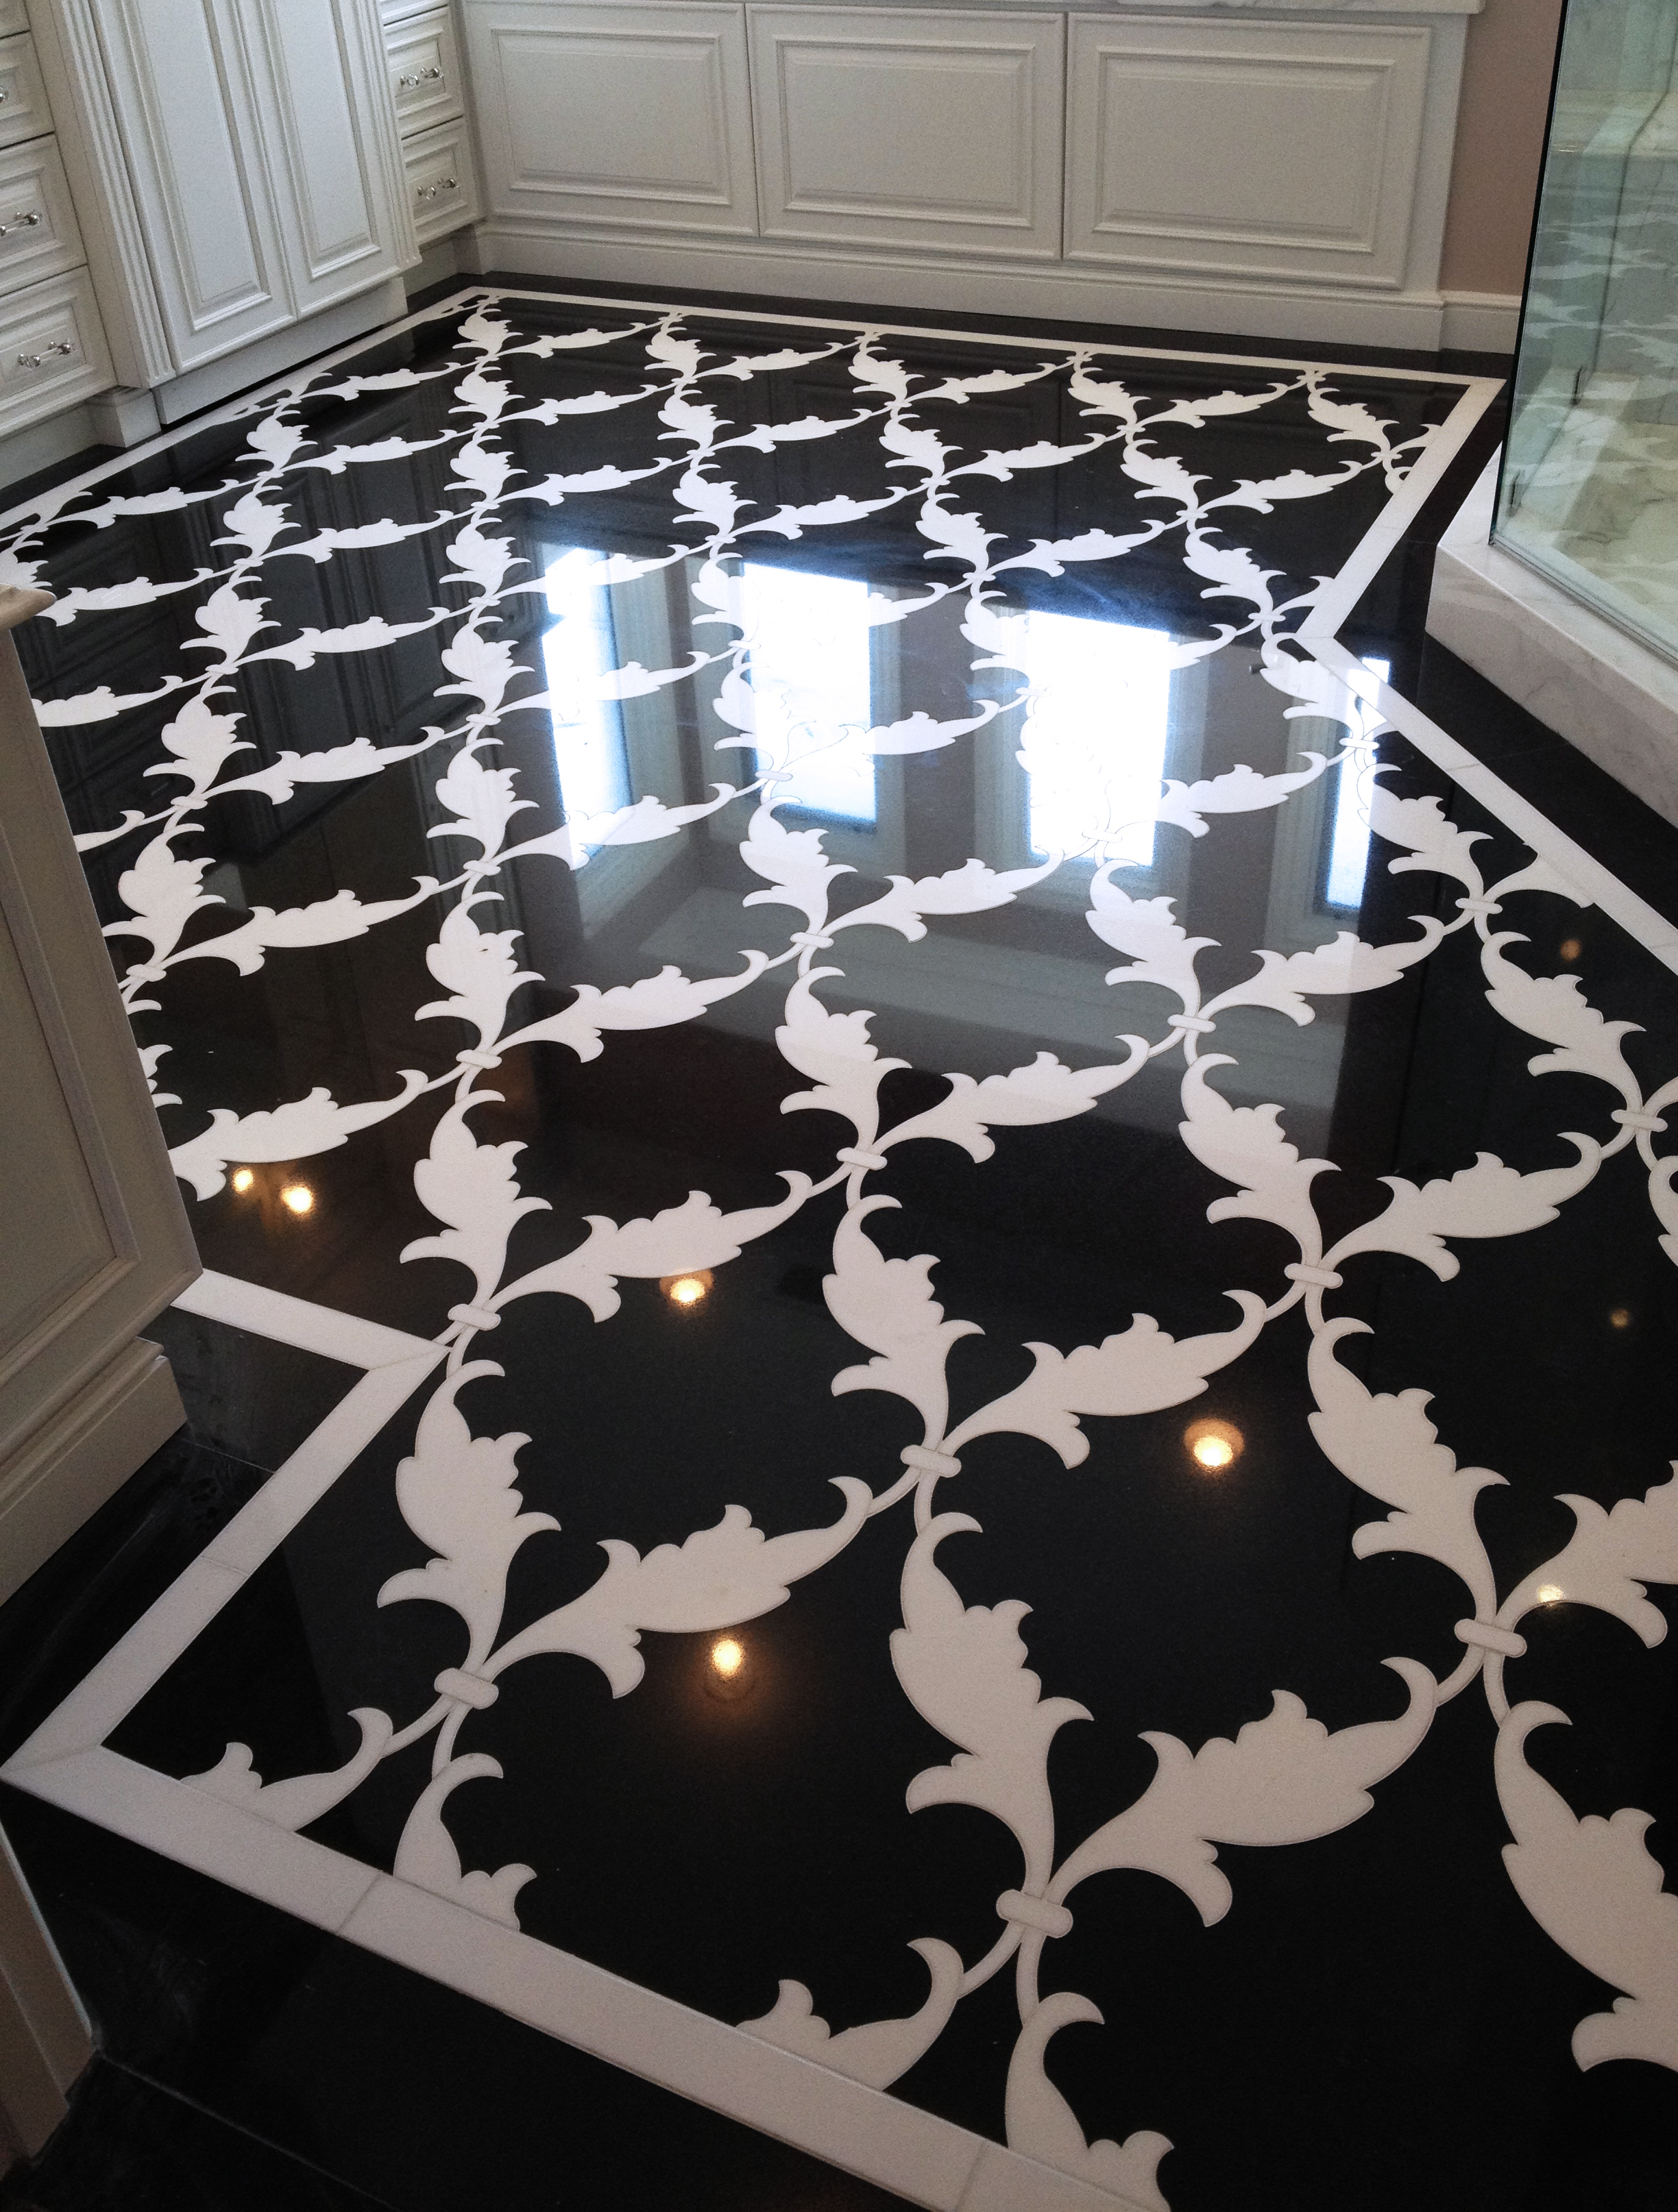
I promise better, professionally taken photos once I’m back at the house to complete the design and subsequent styling of the space.
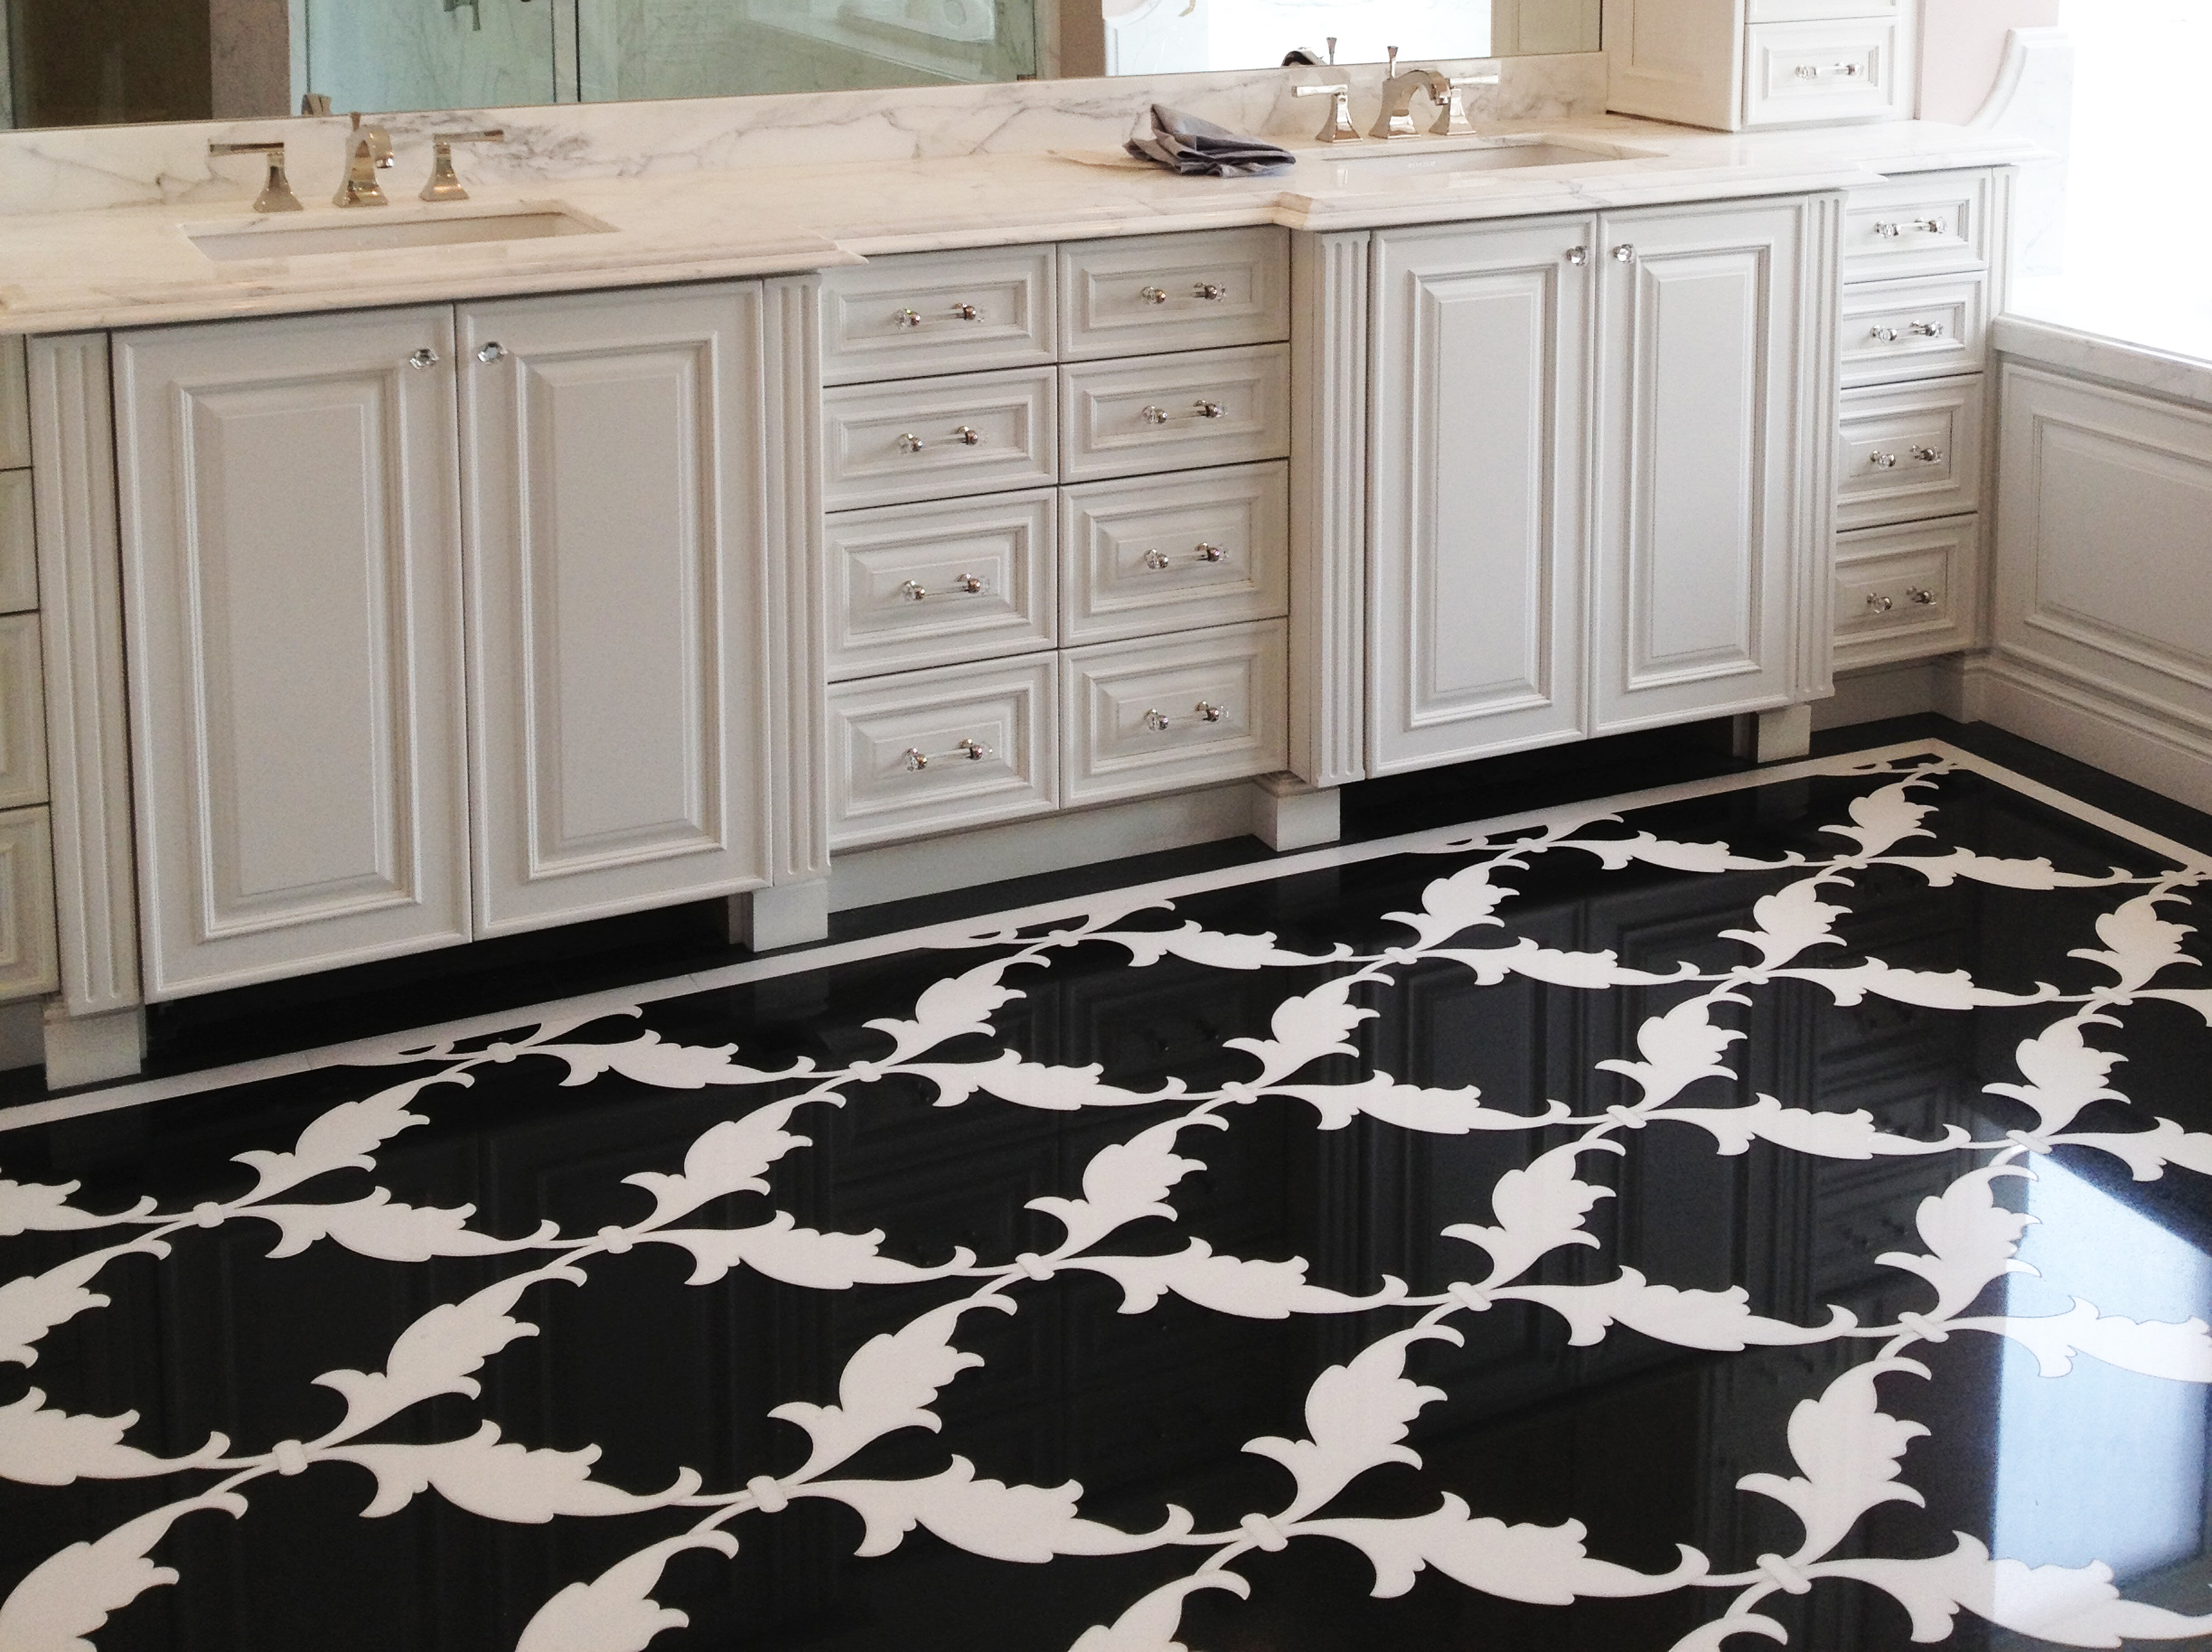
So moral of the story?
Great design happens with thoughtful detail, a team of experts, an extensive length of time, and loads of TLC
What do you think? Worth it in the end???


10 Comments
Daummmmmmm girl you crushed it! Your labor of love was well worth it in the end. It's absolutely delicious. Can't wait to see more! XXOO
I just found your blog! The uniqueness of the design is incredible. Love your taste! Would you like to stay in touch through GfC and instagram?
http://www.fabuloustorture.blogspot.com
Uau que trabajo de artesanía es genial que pasada me encanta.Me encanta tu bloc ha sido un placer visitarlo, te invito a mi blog, y si te gusta espero que te hagas seguidora.
Elracodeldetall.blogspot.com
Wow…that is gorgeous. Just love the pattern!!
Oh wow, it is fabulous but I feel so sorry for you and that first go round!! I find lately that things dont get done right the first time around, people have lost that attention to detail and then the poor designer pays the price!! I am so glad it turned out so well in the end!!
The extra time spent was definitely worth it! It looks incredible! <33
~Makaela at http://www.makaelassuitcase.blogspot.com
Really interesting to see how everything is done, it takes so much effort which makes it even prettier in my opinion!
Ah-Mazing!!! Love this and yes totally worth it.
O M G!!! gf… that floor is sooooooooooooo sick! I LOVE IT!!
xo's
-teeney
http://www.christeeney.com
Holy gorgeous!