Materials
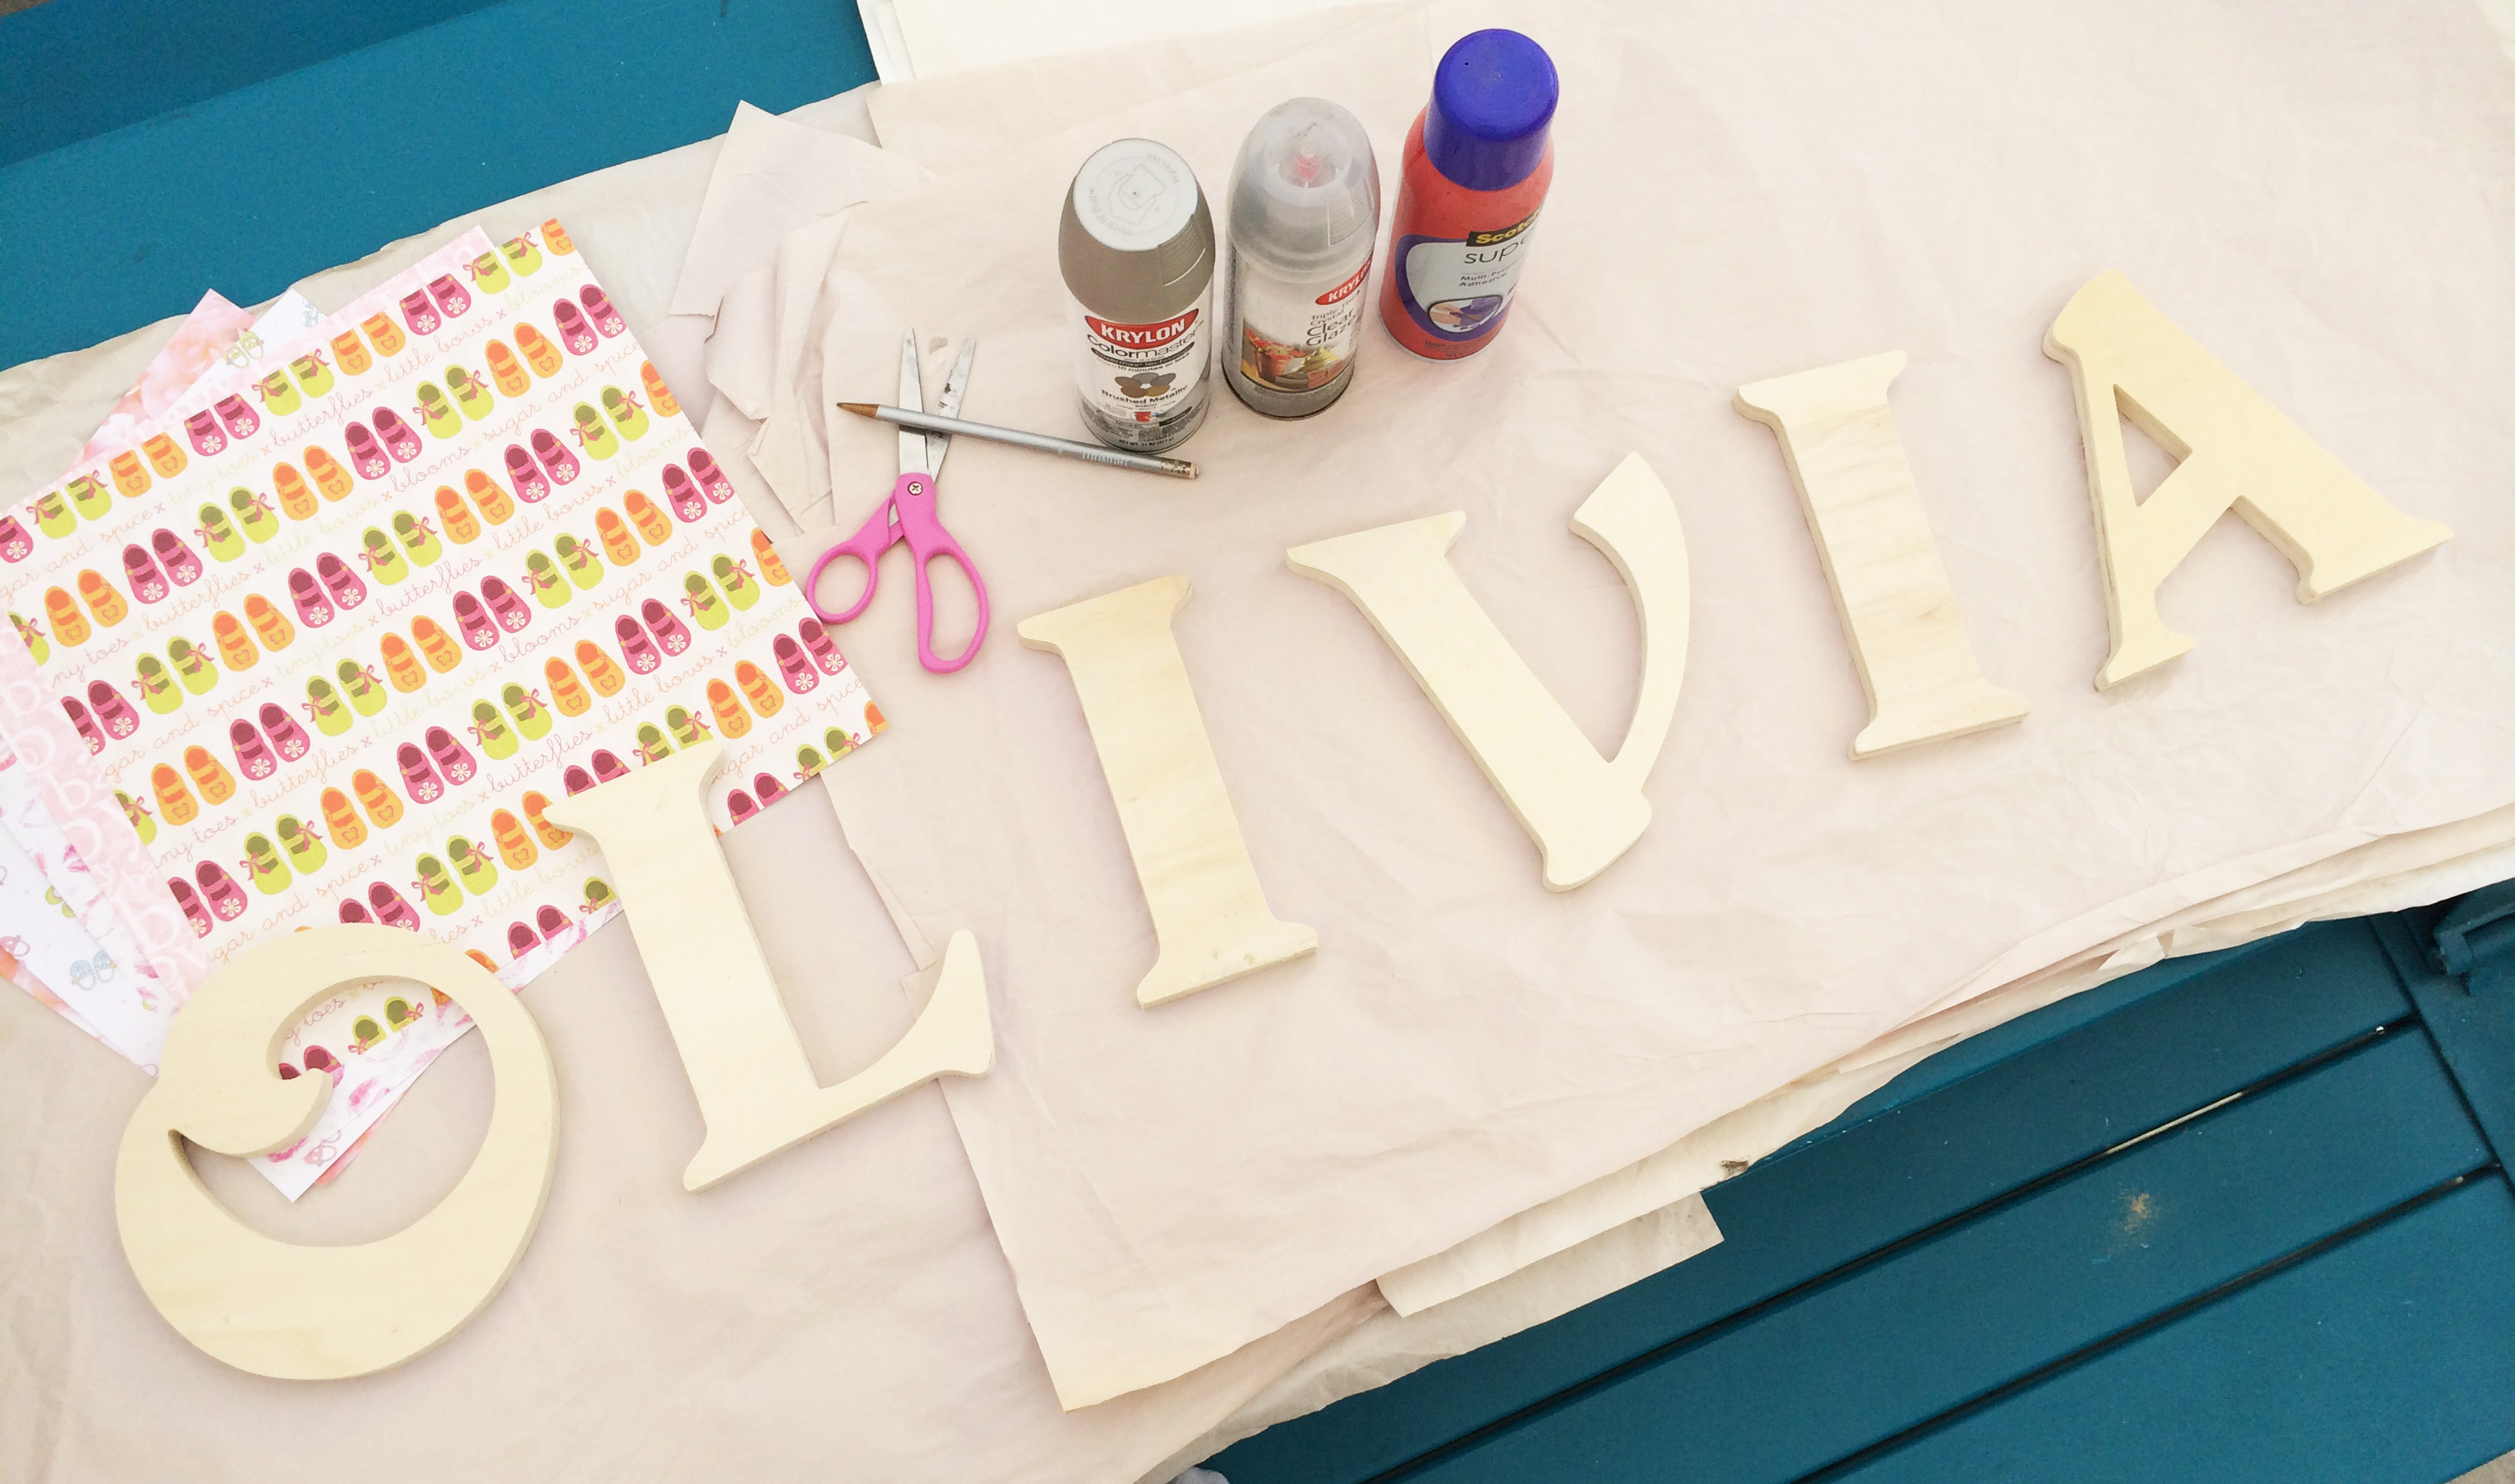
Step One
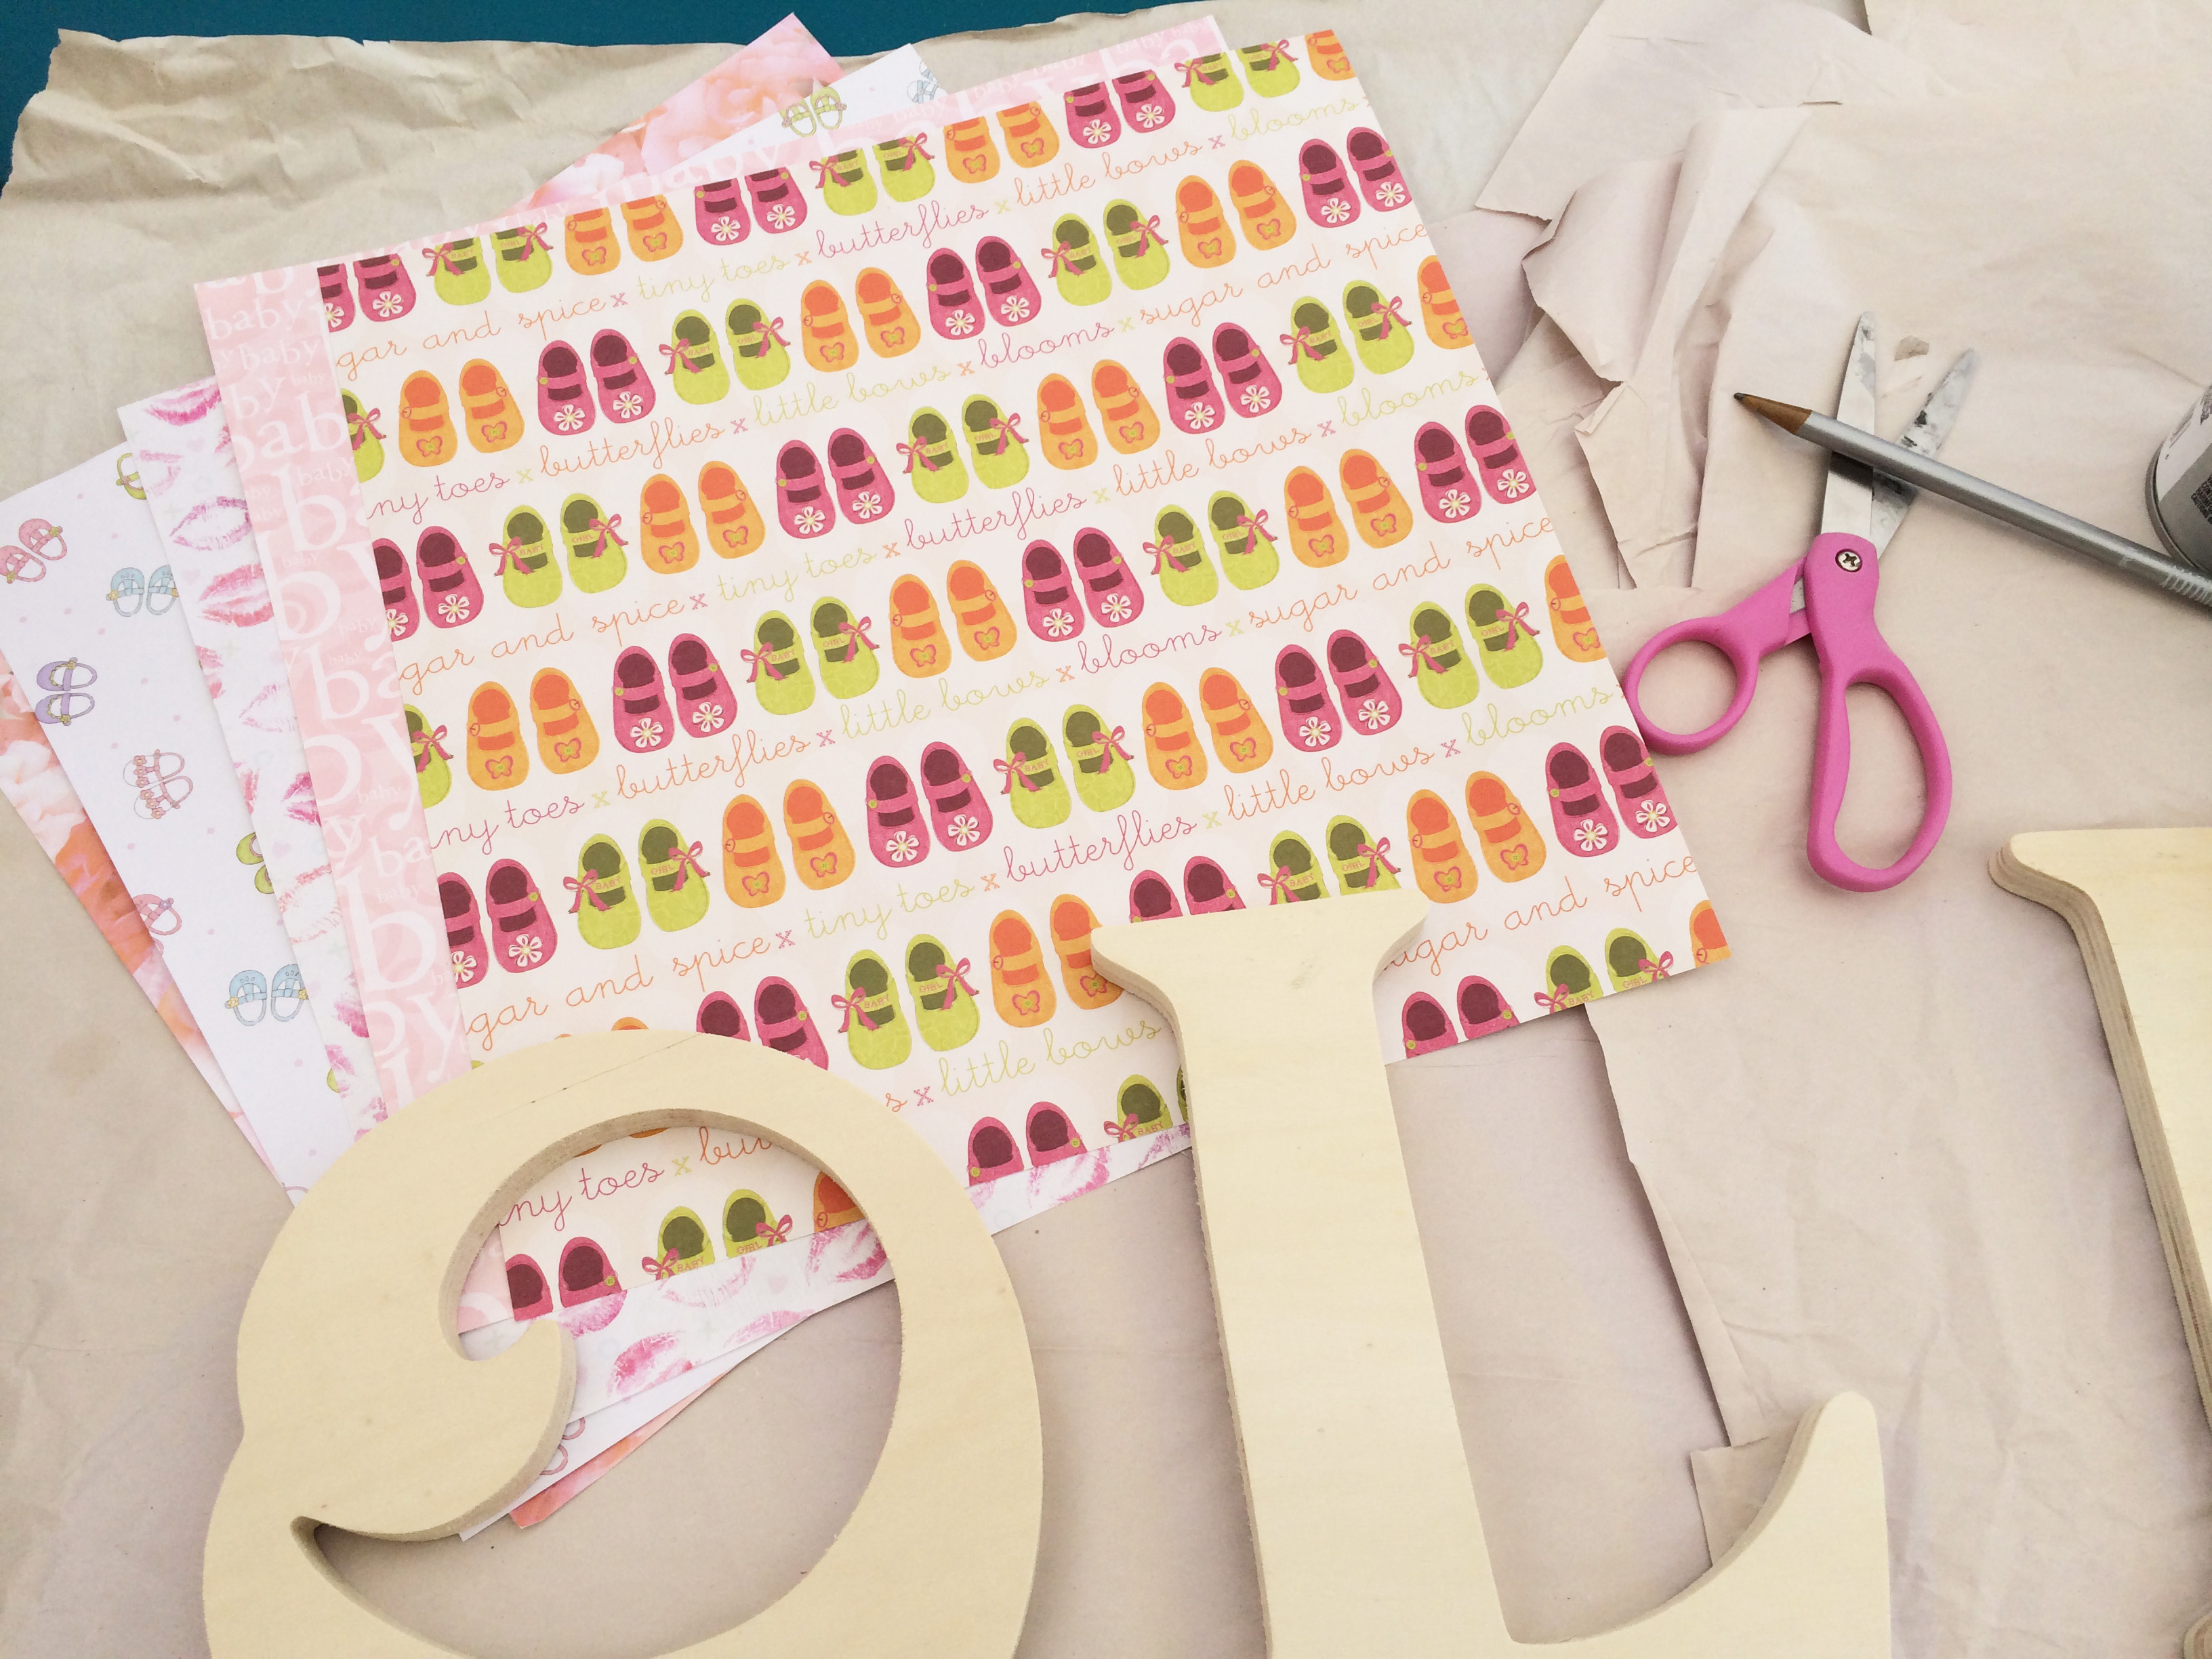
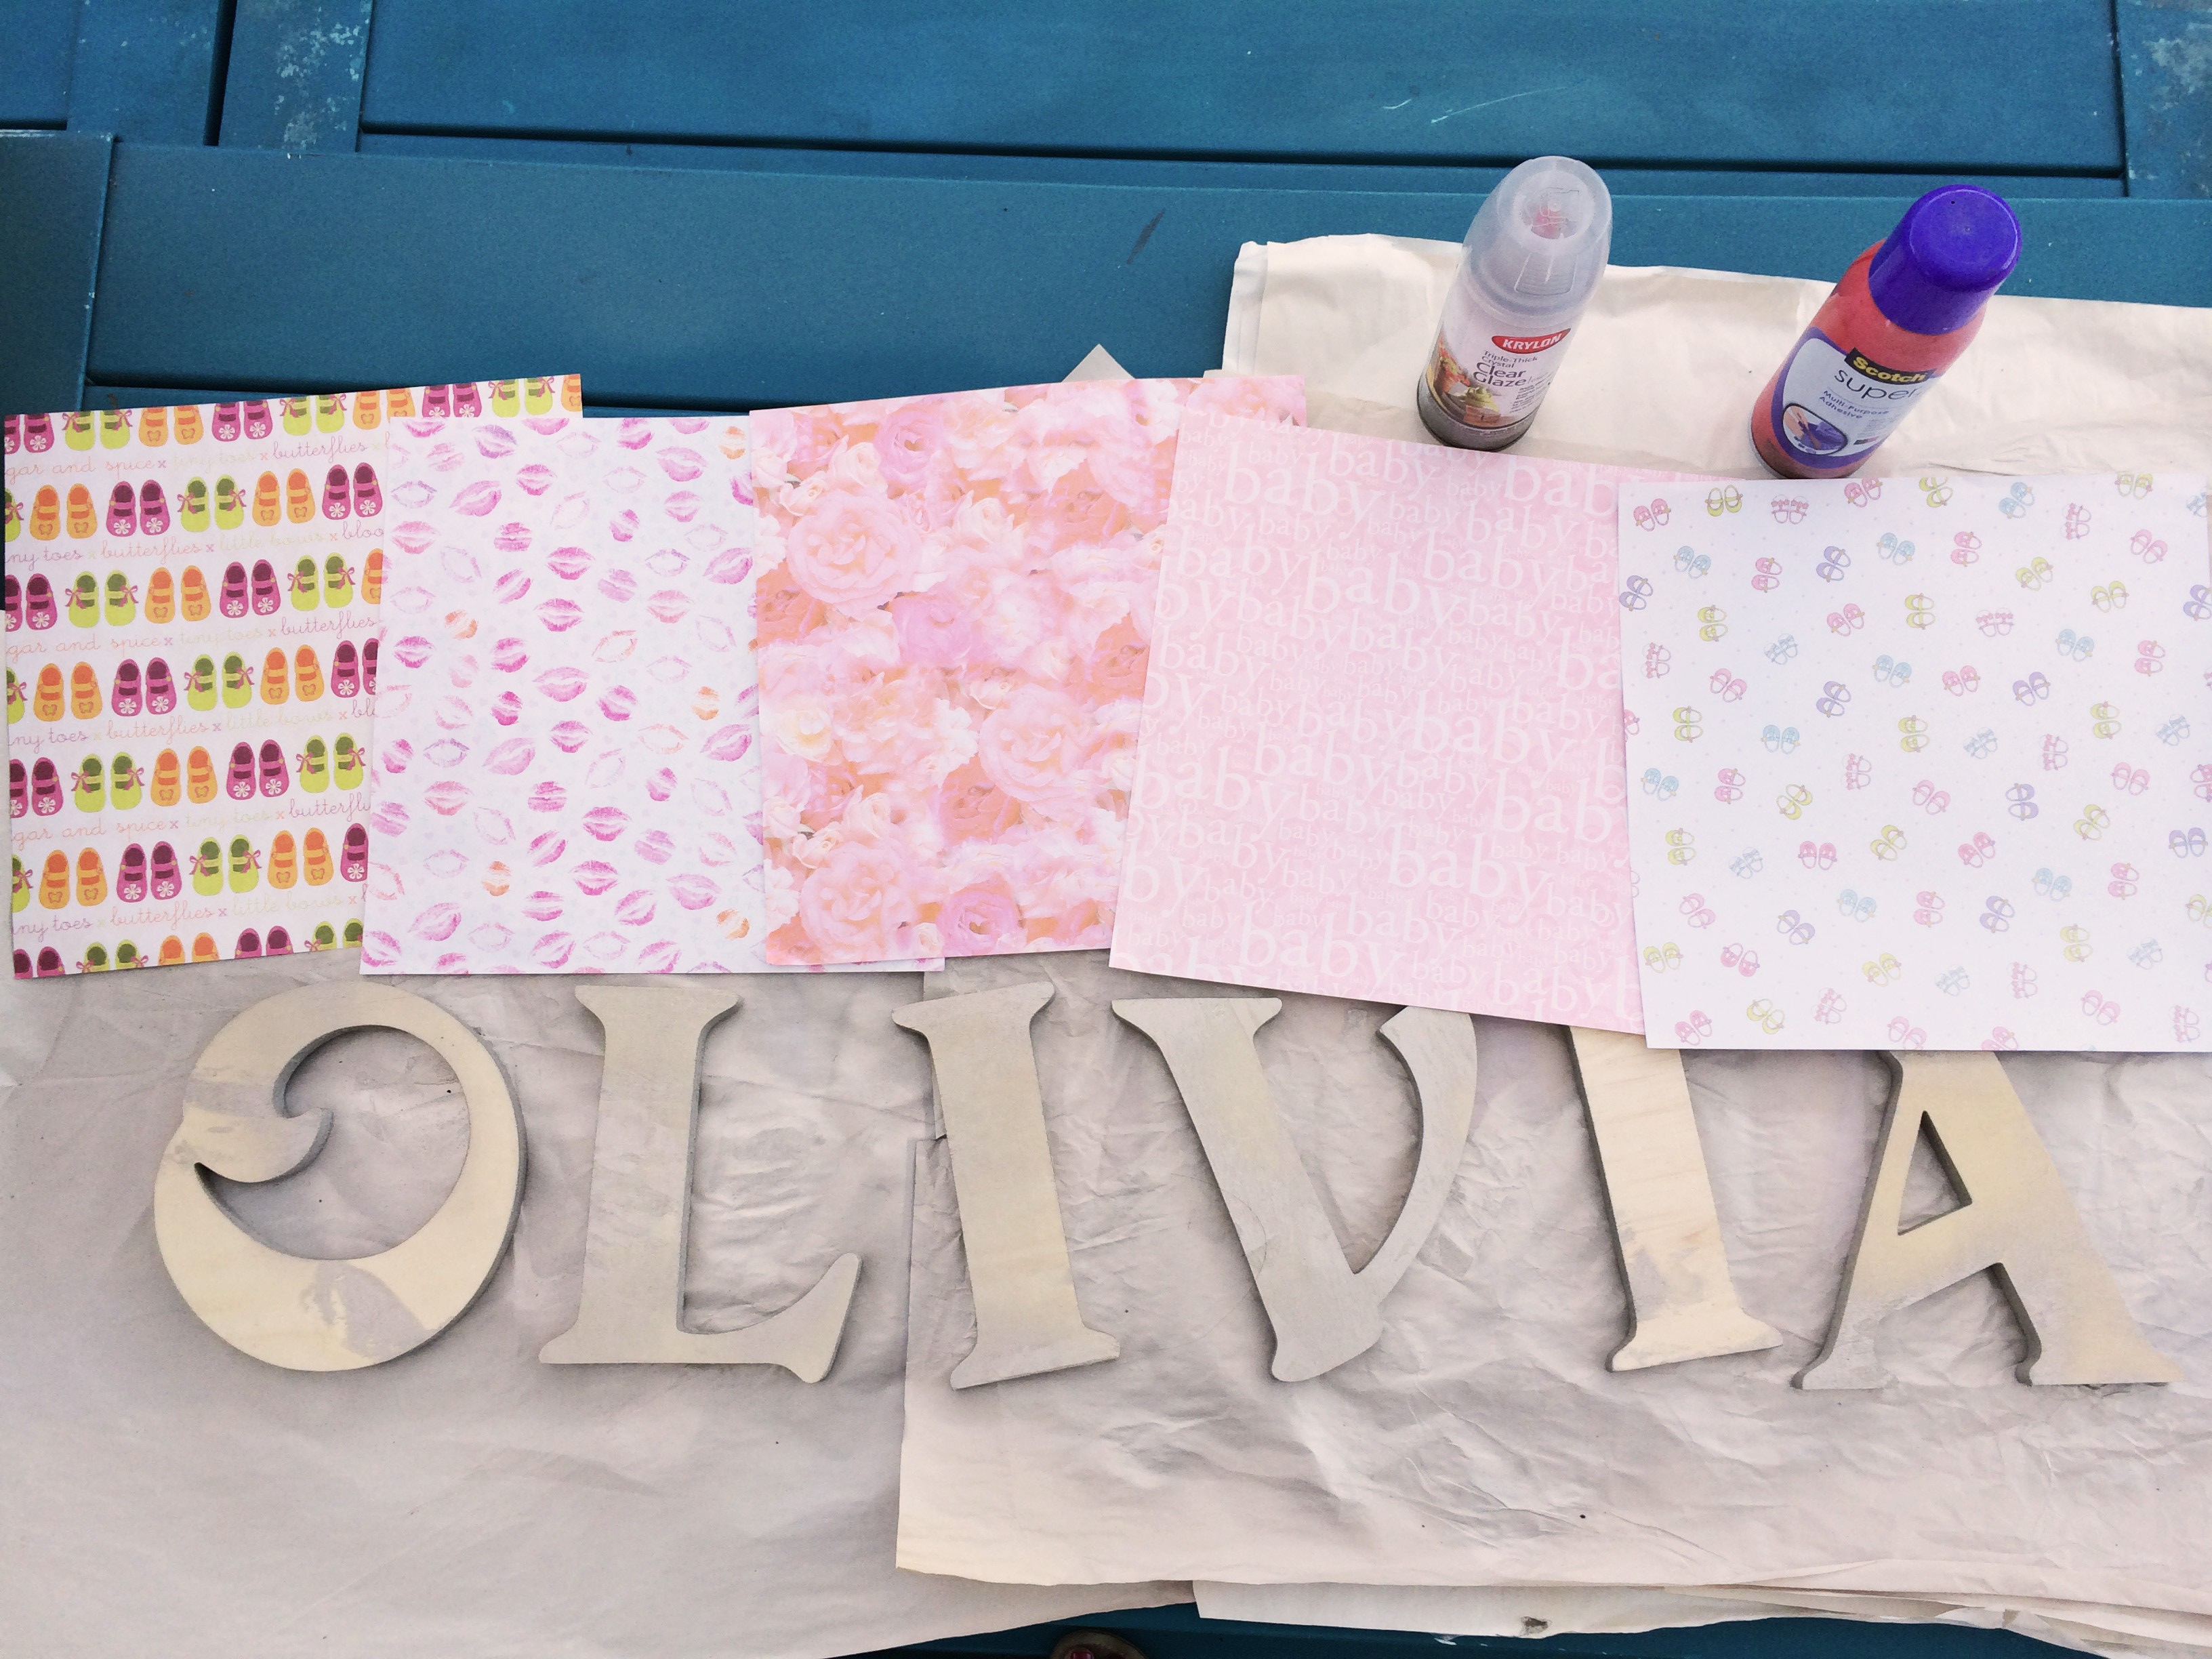
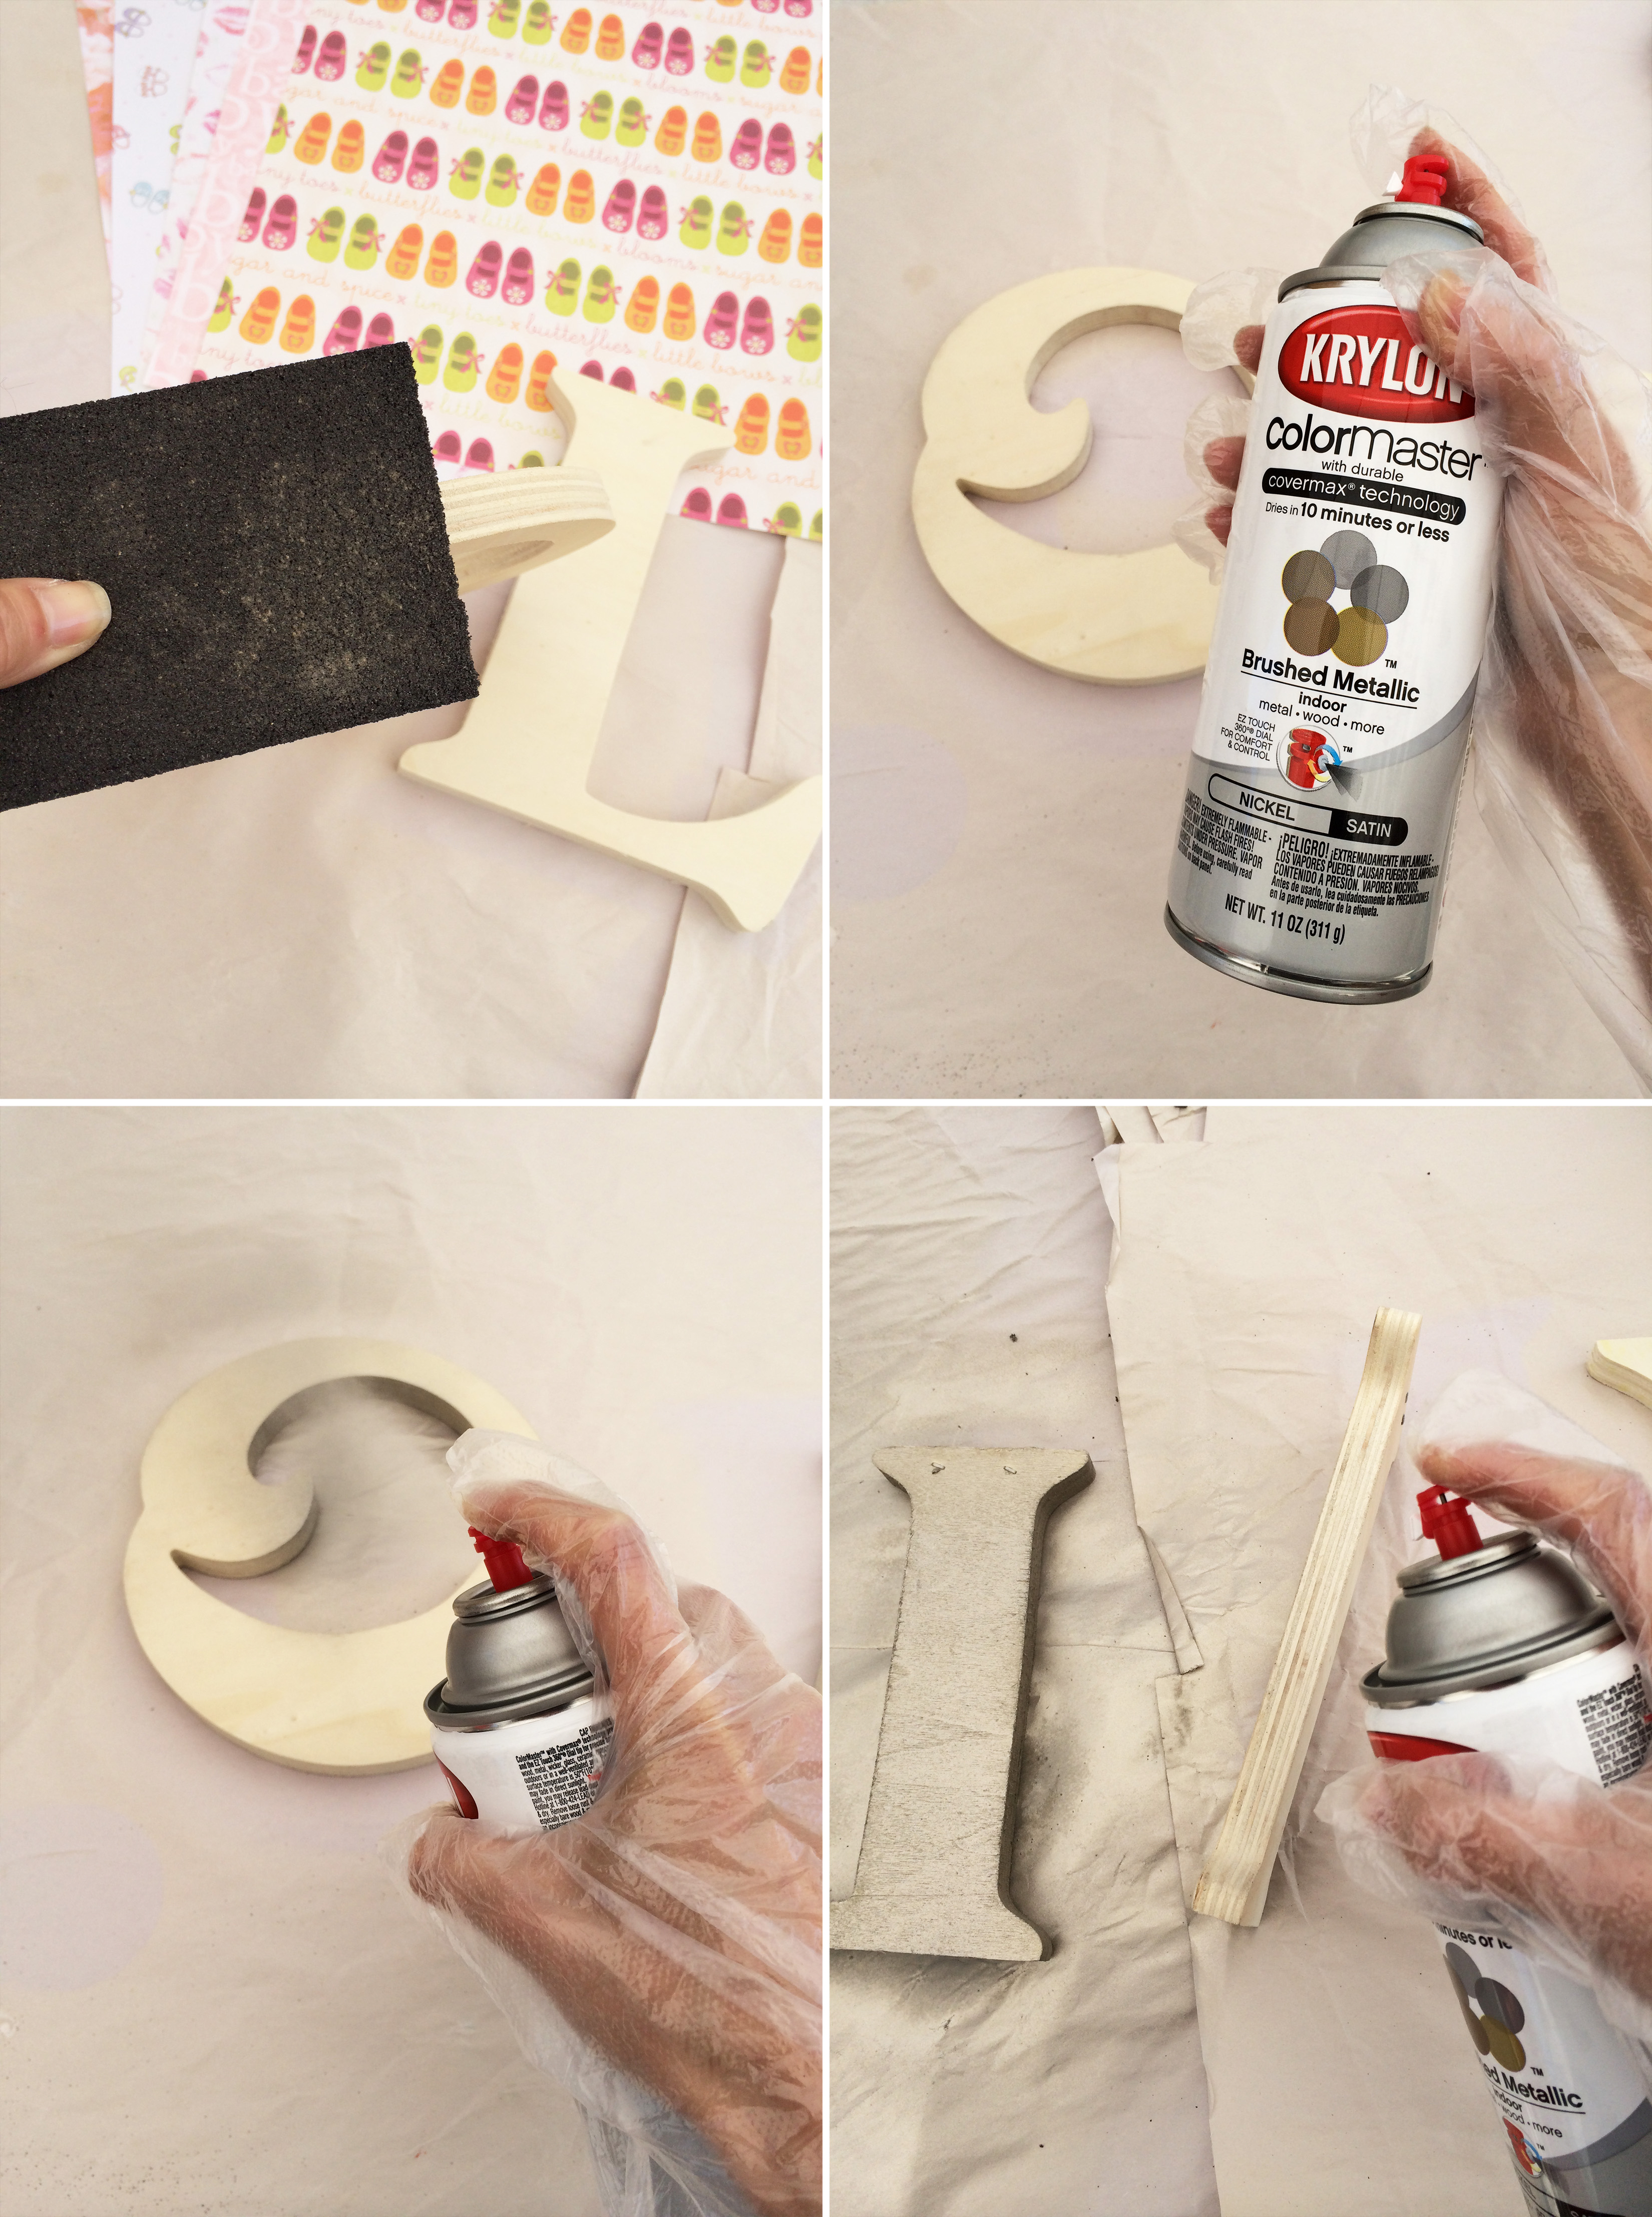
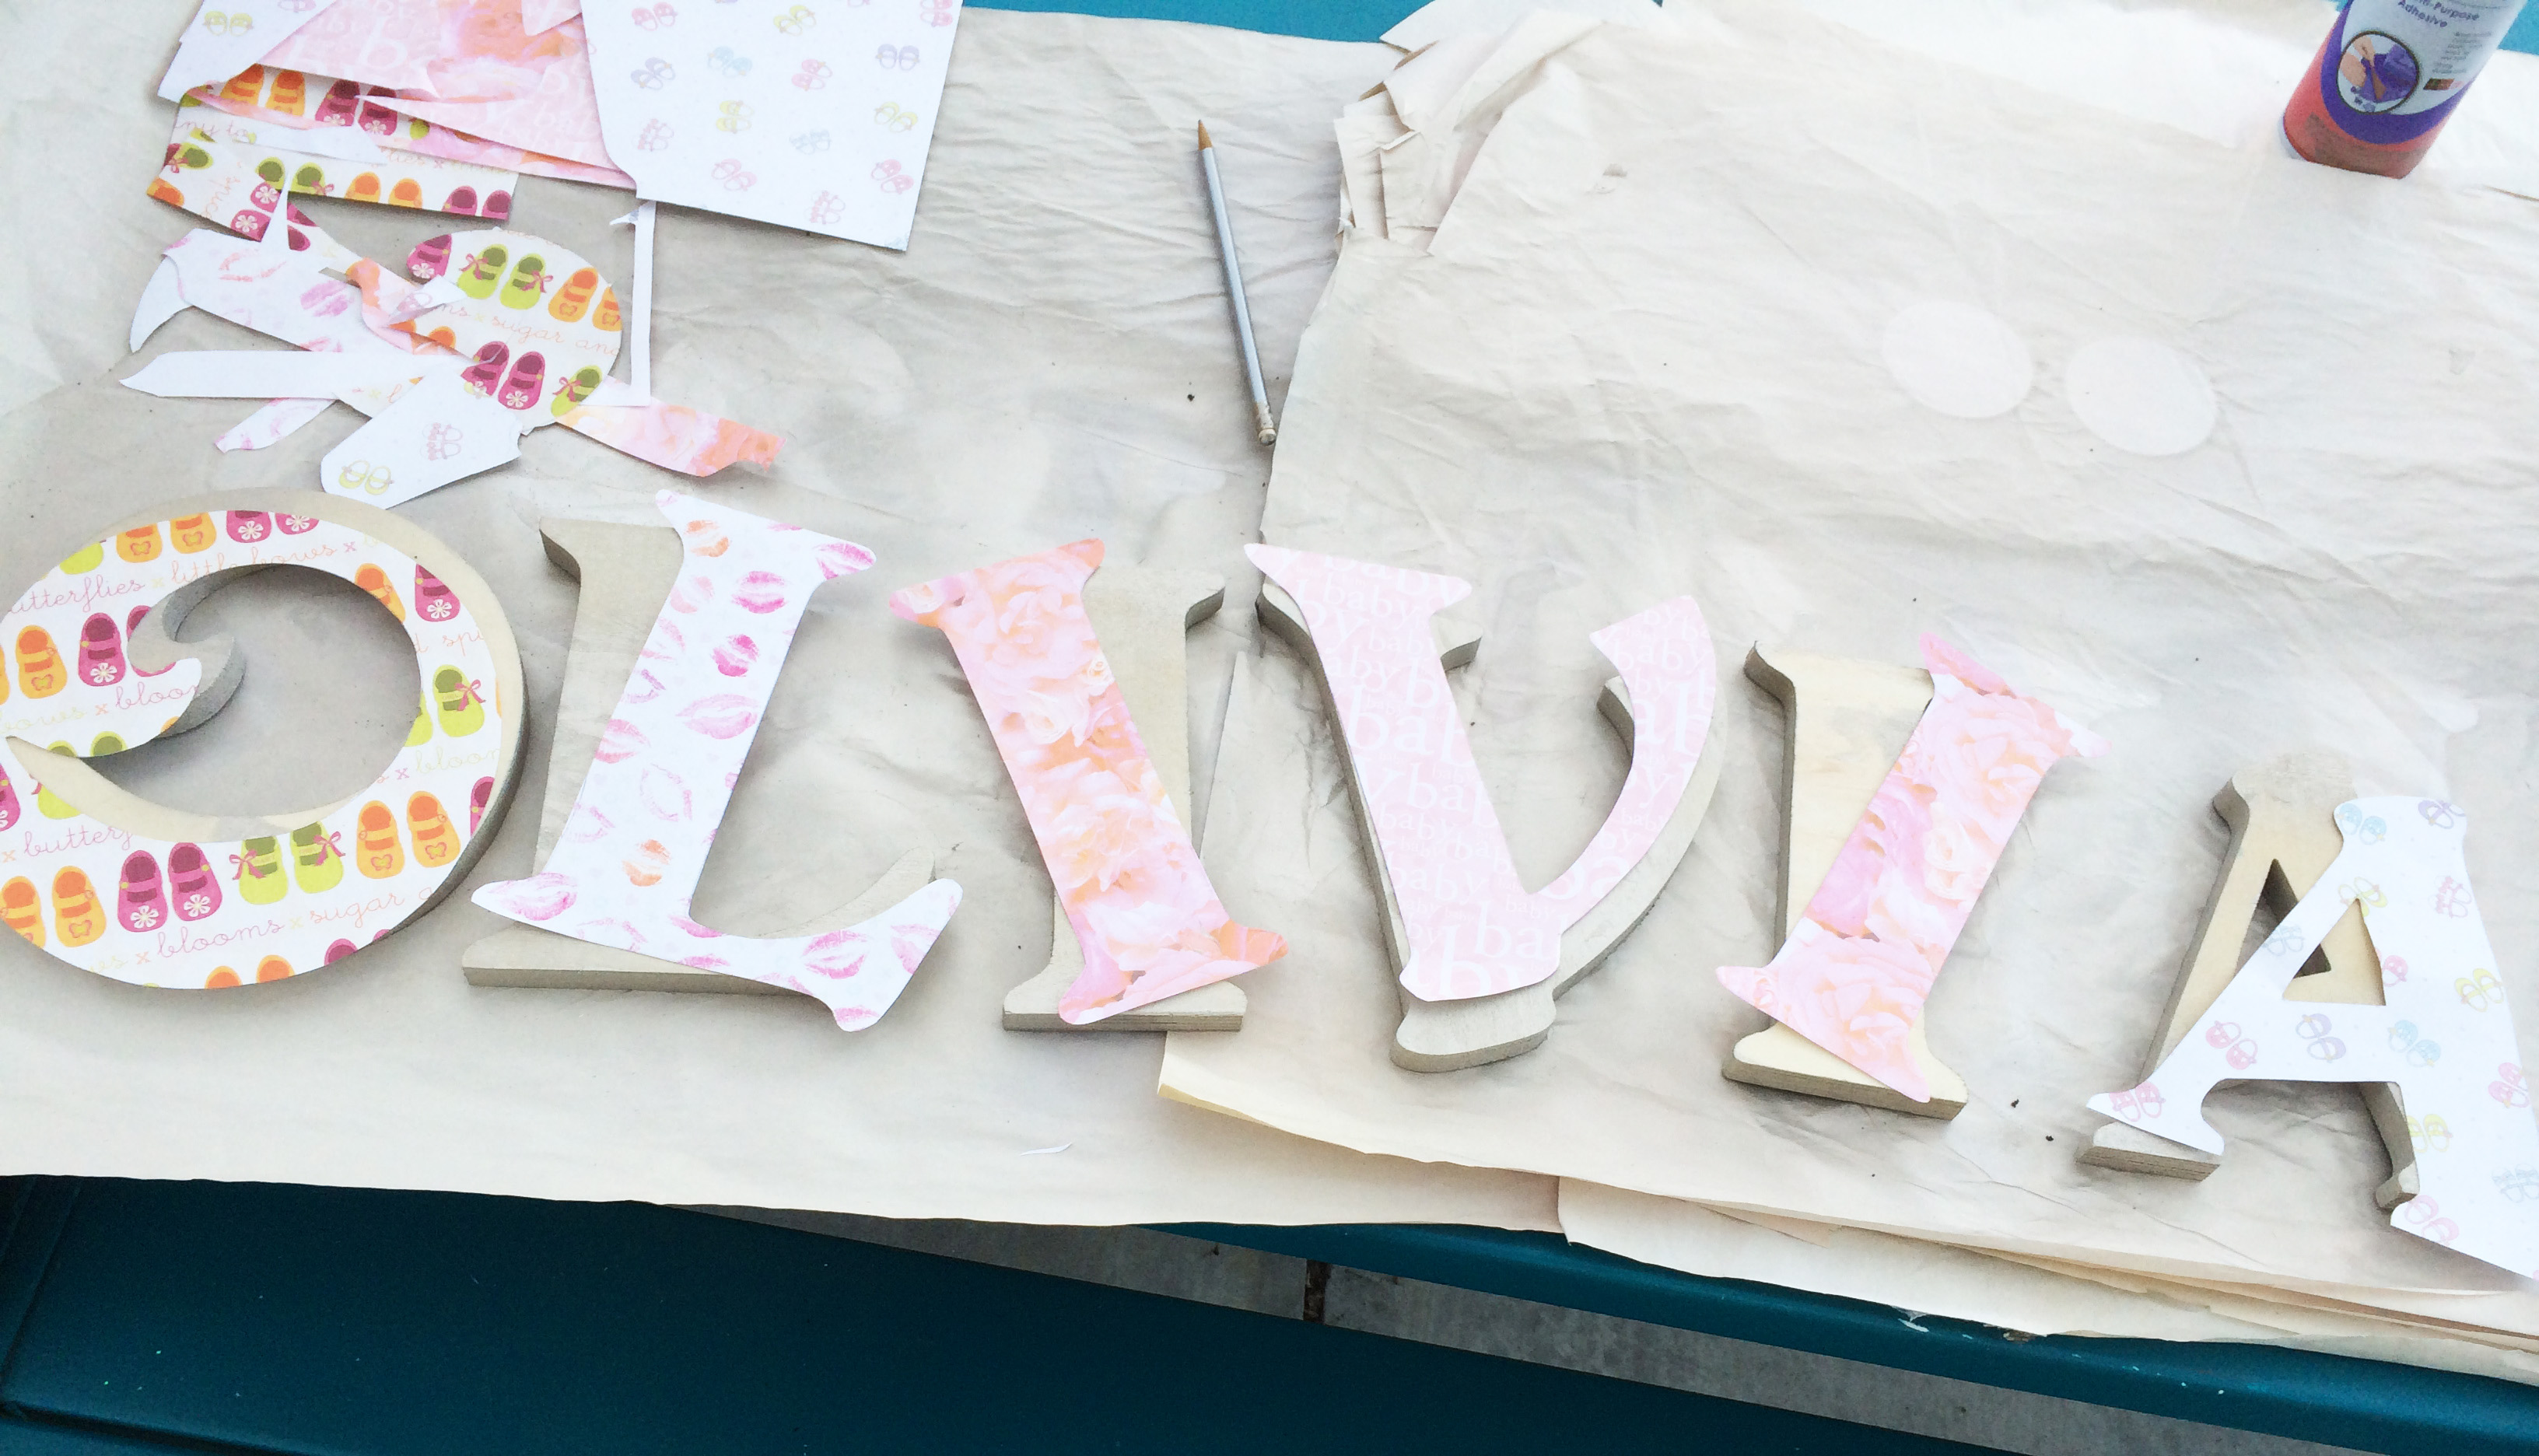
I like a good mix of patterns so to keep the look consistent I selected a few different girly printed papers in the same color story (pinks + pastels)
Step Two
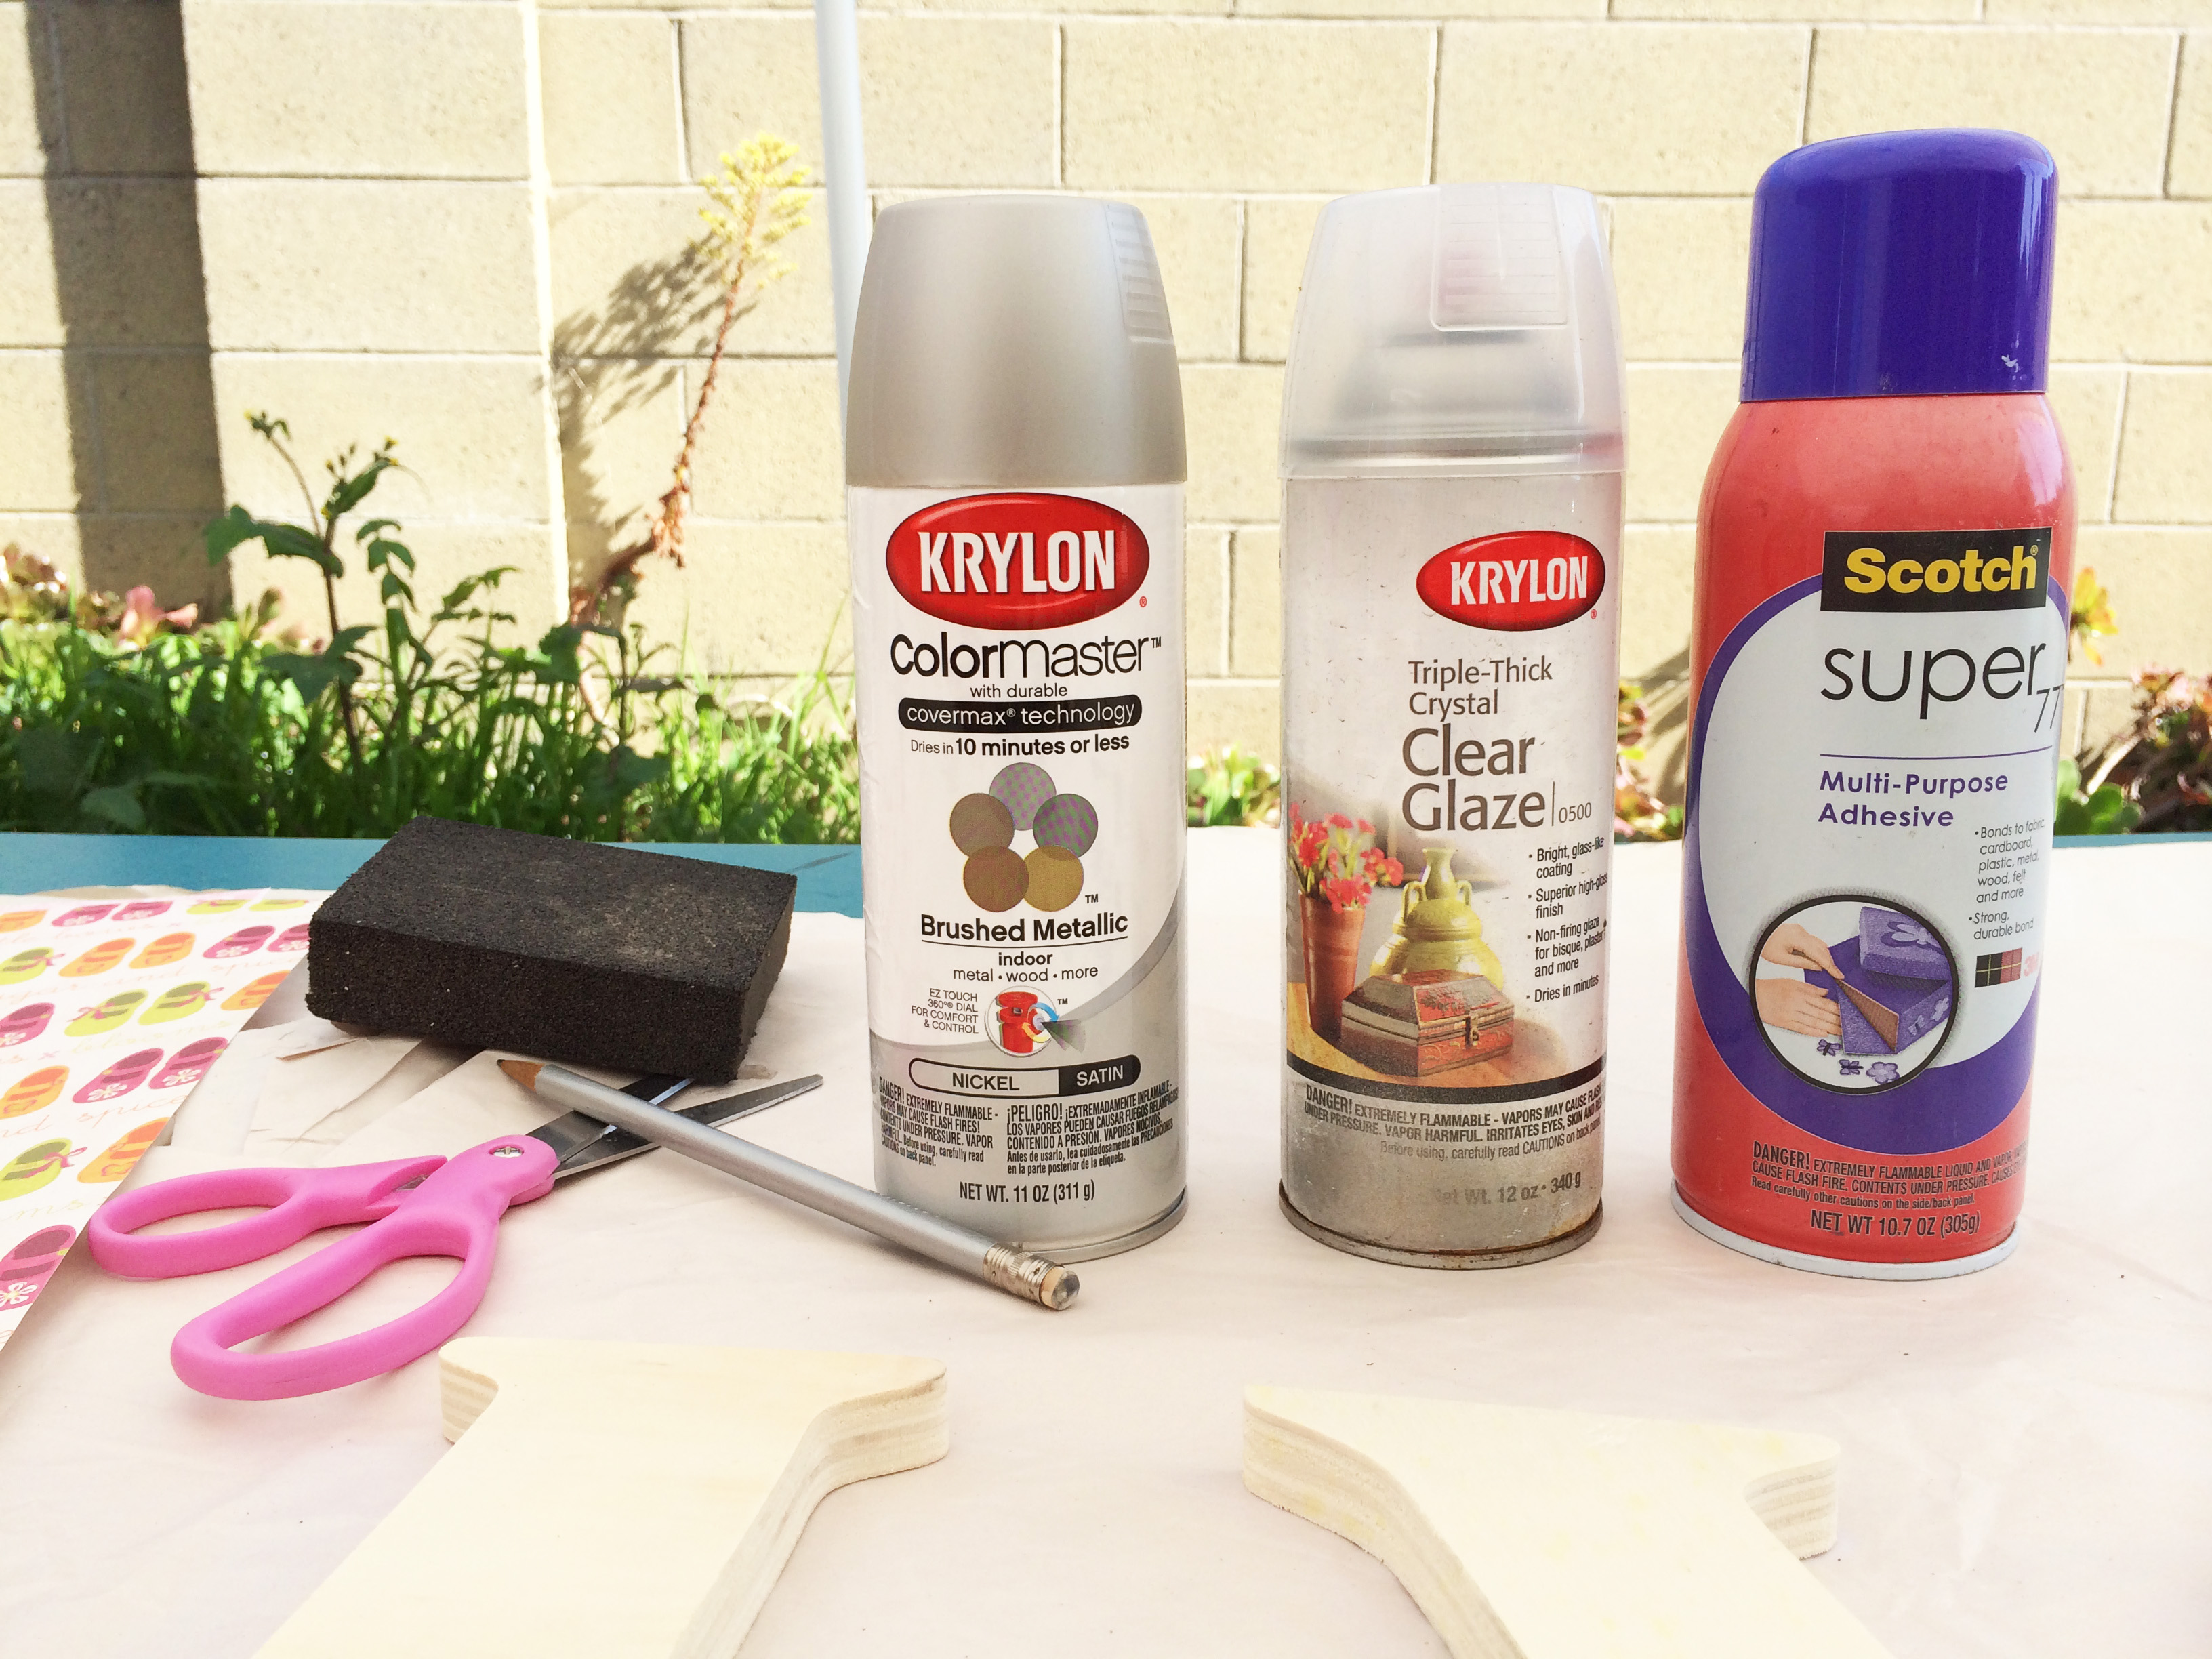
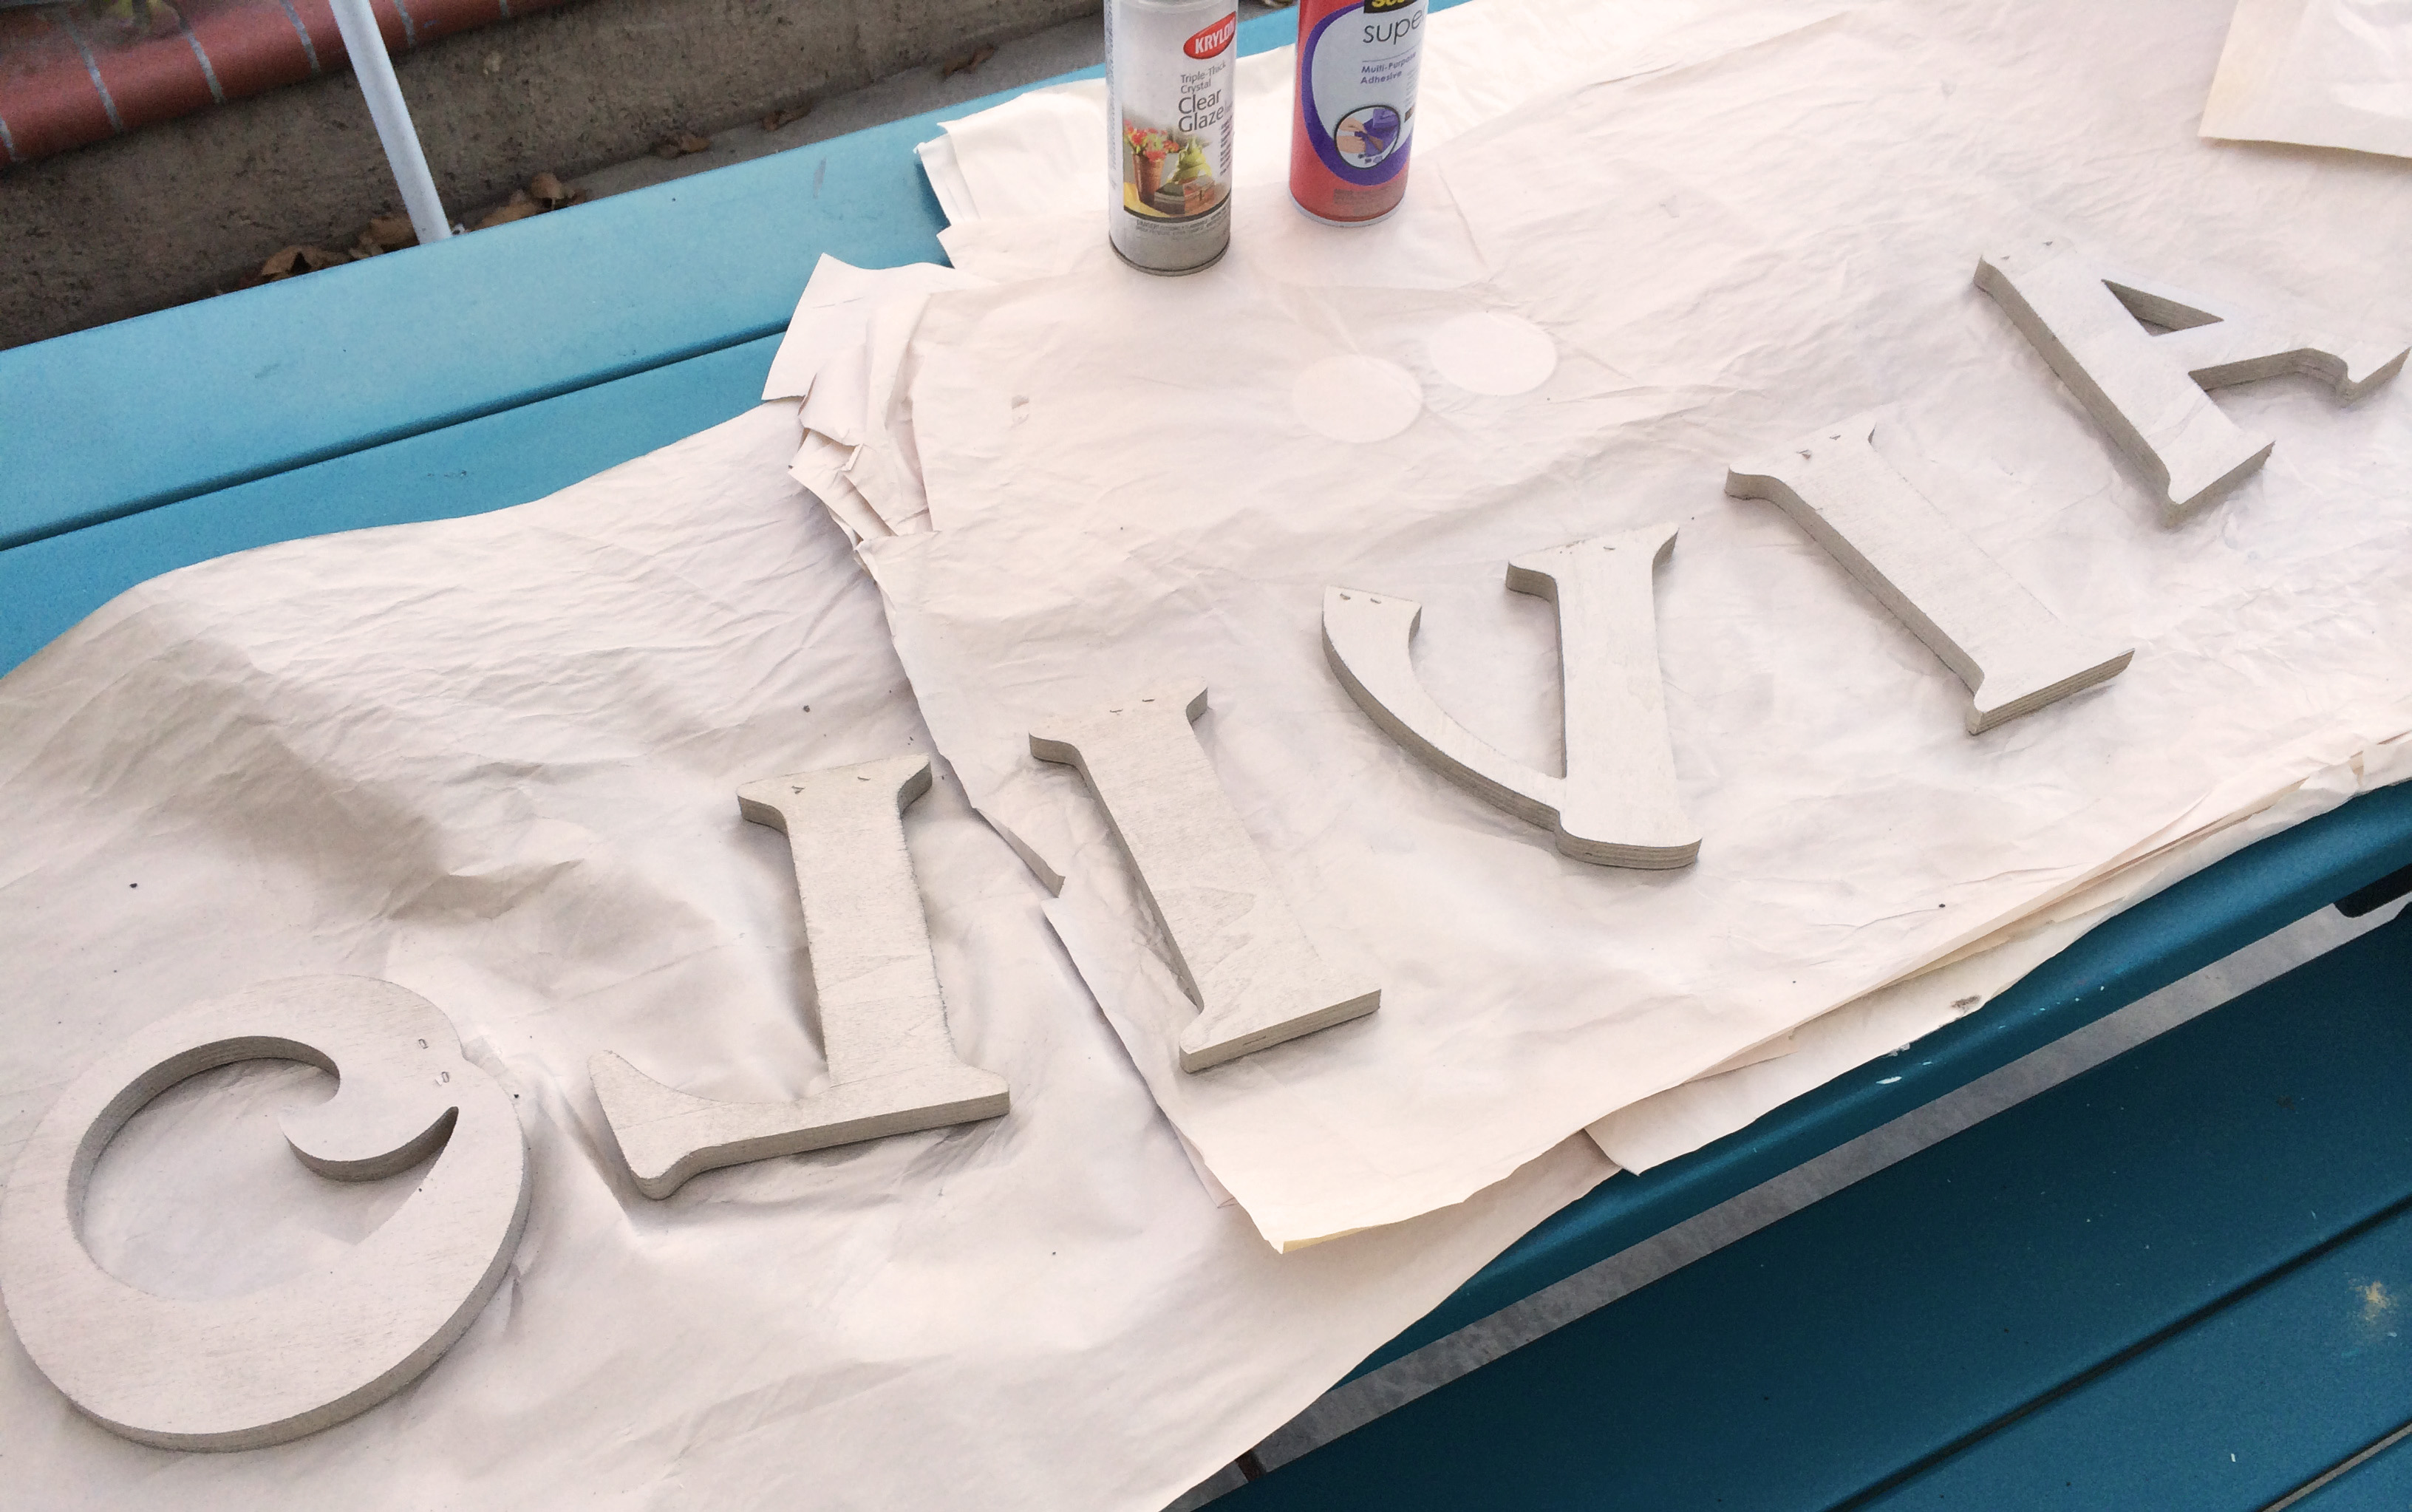
Prep: Since the letters are made from raw wood, I sand the edges and surfaces down first with a block sander before spray painting the entire piece. Make sure you get all edges and both sides; you never know what will be exposed when styling your space.
Step 3
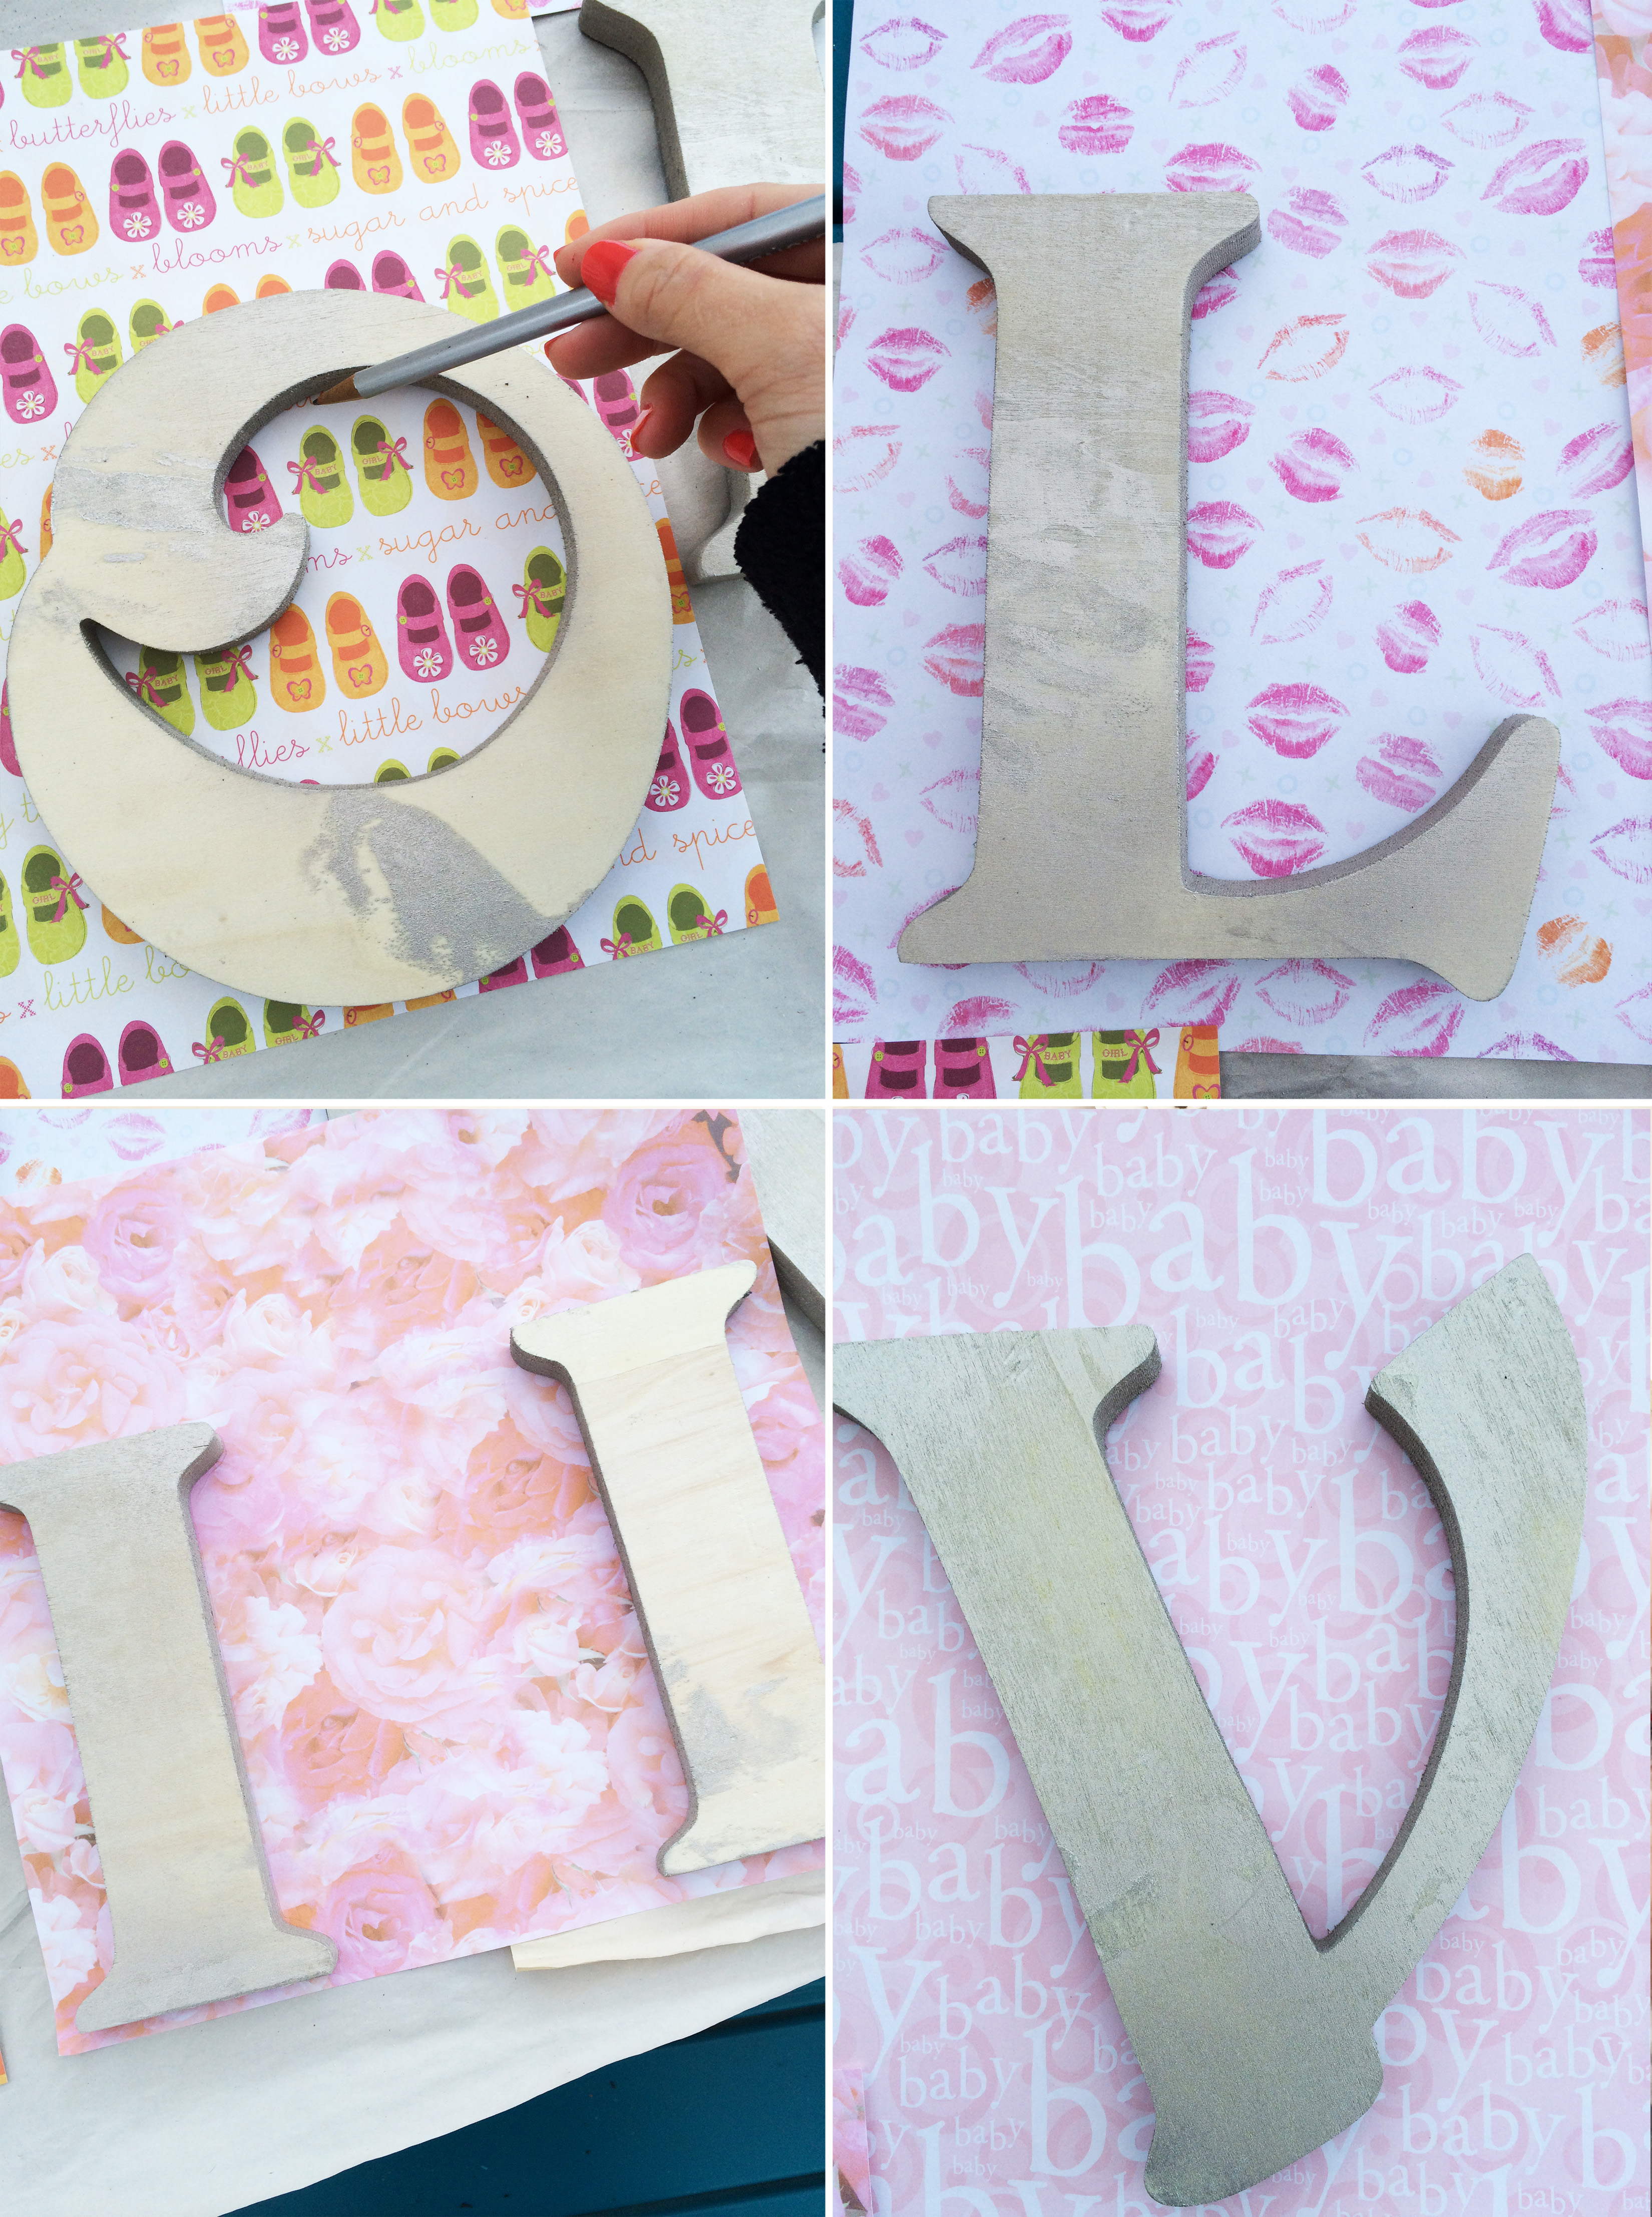
Place each individual letter over your craft paper and start tracing the outline.
Step 4
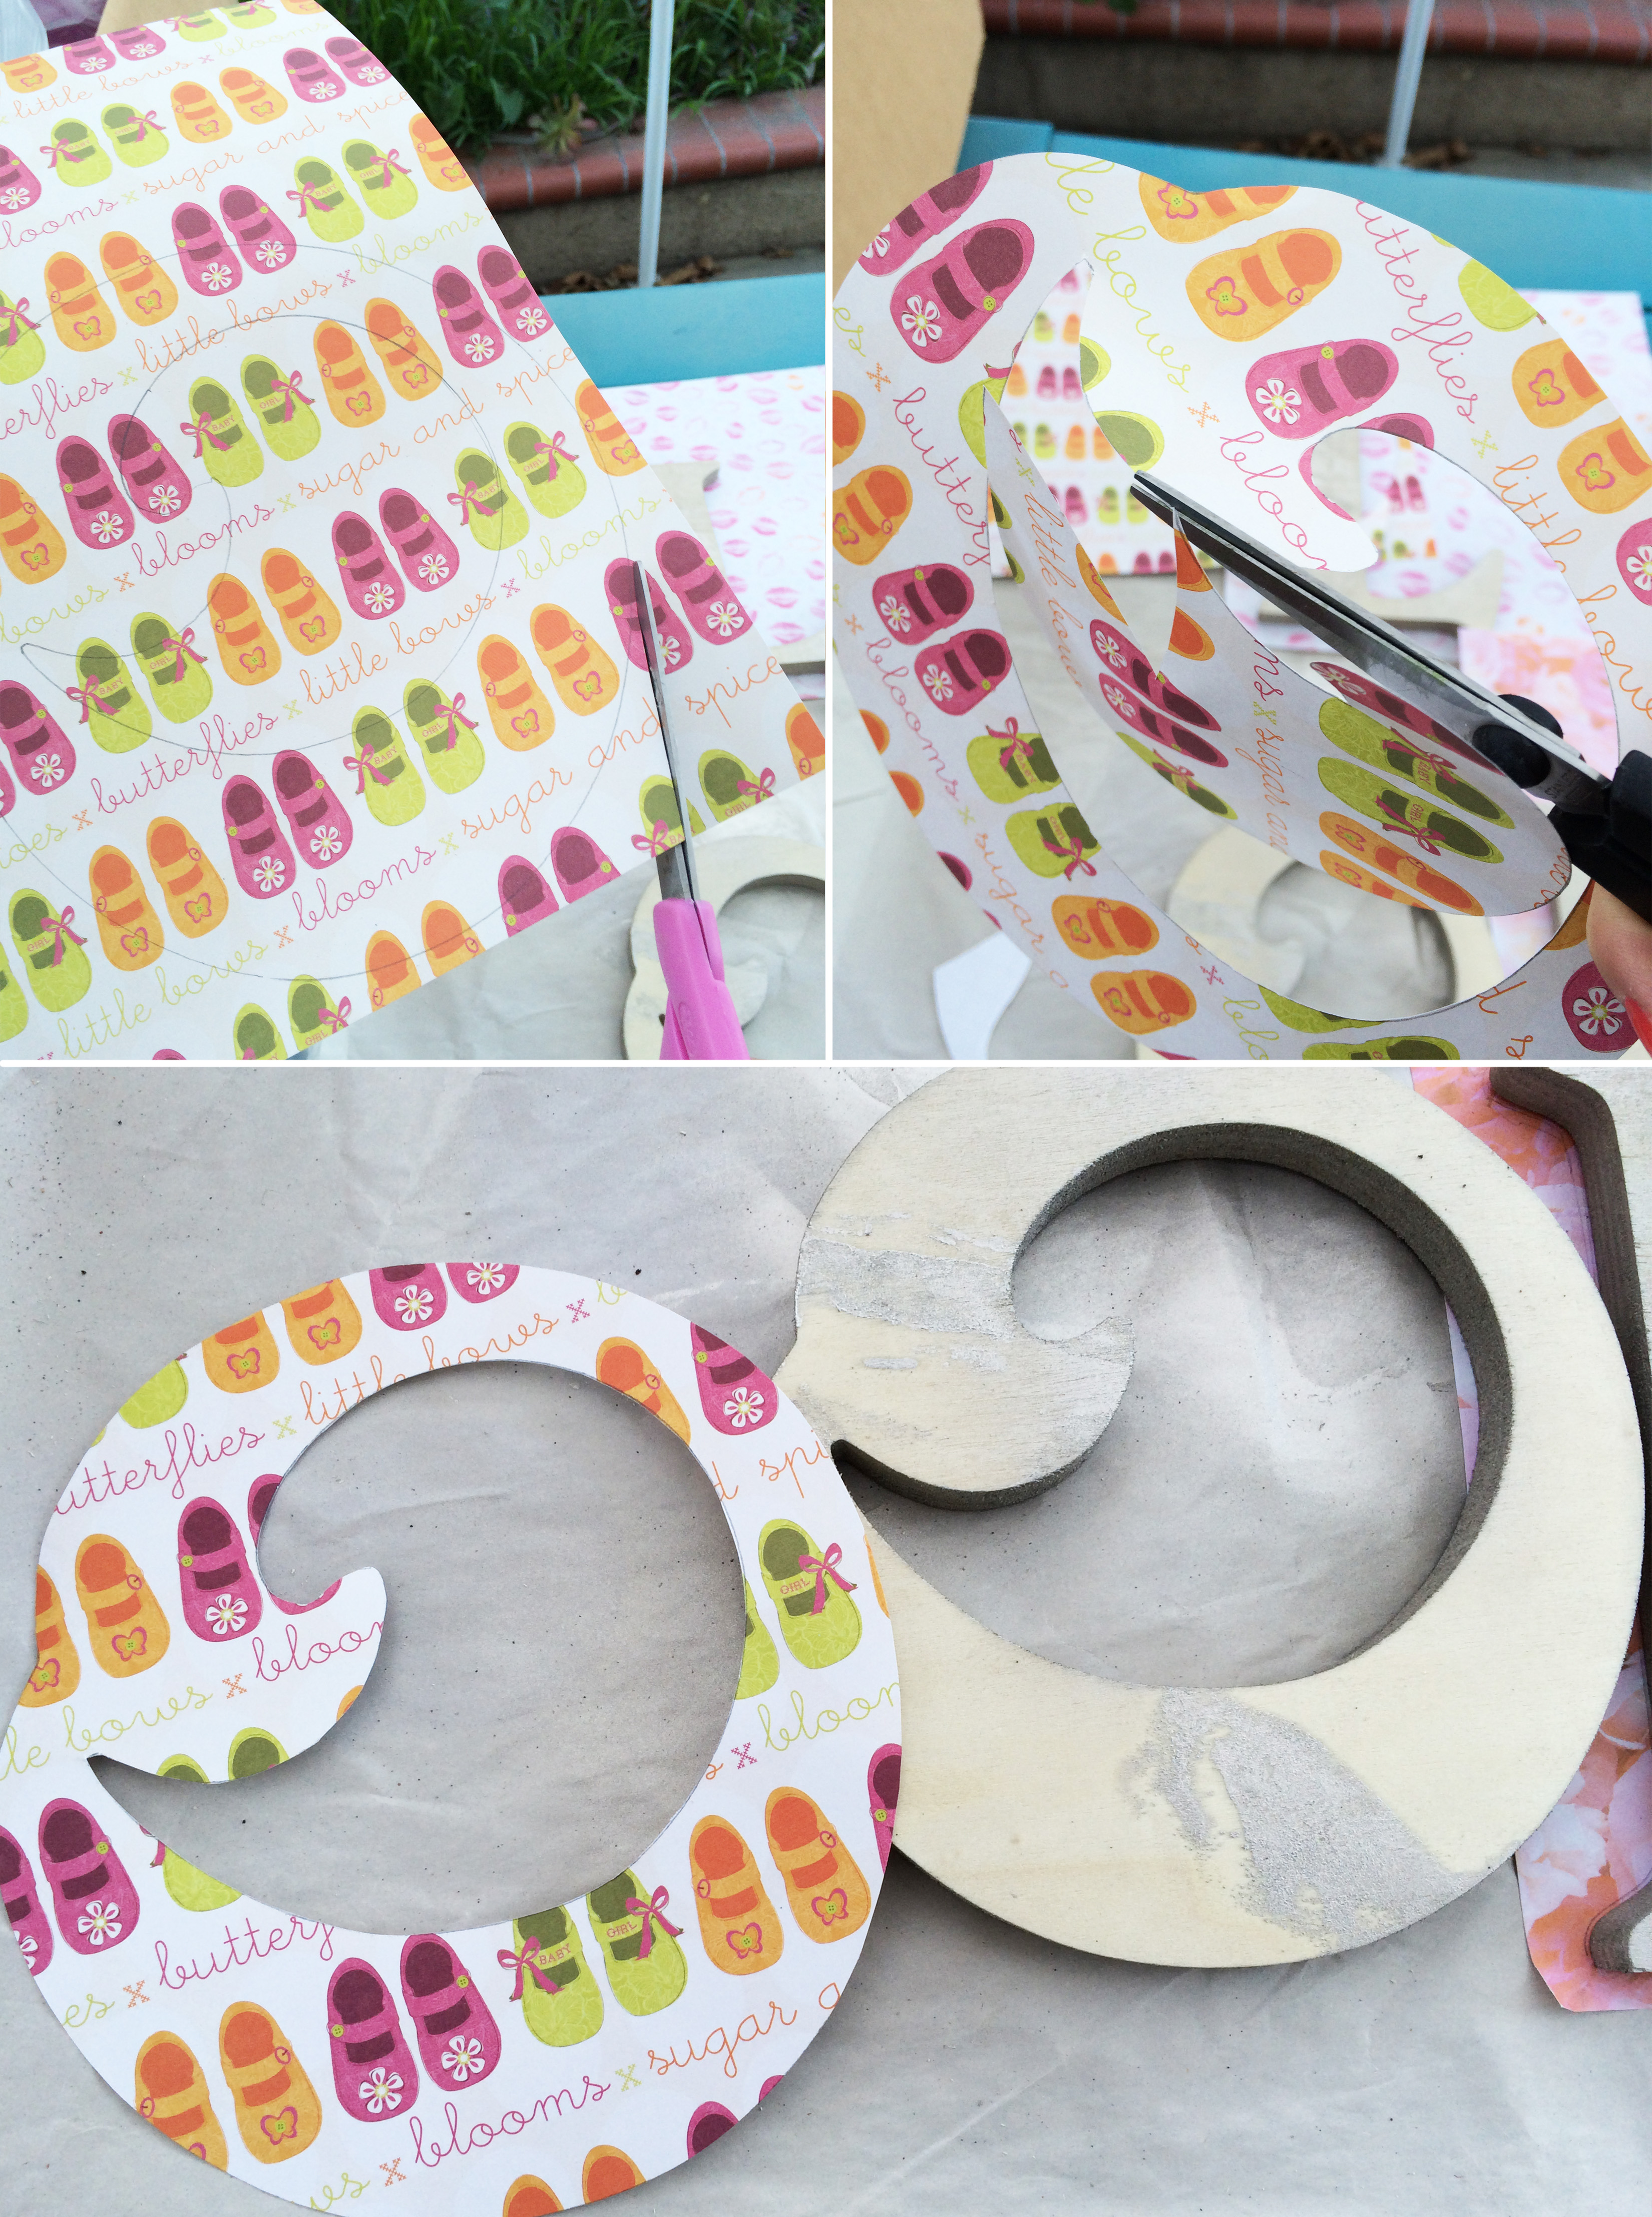
Carefully cut the paper according to your stencil.
Step 5
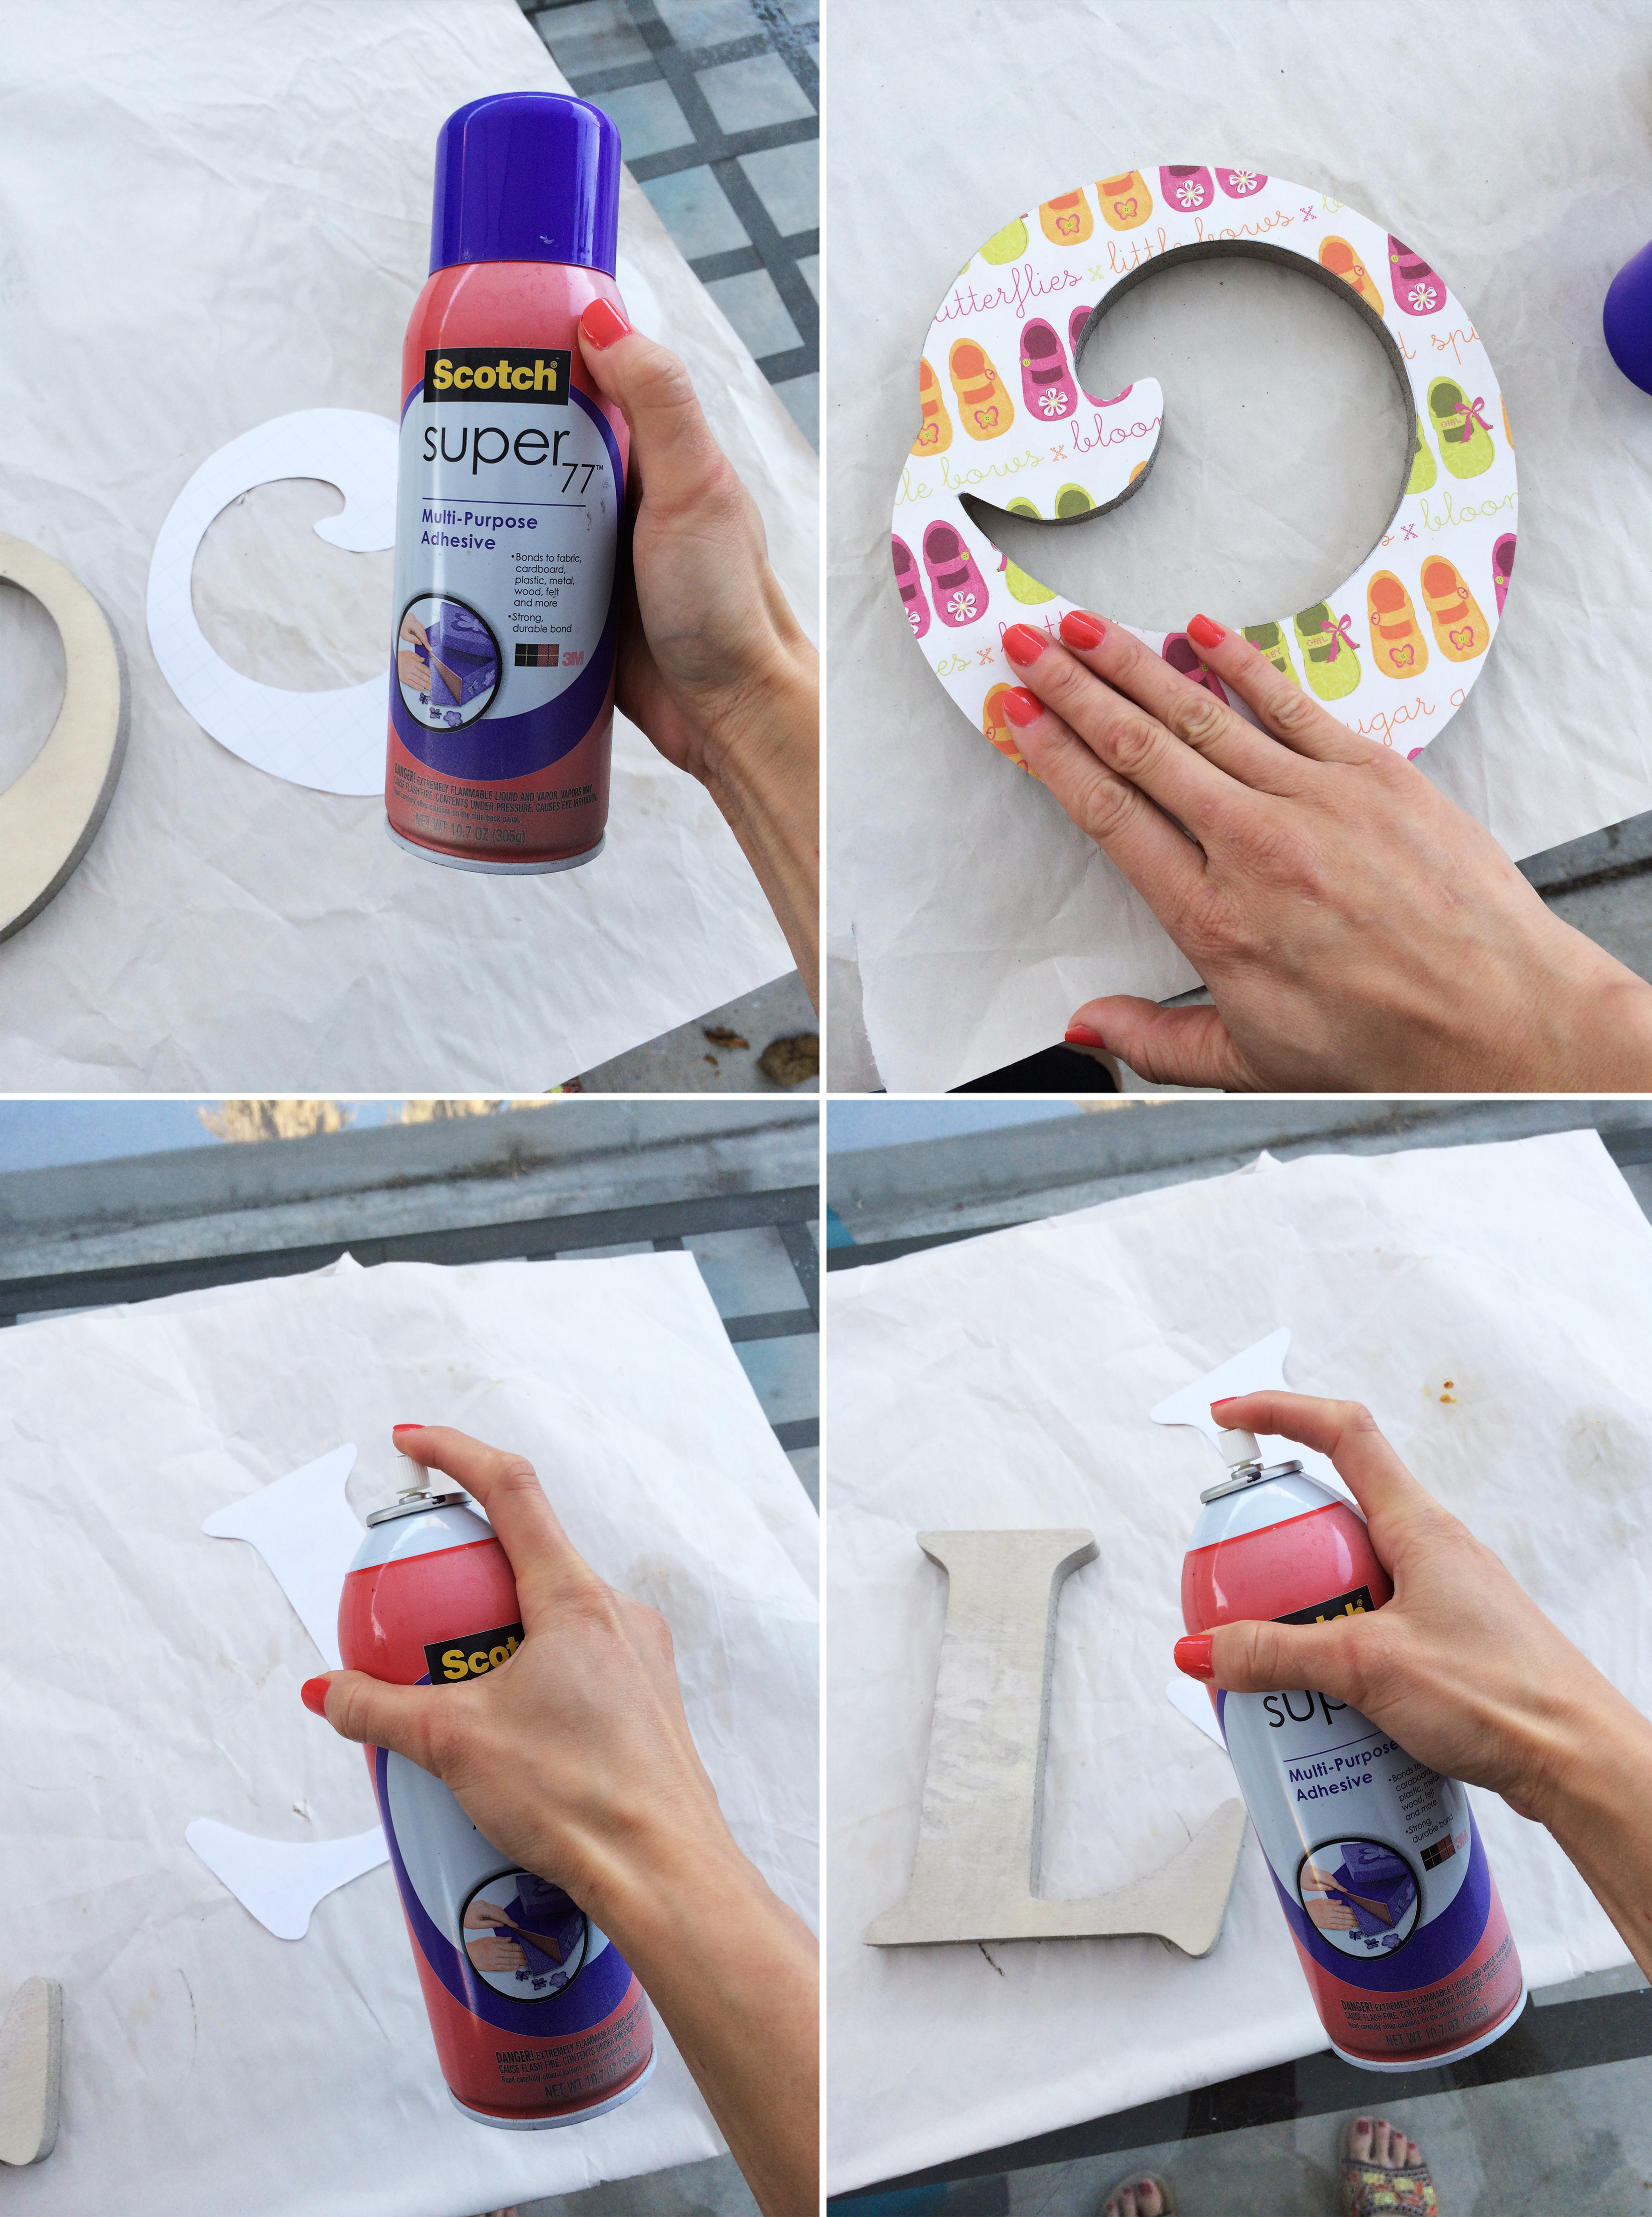
Using the spray adhesive, spray BOTH the back of the paper and front of the block letter to prepare for adhesion. Start with the most difficult corners of the letter and carefully position the paper to the block. You have about 15 seconds before the sticky adhesive sets so play around with the placement until you can get it as perfect as possible.
Step 6
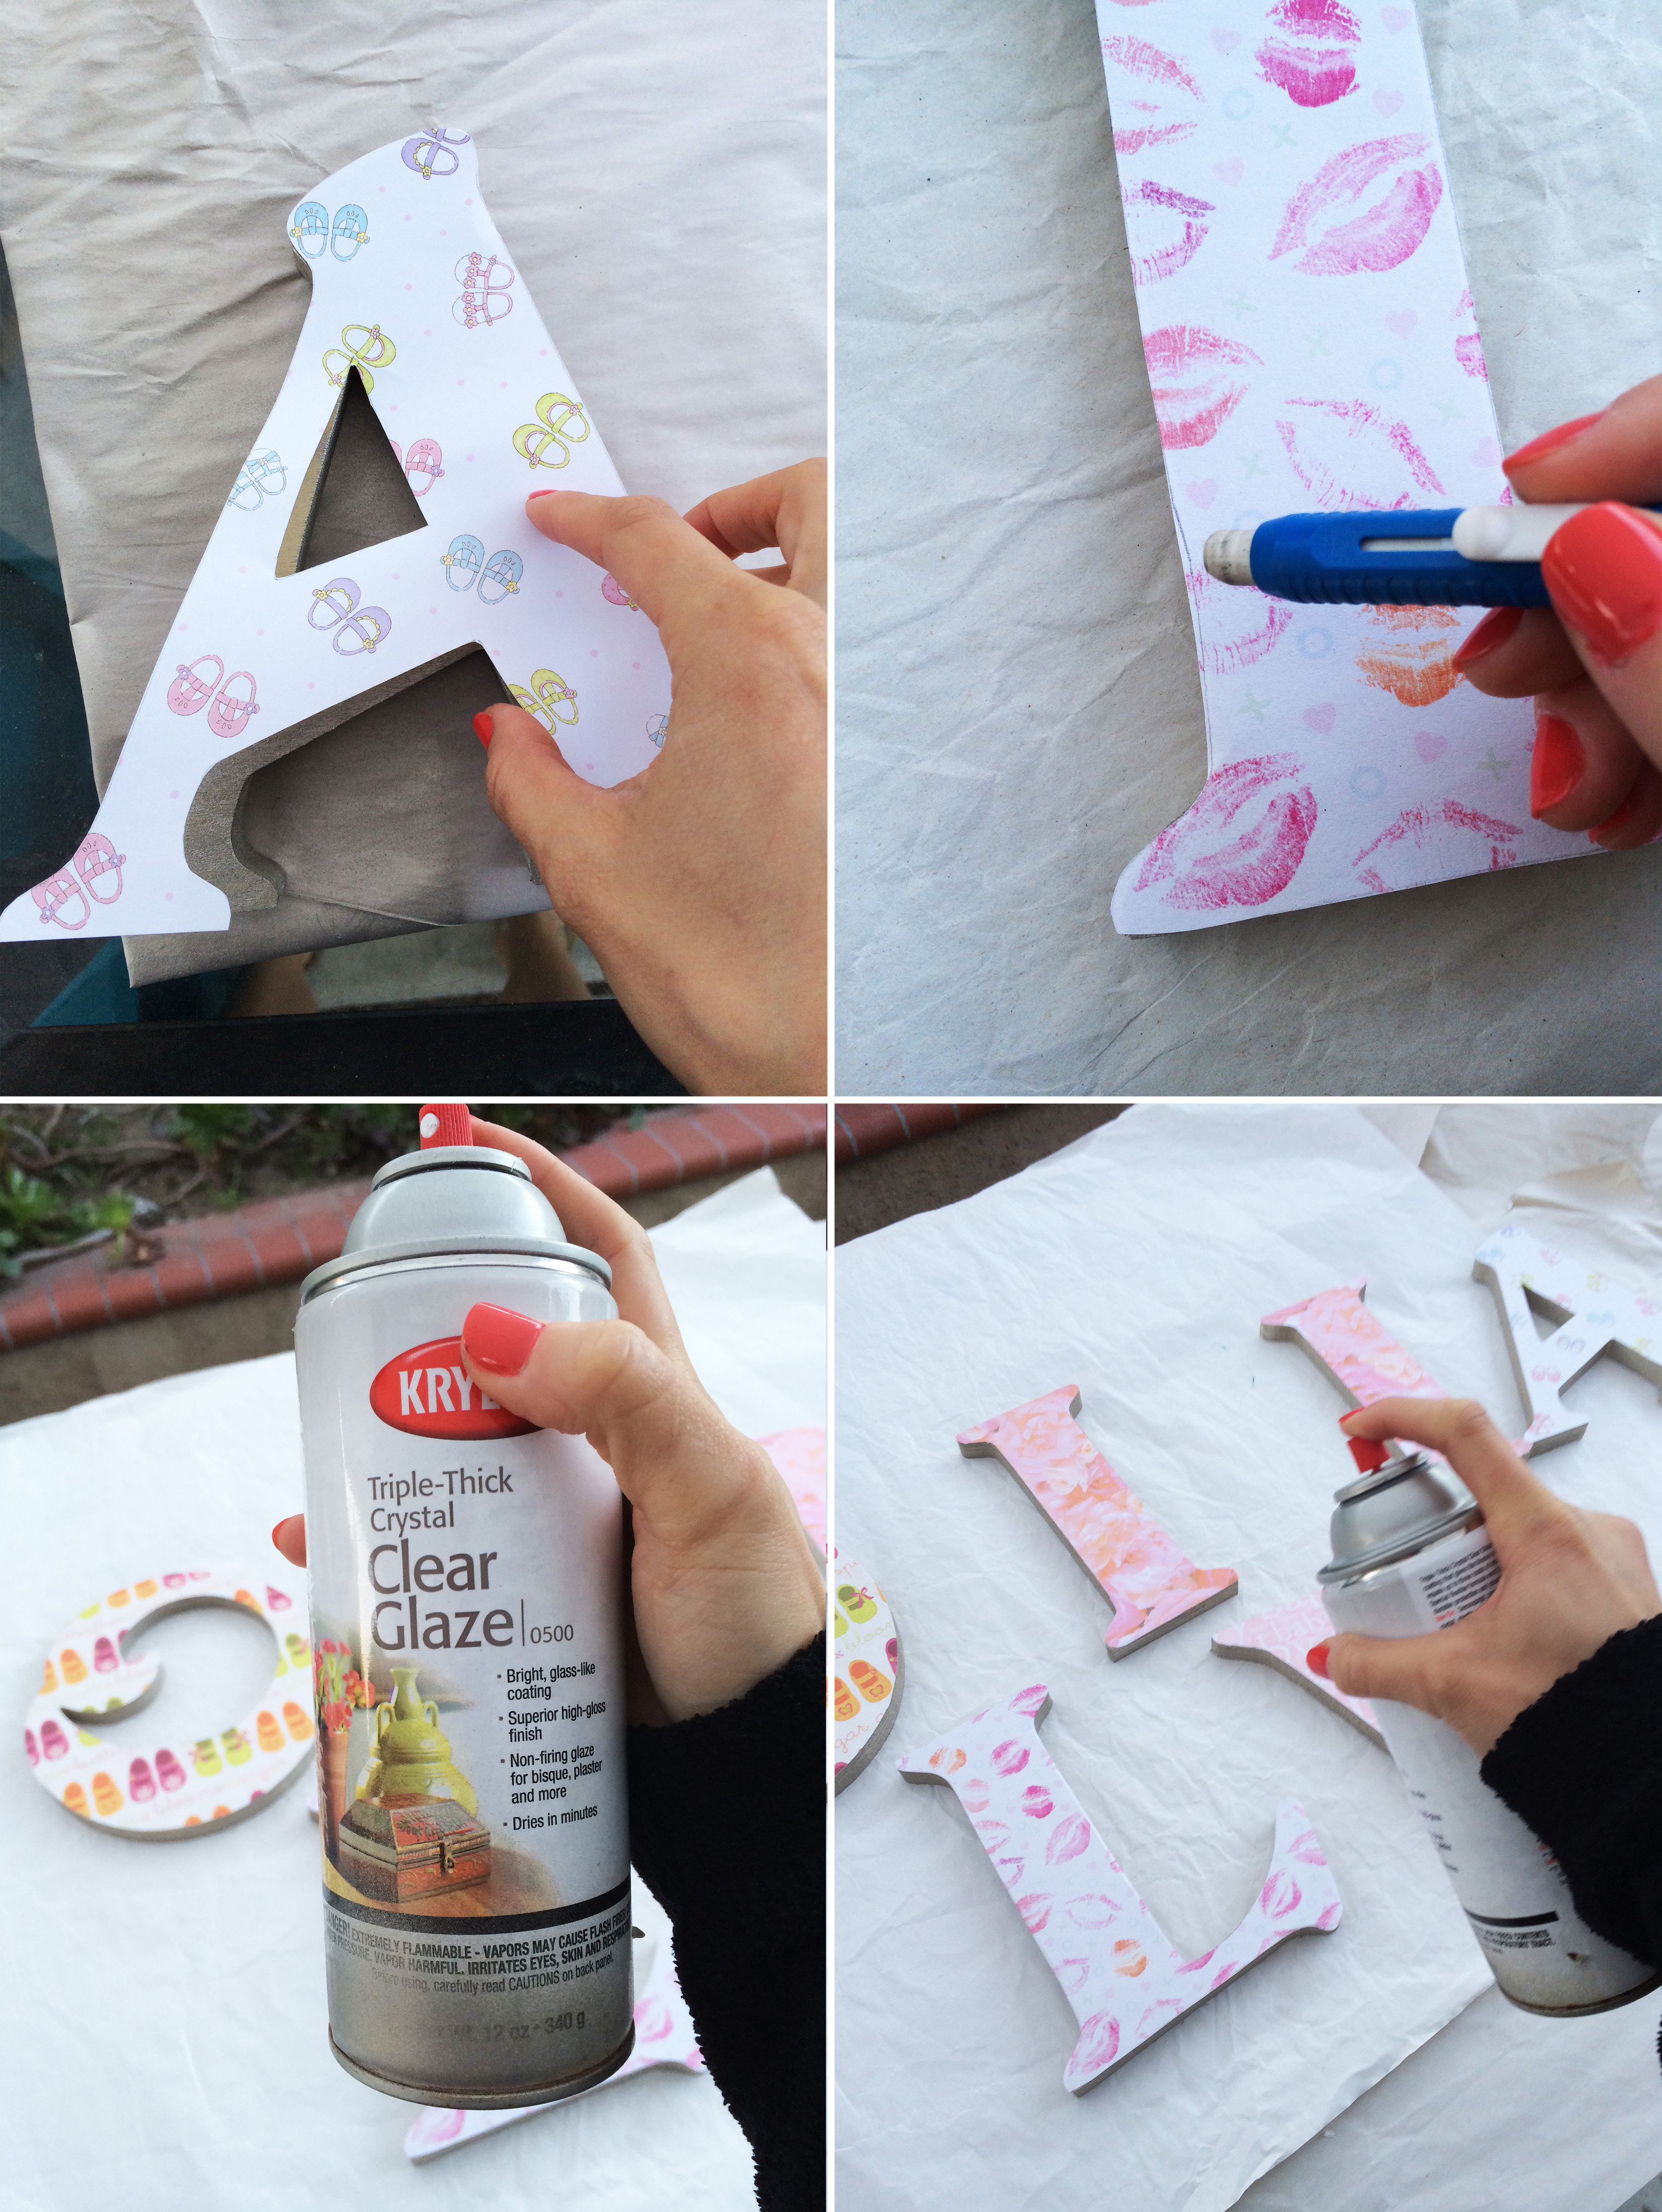
Make sure to erase all pencil marks at outlines. For the finishing touch, I spray a triple-thick clear glaze over the entire back/front/sides. This protects the block letters from getting dirty in the future. Like a plastic resin coat after it fully dries (a few hours), you can simply wipe the blocks down with a moist cloth if it gets lightly soiled.
Step 7
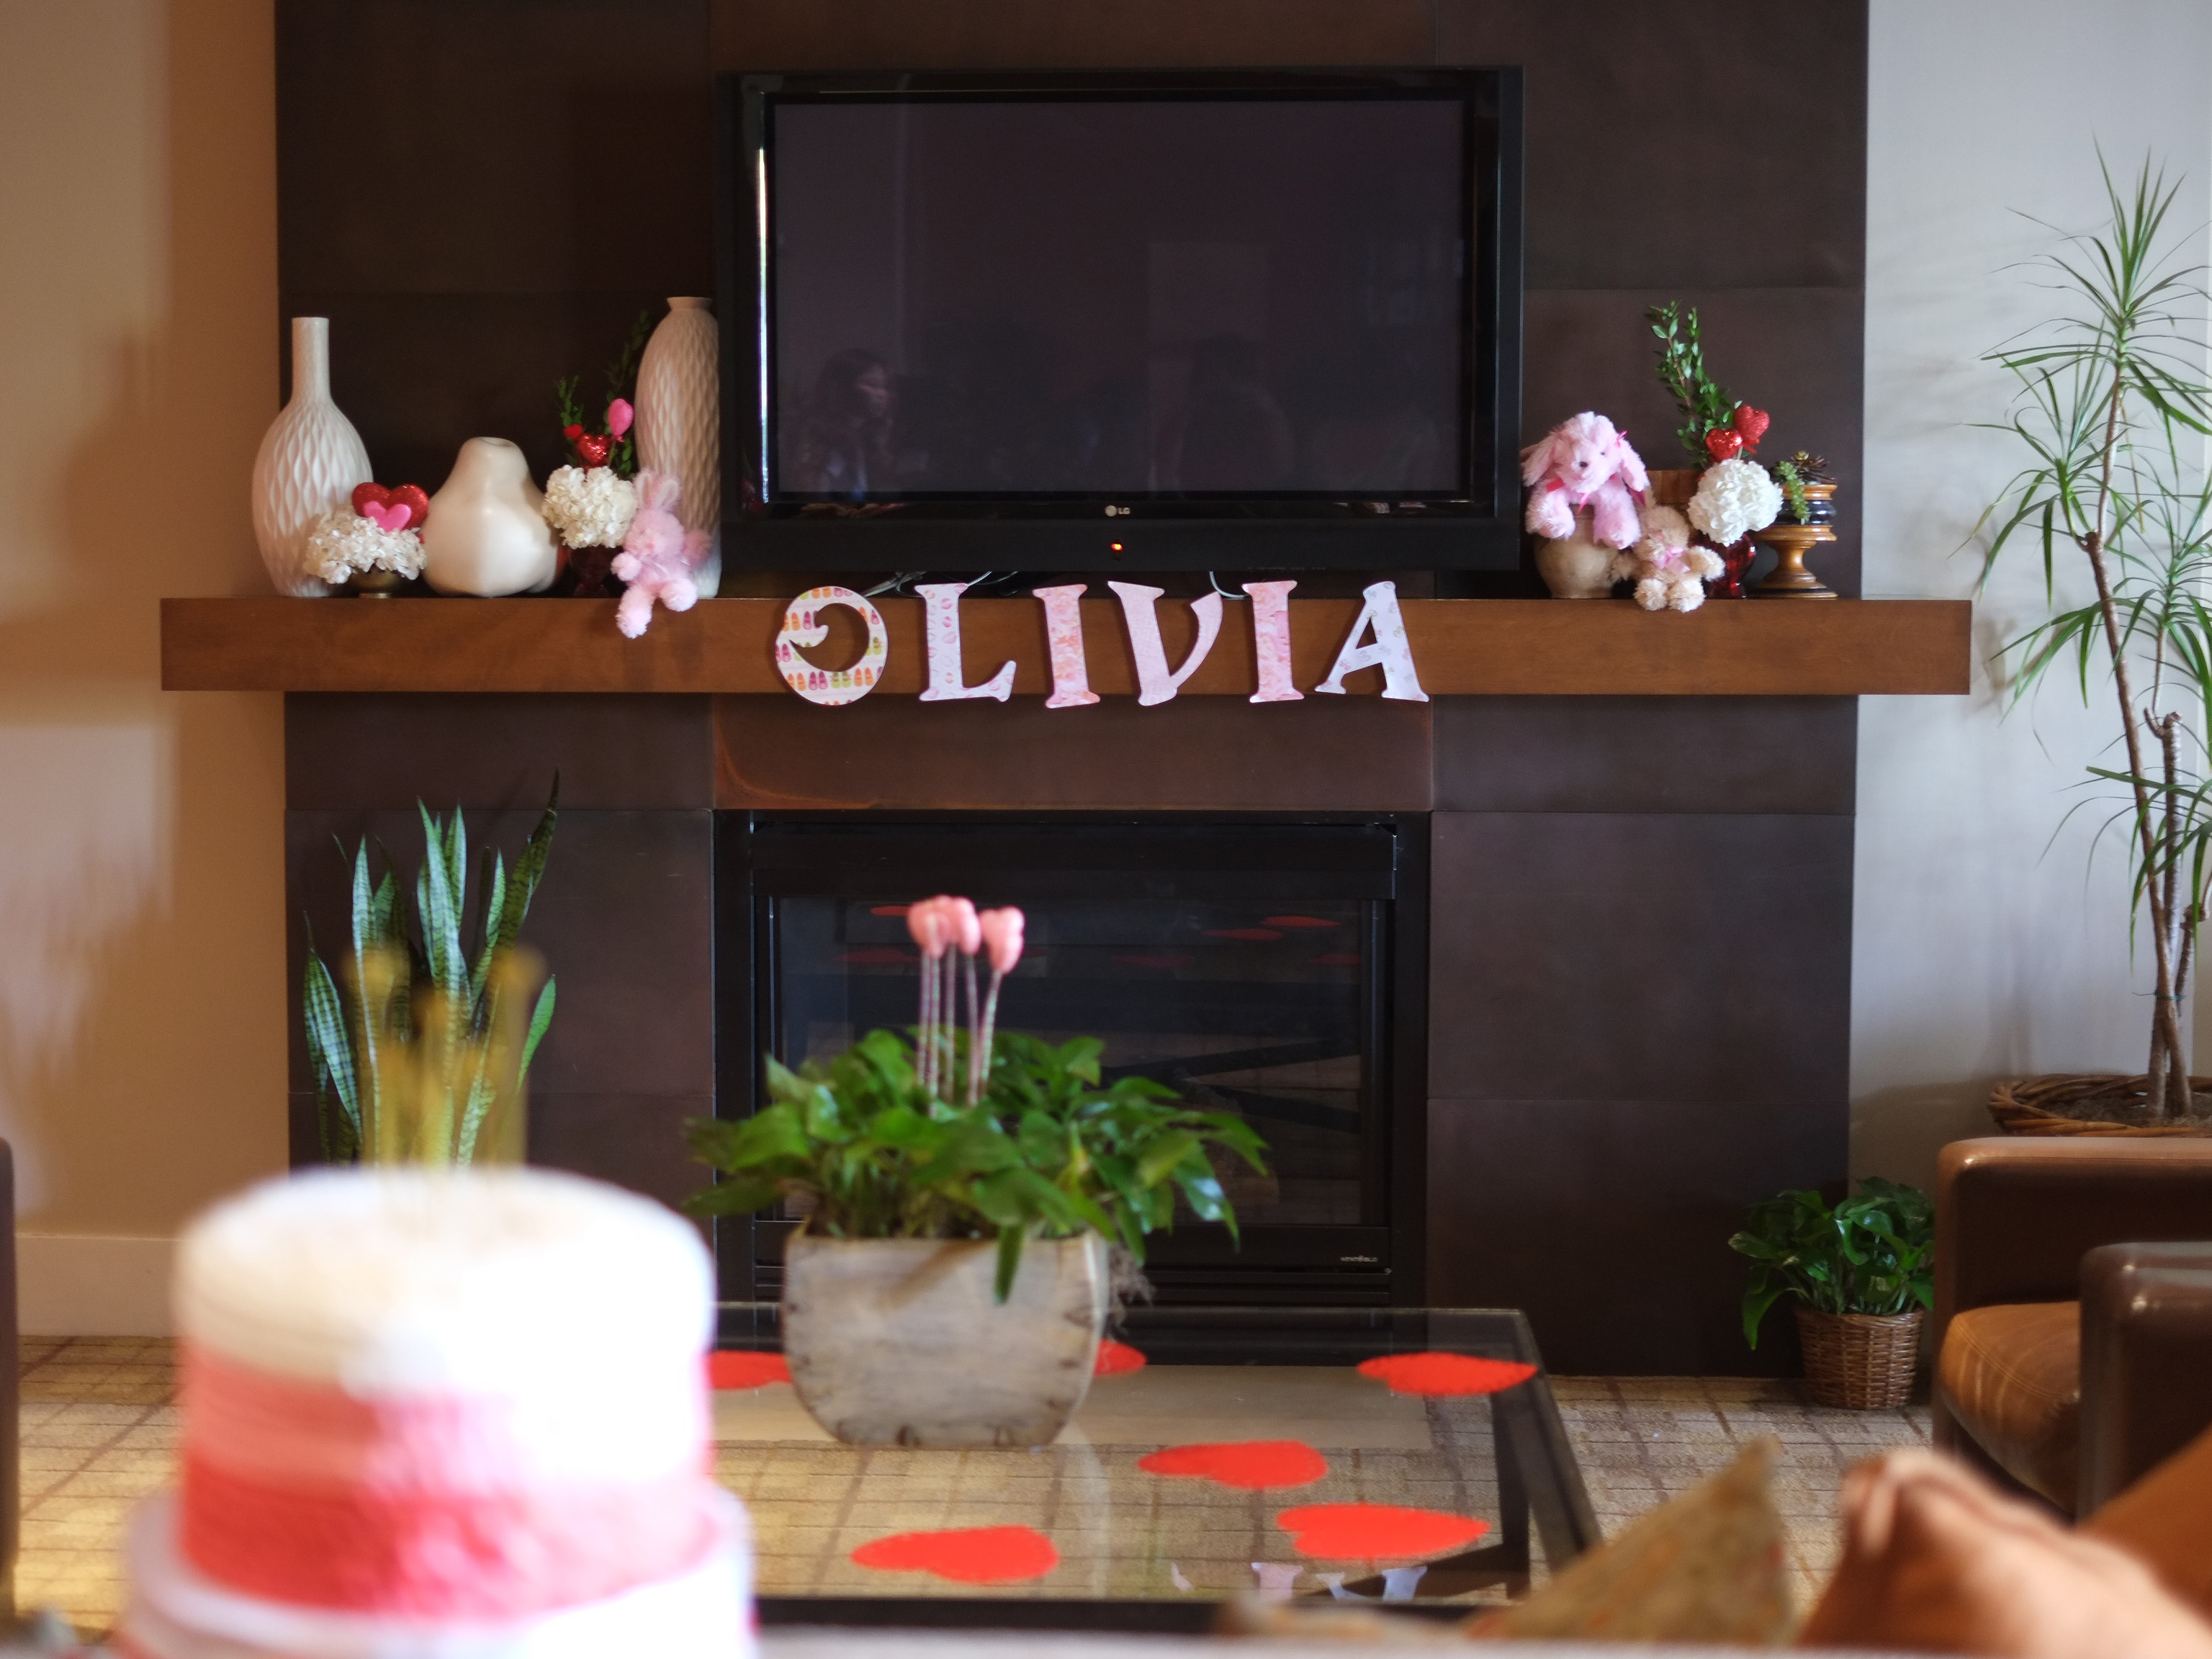
Mount, decorate, et Voilà! Personalized block name made with L-O-V-E!
For more Valentine’s decor inspiration see full post HERE


4 Comments
Pretty cute DIY! 🙂
xo
Maggie A
http://www.lovemavin.com
Oh my gosh, that is so so cute! Thank you for sharing it. I love this DIY.
the-creationofbeauty.blogspot.com
NICE DYE
NEW POST :http://melodyjacob1.blogspot.com/2015/02/statement-necklace-with-happiness.html
Very creative. Love it. X
Follow me on GFC, I always follow back.
▬ http://WWW.HEKYMA.BLOGSPOT.COM ▬